ENGLISH
This is caused when mechanical parts of the printer get out of alignment. This happens only rarely and you may never experience it at all throughout the life of the printer. If you do have problems, use the following procedure to correct it.
•Turn on the printer and insert a piece of paper.
•Turn off printer power.
•While holding down the control panel’s ON LINE and FEED switches, turn the printer back on to enter the Dot Alignment Adjust Mode, which is indicator by a flashing POWER indicator flashes.
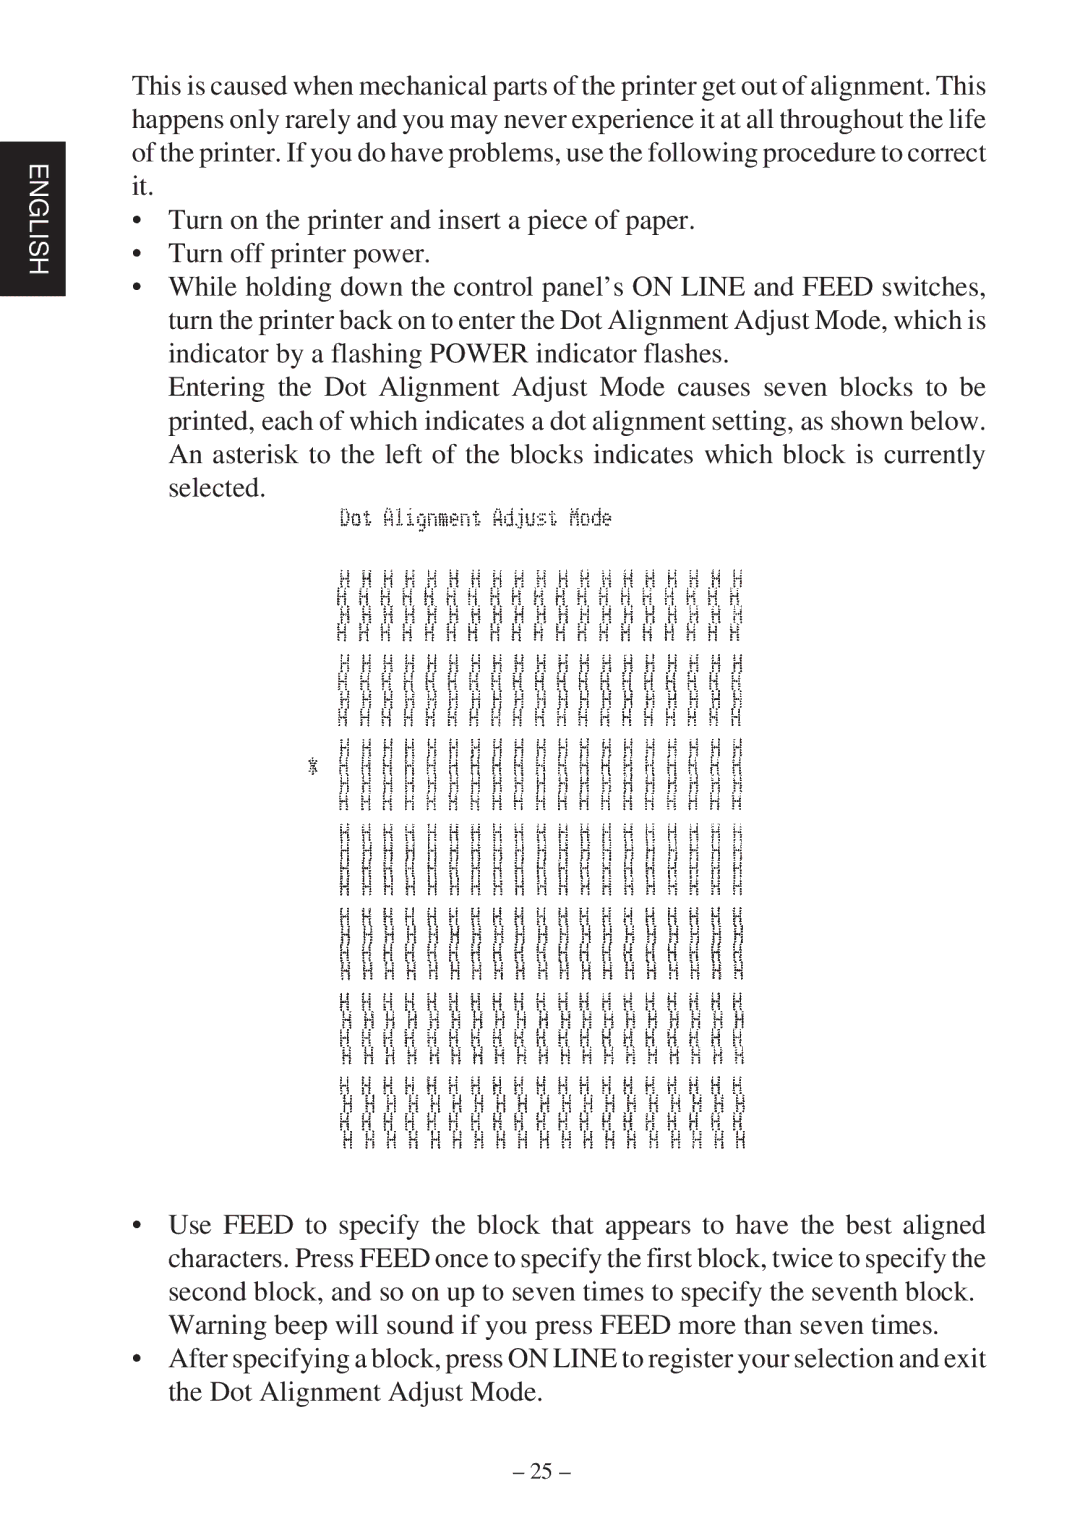
Entering the Dot Alignment Adjust Mode causes seven blocks to be printed, each of which indicates a dot alignment setting, as shown below. An asterisk to the left of the blocks indicates which block is currently selected.
•Use FEED to specify the block that appears to have the best aligned characters. Press FEED once to specify the first block, twice to specify the second block, and so on up to seven times to specify the seventh block.
Warning beep will sound if you press FEED more than seven times.
•After specifying a block, press ON LINE to register your selection and exit the Dot Alignment Adjust Mode.
– 25 –