USING THE SCANNER MODE
For problems with the scanner function, see the online manual or the help file for the driver.
Using the Button Manager
Setting up the Button Manager
The scanner driver for this unit includes an STI (Still image) driver and WIA (Windows Image Acquisition) driver. You can install software that supports the STI driver and WIA driver to enable scanning using only the operation panel of the unit.
The Button Manager accessory software supports the STI driver and WIA driver. Setup that is required in Windows to use the Button Manager is explained in the following.
Windows XP
1
2
3
Click the “start” button, select “Control Panel” and click “Printers and Other Hardware”, and then click “Scanners and Cameras” in the start menu. Right click the “TOSHIBA
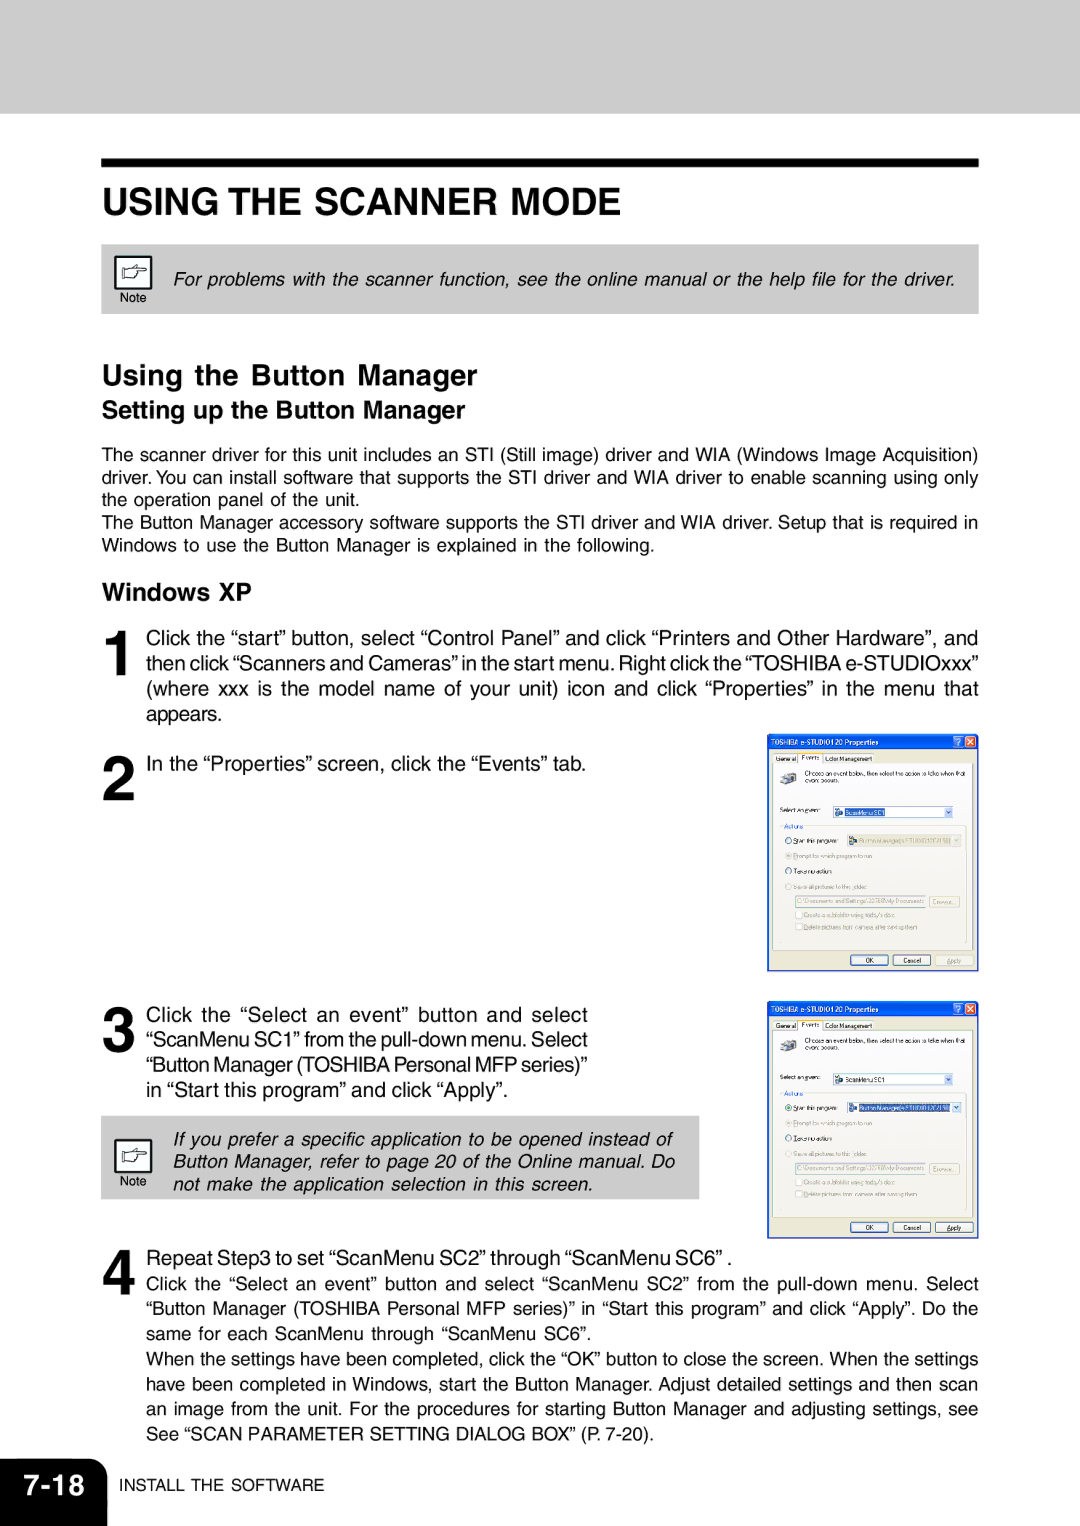
In the “Properties” screen, click the “Events” tab.
Click the “Select an event” button and select “ScanMenu SC1” from the
If you prefer a specific application to be opened instead of Button Manager, refer to page 20 of the Online manual. Do not make the application selection in this screen.
4 Repeat Step3 to set “ScanMenu SC2” through “ScanMenu SC6” .
Click the “Select an event” button and select “ScanMenu SC2” from the
When the settings have been completed, click the “OK” button to close the screen. When the settings have been completed in Windows, start the Button Manager. Adjust detailed settings and then scan an image from the unit. For the procedures for starting Button Manager and adjusting settings, see See “SCAN PARAMETER SETTING DIALOG BOX” (P.