CONNECTING THE POWER CORD
If you use the unit in a country other than the country where the unit was purchased, you will need to make sure that your local power supply is compatible with your model. If you plug the unit into an incompatible power supply, irreparable damage to the unit will result.
1
2
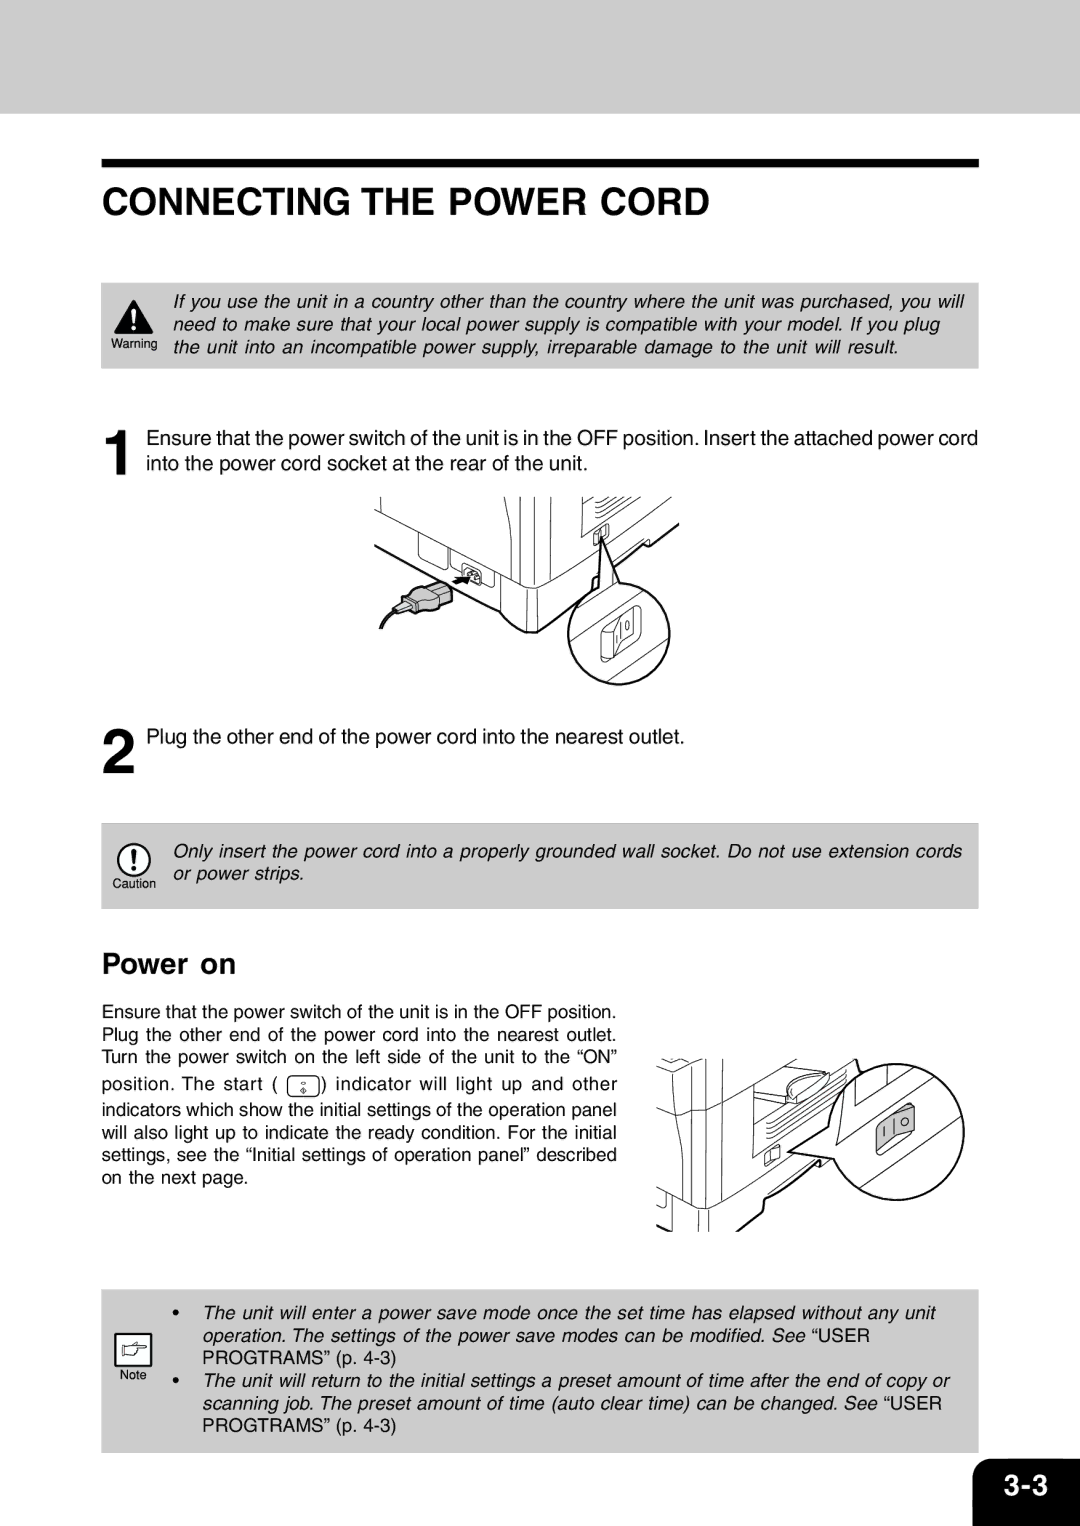
Ensure that the power switch of the unit is in the OFF position. Insert the attached power cord into the power cord socket at the rear of the unit.
Plug the other end of the power cord into the nearest outlet.
Only insert the power cord into a properly grounded wall socket. Do not use extension cords or power strips.
Power on
Ensure that the power switch of the unit is in the OFF position. Plug the other end of the power cord into the nearest outlet. Turn the power switch on the left side of the unit to the “ON”
position. The start ( ![]() ) indicator will light up and other indicators which show the initial settings of the operation panel will also light up to indicate the ready condition. For the initial settings, see the “Initial settings of operation panel” described on the next page.
) indicator will light up and other indicators which show the initial settings of the operation panel will also light up to indicate the ready condition. For the initial settings, see the “Initial settings of operation panel” described on the next page.
•The unit will enter a power save mode once the set time has elapsed without any unit
operation. The settings of the power save modes can be modified. See “USER PROGTRAMS” (p.
• The unit will return to the initial settings a preset amount of time after the end of copy or scanning job. The preset amount of time (auto clear time) can be changed. See “USER PROGTRAMS” (p.