Taking Photographs


You can take photographs while looking through the LCD monitor.
GettingReady |
 Before starting
Load the battery, insert the SD card, then open the lens cover.
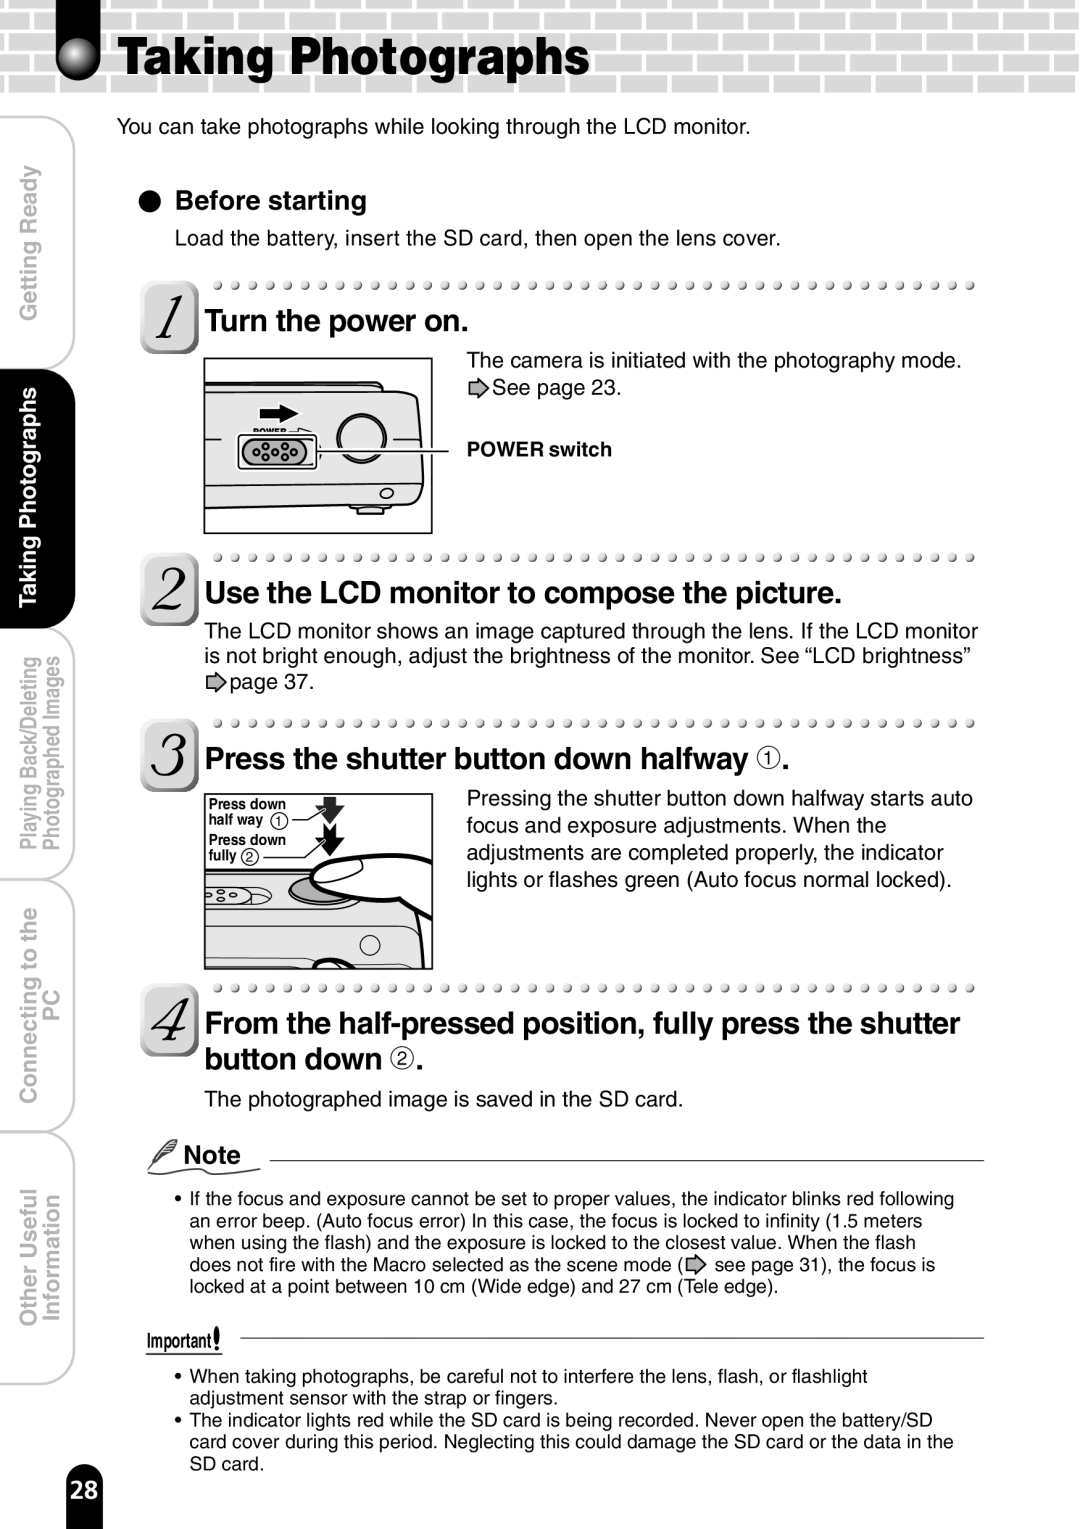
Turn the power on.
Photographs |
POWER |
The camera is initiated with the photography mode. ![]() See page 23.
See page 23.
POWER switch
Taking |
Back/Deleting PhotographedImages |
Use the LCD monitor to compose the picture.
The LCD monitor shows an image captured through the lens. If the LCD monitor is not bright enough, adjust the brightness of the monitor. See “LCD brightness” ![]() page 37.
page 37.
![]() Press the shutter button down halfway 1.
Press the shutter button down halfway 1.
Playing |
tothe |
Press down |
half way 1 |
Press down |
fully 2 |
Pressing the shutter button down halfway starts auto focus and exposure adjustments. When the adjustments are completed properly, the indicator lights or flashes green (Auto focus normal locked).
Connecting PC |
![]() From the
From the
The photographed image is saved in the SD card.
Other Useful Information
![]() Note
Note
•If the focus and exposure cannot be set to proper values, the indicator blinks red following an error beep. (Auto focus error) In this case, the focus is locked to infinity (1.5 meters
when using the flash) and the exposure is locked to the closest value. When the flash does not fire with the Macro selected as the scene mode (![]() see page 31), the focus is locked at a point between 10 cm (Wide edge) and 27 cm (Tele edge).
see page 31), the focus is locked at a point between 10 cm (Wide edge) and 27 cm (Tele edge).
Important![]()
•When taking photographs, be careful not to interfere the lens, flash, or flashlight adjustment sensor with the strap or fingers.
•The indicator lights red while the SD card is being recorded. Never open the battery/SD card cover during this period. Neglecting this could damage the SD card or the data in the SD card.
28