![]() Tap the [
Tap the [ ![]() ] icon on the palette, after a save confirmation screen appears, tap the [
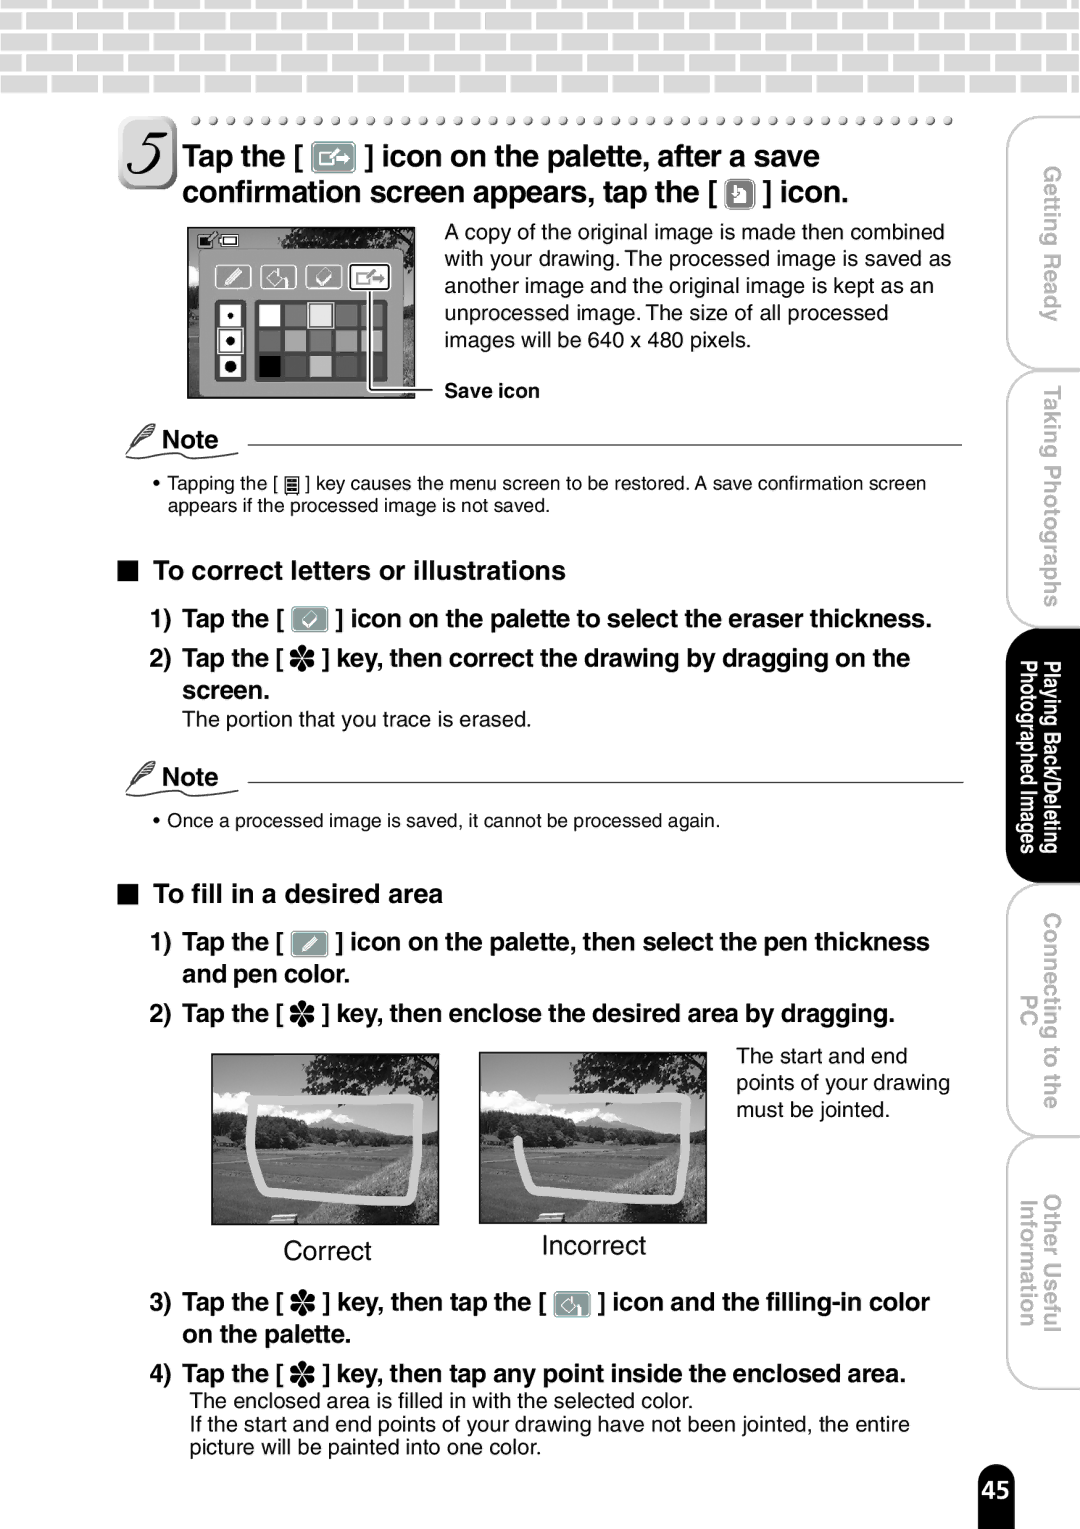
] icon on the palette, after a save confirmation screen appears, tap the [ ![]() ] icon.
] icon.
A copy of the original image is made then combined with your drawing. The processed image is saved as another image and the original image is kept as an unprocessed image. The size of all processed images will be 640 x 480 pixels.
Save icon
![]() Note
Note
•Tapping the [ ![]() ] key causes the menu screen to be restored. A save confirmation screen appears if the processed image is not saved.
] key causes the menu screen to be restored. A save confirmation screen appears if the processed image is not saved.
To correct letters or illustrations
1)Tap the [ ![]() ] icon on the palette to select the eraser thickness.
] icon on the palette to select the eraser thickness.
2)Tap the [ ![]()
![]() ] key, then correct the drawing by dragging on the
] key, then correct the drawing by dragging on the
screen.
The portion that you trace is erased.
![]() Note
Note
•Once a processed image is saved, it cannot be processed again.
To fill in a desired area
1)Tap the [ ![]() ] icon on the palette, then select the pen thickness and pen color.
] icon on the palette, then select the pen thickness and pen color.
2)Tap the [ ![]() ] key, then enclose the desired area by dragging.
] key, then enclose the desired area by dragging.
The start and end points of your drawing must be jointed.
CorrectIncorrect
3)Tap the [ ![]() ] key, then tap the [
] key, then tap the [ ![]() ] icon and the
] icon and the
4)Tap the [ ![]() ] key, then tap any point inside the enclosed area.
] key, then tap any point inside the enclosed area.
The enclosed area is filled in with the selected color.
If the start and end points of your drawing have not been jointed, the entire picture will be painted into one color.
| GettingReady |
| TakingPhotographs |
PhotographedImages | PlayingBack/Deleting |
PC | Connecting |
| tothe |
Information | OtherUseful |
45