Copying Images to This Camera
You can process images photographed with this camera on the PC and then send them back to the camera. You can also make copies of images other than those photographed with this camera.
Connect this camera to the PC using a USB cable.
ACDSeeTM is automatically started.
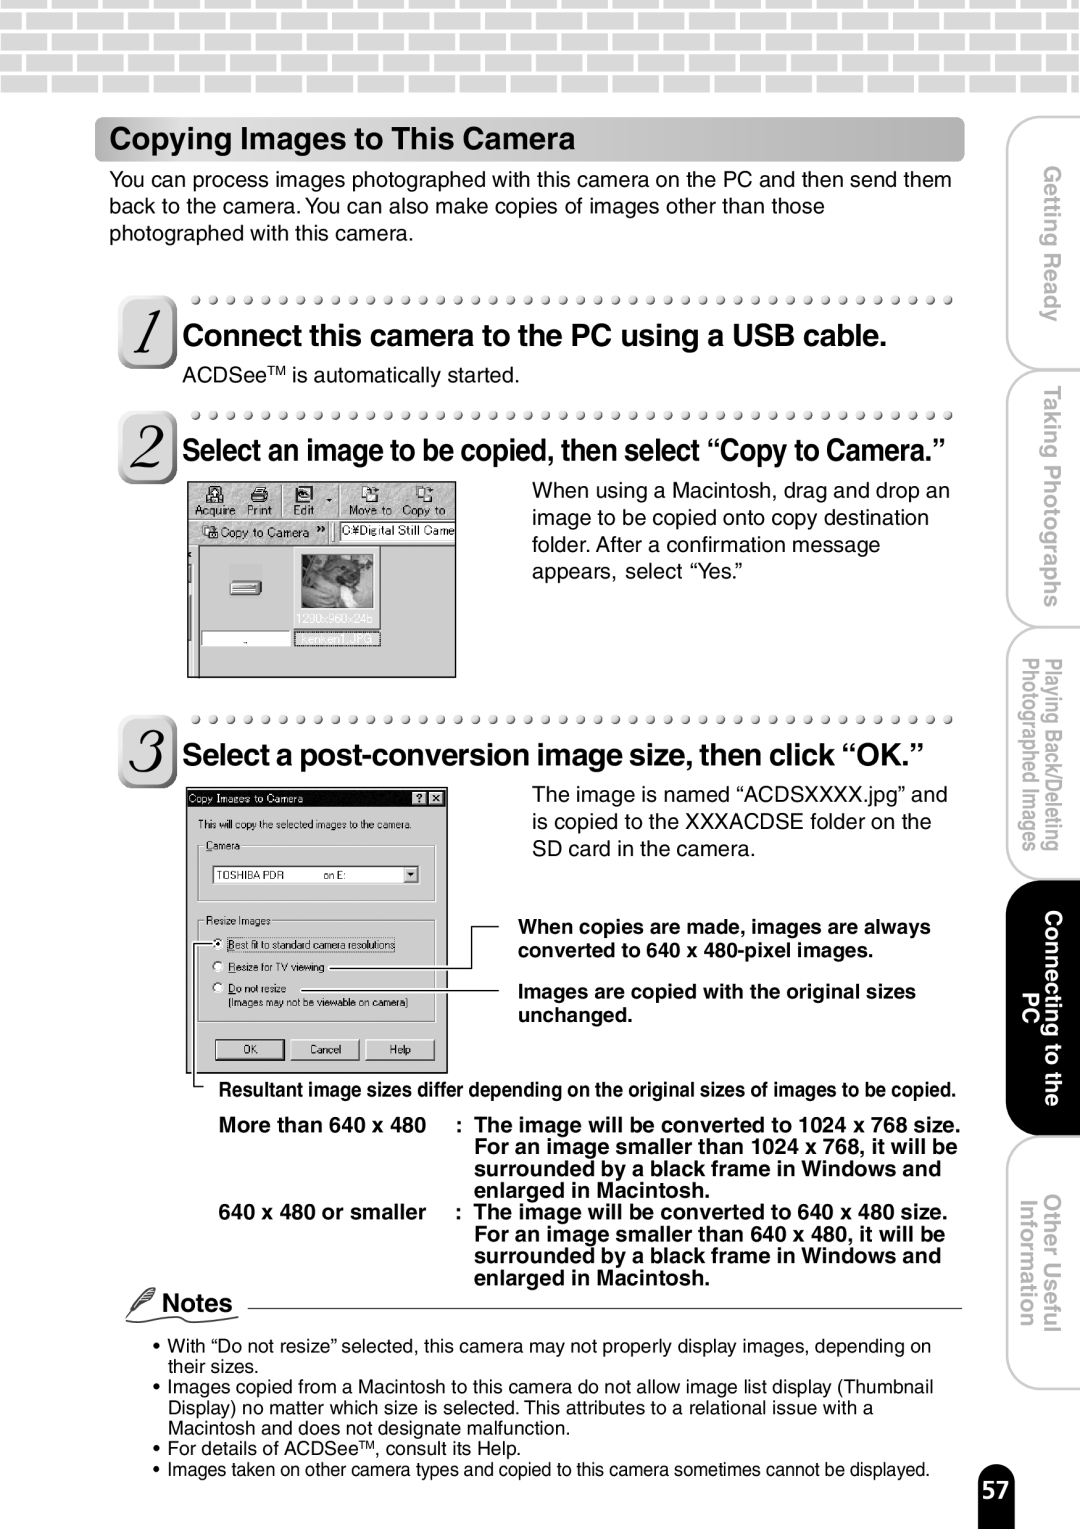
Select an image to be copied, then select “Copy to Camera.”
When using a Macintosh, drag and drop an image to be copied onto copy destination folder. After a confirmation message appears, select “Yes.”
Select a post-conversion image size, then click “OK.”
The image is named “ACDSXXXX.jpg” and is copied to the XXXACDSE folder on the SD card in the camera.
When copies are made, images are always converted to 640 x
Images are copied with the original sizes unchanged.
Resultant image sizes differ depending on the original sizes of images to be copied.
More than 640 x 480 : The image will be converted to 1024 x 768 size. For an image smaller than 1024 x 768, it will be surrounded by a black frame in Windows and enlarged in Macintosh.
640 x 480 or smaller : The image will be converted to 640 x 480 size. For an image smaller than 640 x 480, it will be surrounded by a black frame in Windows and enlarged in Macintosh.
![]() Notes
Notes
•With “Do not resize” selected, this camera may not properly display images, depending on their sizes.
•Images copied from a Macintosh to this camera do not allow image list display (Thumbnail Display) no matter which size is selected. This attributes to a relational issue with a Macintosh and does not designate malfunction.
•For details of ACDSeeTM, consult its Help.
•Images taken on other camera types and copied to this camera sometimes cannot be displayed.
| GettingReady |
| TakingPhotographs |
PhotographedImages | PlayingBack/Deleting |
PC | Connecting |
| tothe |
Information | OtherUseful |
57