MANAGED,
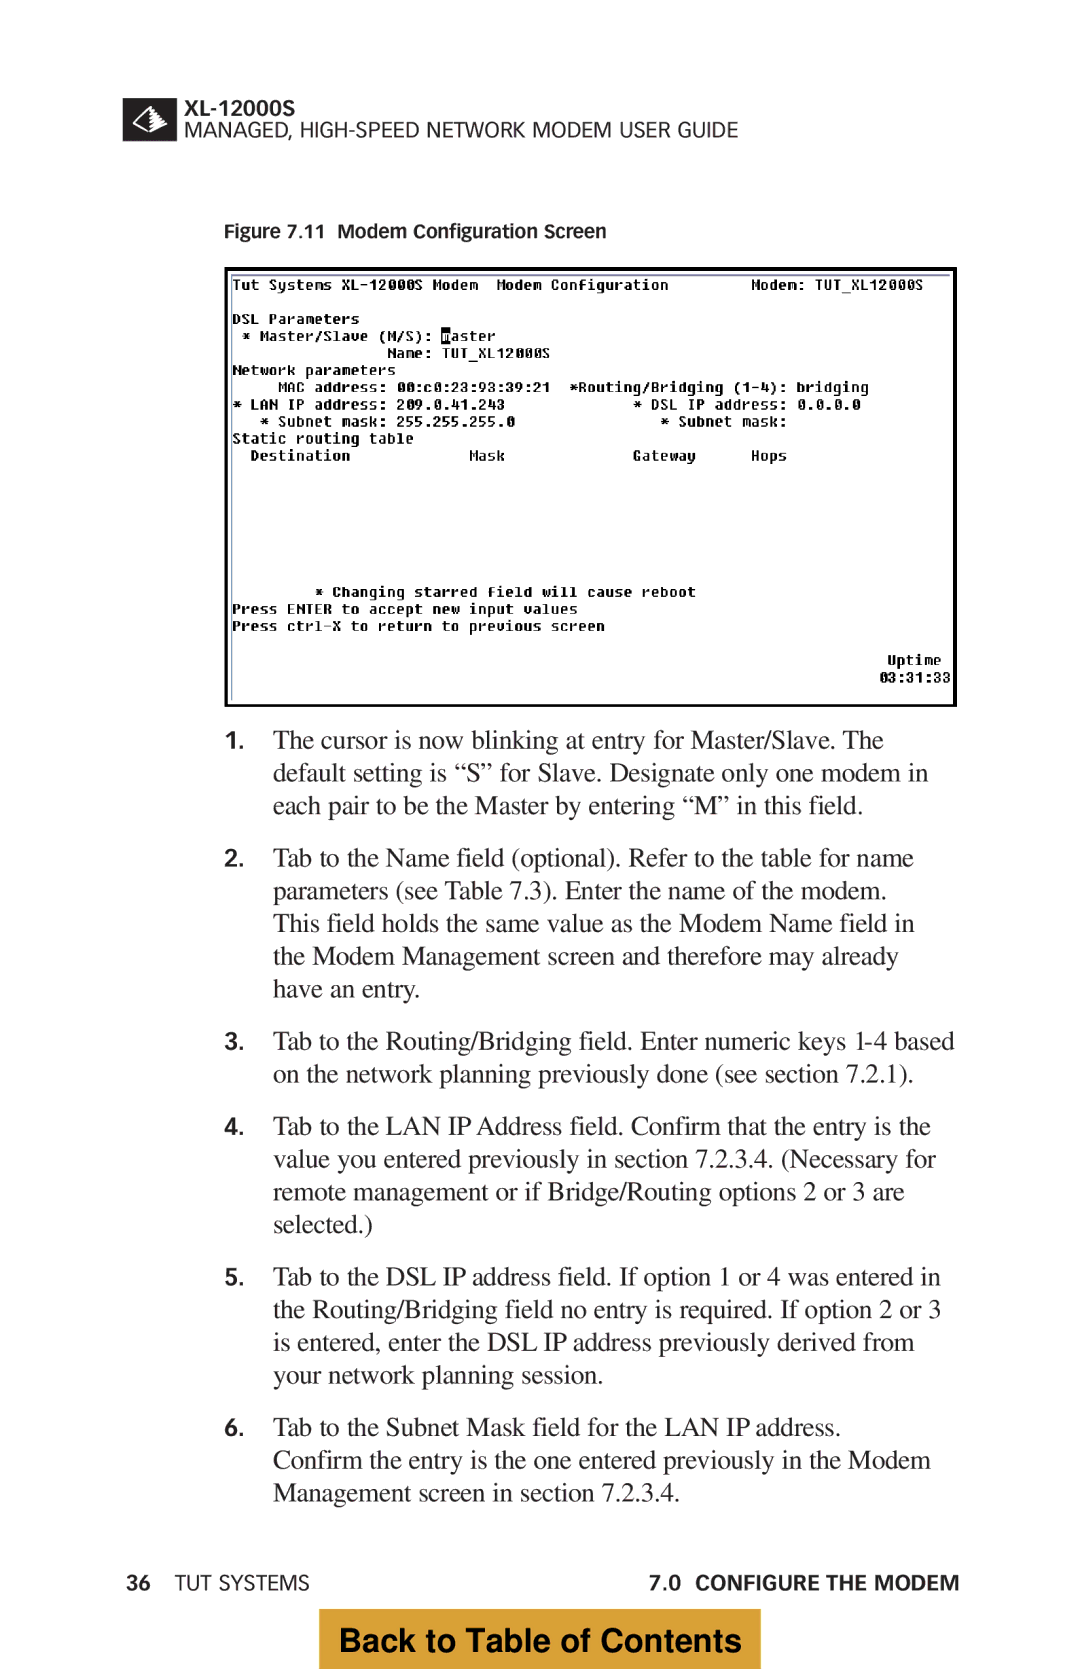
Figure 7.11 Modem Configuration Screen
1.The cursor is now blinking at entry for Master/Slave. The default setting is “S” for Slave. Designate only one modem in each pair to be the Master by entering “M” in this field.
2.Tab to the Name field (optional). Refer to the table for name parameters (see Table 7.3). Enter the name of the modem. This field holds the same value as the Modem Name field in the Modem Management screen and therefore may already have an entry.
3.Tab to the Routing/Bridging field. Enter numeric keys
4.Tab to the LAN IP Address field. Confirm that the entry is the value you entered previously in section 7.2.3.4. (Necessary for remote management or if Bridge/Routing options 2 or 3 are selected.)
5.Tab to the DSL IP address field. If option 1 or 4 was entered in the Routing/Bridging field no entry is required. If option 2 or 3 is entered, enter the DSL IP address previously derived from your network planning session.
6.Tab to the Subnet Mask field for the LAN IP address. Confirm the entry is the one entered previously in the Modem Management screen in section 7.2.3.4.
36 TUT SYSTEMS | 7.0 CONFIGURE THE MODEM |