Installation
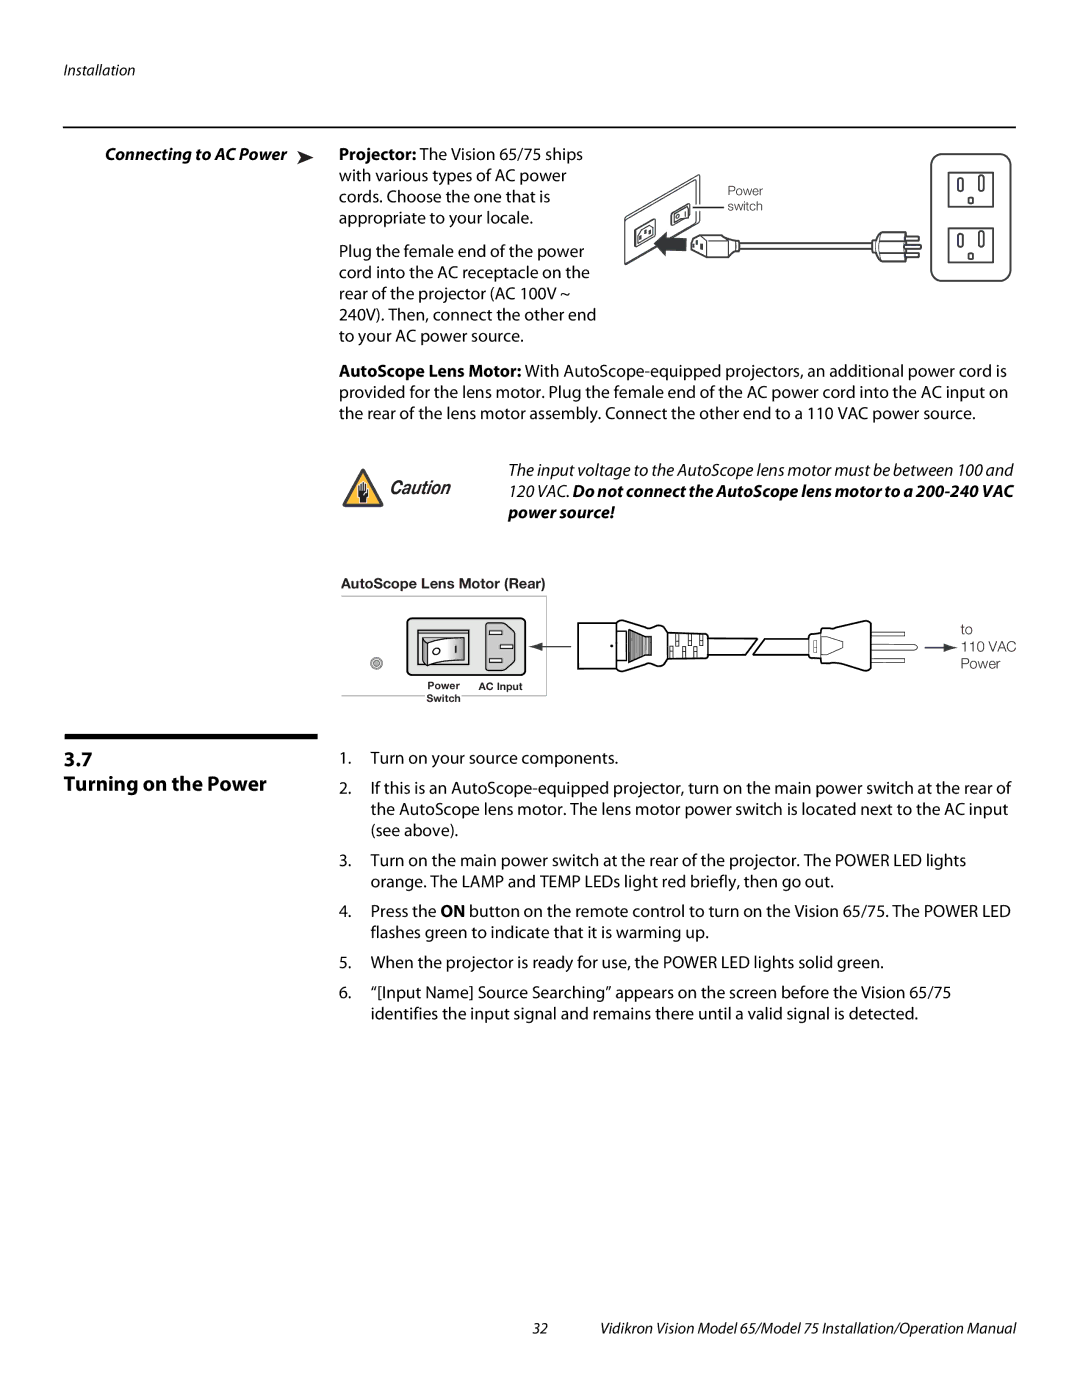
Connecting to AC Power ➤ Projector: The Vision 65/75 ships with various types of AC power cords. Choose the one that is appropriate to your locale.
Plug the female end of the power cord into the AC receptacle on the rear of the projector (AC 100V ~ 240V). Then, connect the other end to your AC power source.
Power ![]()
![]() switch
switch
AutoScope Lens Motor: With
Caution | The input voltage to the AutoScope lens motor must be between 100 and |
120 VAC. Do not connect the AutoScope lens motor to a | |
| power source! |
AutoScope Lens Motor (Rear)
Power | AC Input |
Switch |
|
to
![]()
![]() 110 VAC Power
110 VAC Power
3.7
Turning on the Power
1.Turn on your source components.
2.If this is an
3.Turn on the main power switch at the rear of the projector. The POWER LED lights orange. The LAMP and TEMP LEDs light red briefly, then go out.
4.Press the ON button on the remote control to turn on the Vision 65/75. The POWER LED flashes green to indicate that it is warming up.
5.When the projector is ready for use, the POWER LED lights solid green.
6.“[Input Name] Source Searching” appears on the screen before the Vision 65/75 identifies the input signal and remains there until a valid signal is detected.
32 | Vidikron Vision Model 65/Model 75 Installation/Operation Manual |