20VISIONEER 6200/6400 SCANNER INSTALLATION GUIDE
Please see the Readme file in the PaperPort directory on your computer’s hard drive. The Readme file contains additional information that may help you diagnose problems connecting the scanner.
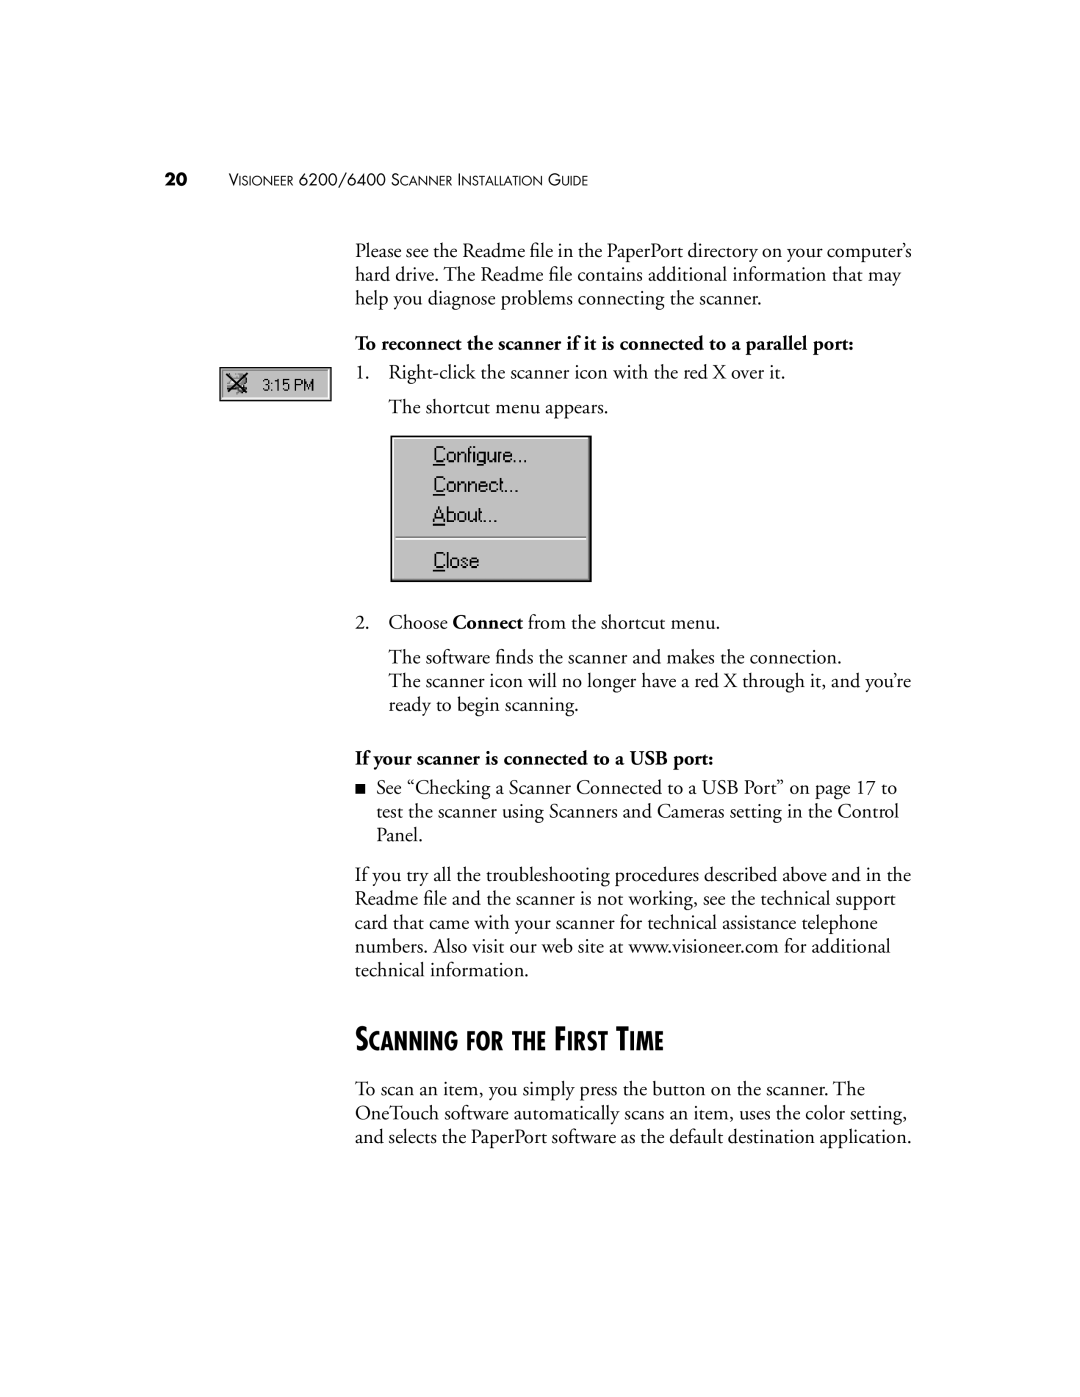
To reconnect the scanner if it is connected to a parallel port:
1.
The shortcut menu appears.
2.Choose Connect from the shortcut menu.
The software finds the scanner and makes the connection.
The scanner icon will no longer have a red X through it, and you’re ready to begin scanning.
If your scanner is connected to a USB port:
■See “Checking a Scanner Connected to a USB Port” on page 17 to test the scanner using Scanners and Cameras setting in the Control Panel.
If you try all the troubleshooting procedures described above and in the Readme file and the scanner is not working, see the technical support card that came with your scanner for technical assistance telephone numbers. Also visit our web site at www.visioneer.com for additional technical information.
SCANNING FOR THE FIRST TIME
To scan an item, you simply press the button on the scanner. The OneTouch software automatically scans an item, uses the color setting, and selects the PaperPort software as the default destination application.