Preparation Procedure
5 Press | or to select “5. DHCP”, and then |
press | . |
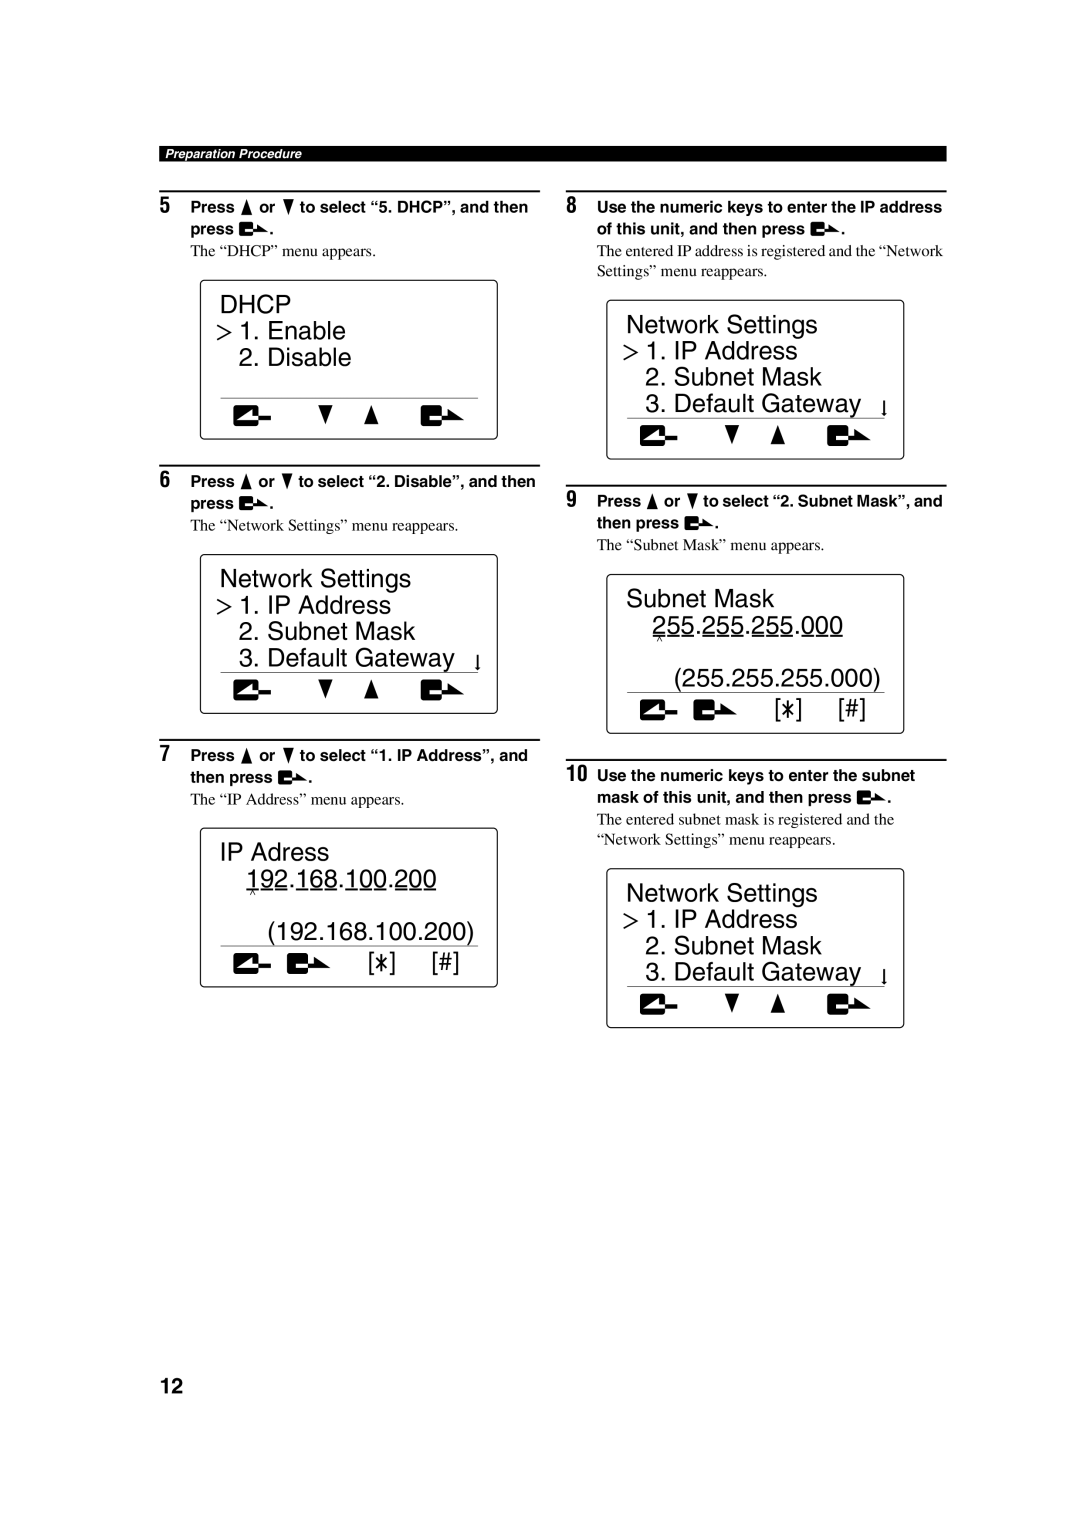
The “DHCP” menu appears.
DHCP
 1. Enable
2. Disable
6 Press ![]() or to select “2. Disable”, and then
or to select “2. Disable”, and then
press ![]() .
.
The “Network Settings” menu reappears.
Network Settings
![]() 1. IP Address
1. IP Address
2.Subnet Mask
3.Default Gateway
7 Press ![]() or to select “1. IP Address”, and
or to select “1. IP Address”, and
then press ![]() .
.
The “IP Address” menu appears.
IP Adress
192.168.100.200
^
(192.168.100.200)
[![]() ] [#]
] [#]
8Use the numeric keys to enter the IP address
of this unit, and then press ![]() .
.
The entered IP address is registered and the “Network Settings” menu reappears.
Network Settings
![]() 1. IP Address
1. IP Address
2.Subnet Mask
3.Default Gateway
9 Press ![]() or to select “2. Subnet Mask”, and
or to select “2. Subnet Mask”, and
then press ![]() .
.
The “Subnet Mask” menu appears.
Subnet Mask
255.255.255.000
^
(255.255.255.000)
[![]() ] [#]
] [#]
10Use the numeric keys to enter the subnet
mask of this unit, and then press ![]() .
.
The entered subnet mask is registered and the “Network Settings” menu reappears.
Network Settings
![]() 1. IP Address
1. IP Address
2.Subnet Mask
3.Default Gateway
12
