Hierarchical Connection of Multiple PJP Units (Cascade Connection)
Configuring the cascade settings
First configure the setting of cascade server unit, and then configure the settings of the cascade client units.
■Step 1. Configure the setting of the cascade server.
1 | Press | in the initial display. | ||||
|
| The menu screen appears. |
| |||
|
|
|
| |||
| 2 | Press | or | to select “1. Settings”, and | ||
|
| then press |
| . |
| |
|
| The “Settings” menu appears. |
| |||
|
|
|
| |||
| 3 | Press | or | to select “1. Network Settings”, | ||
|
| and then press | . |
| ||
|
| The “Network Settings” menu appears. | ||||
|
|
|
| |||
| 4 | Press | or | to select “6. Connection | ||
|
| Mode”, and then press | . | |||
|
| The “Connection Mode” menu appears. | ||||
|
|
|
| |||
| 5 | Press | or | to select “1. Cascade Server”, | ||
and then press  .
.
The settings are saved.
Return to the initial display and check that ![]()
![]()
![]()
![]()
![]()
![]()
![]() is displayed at the top of the display.
is displayed at the top of the display.
Display in cascade connection
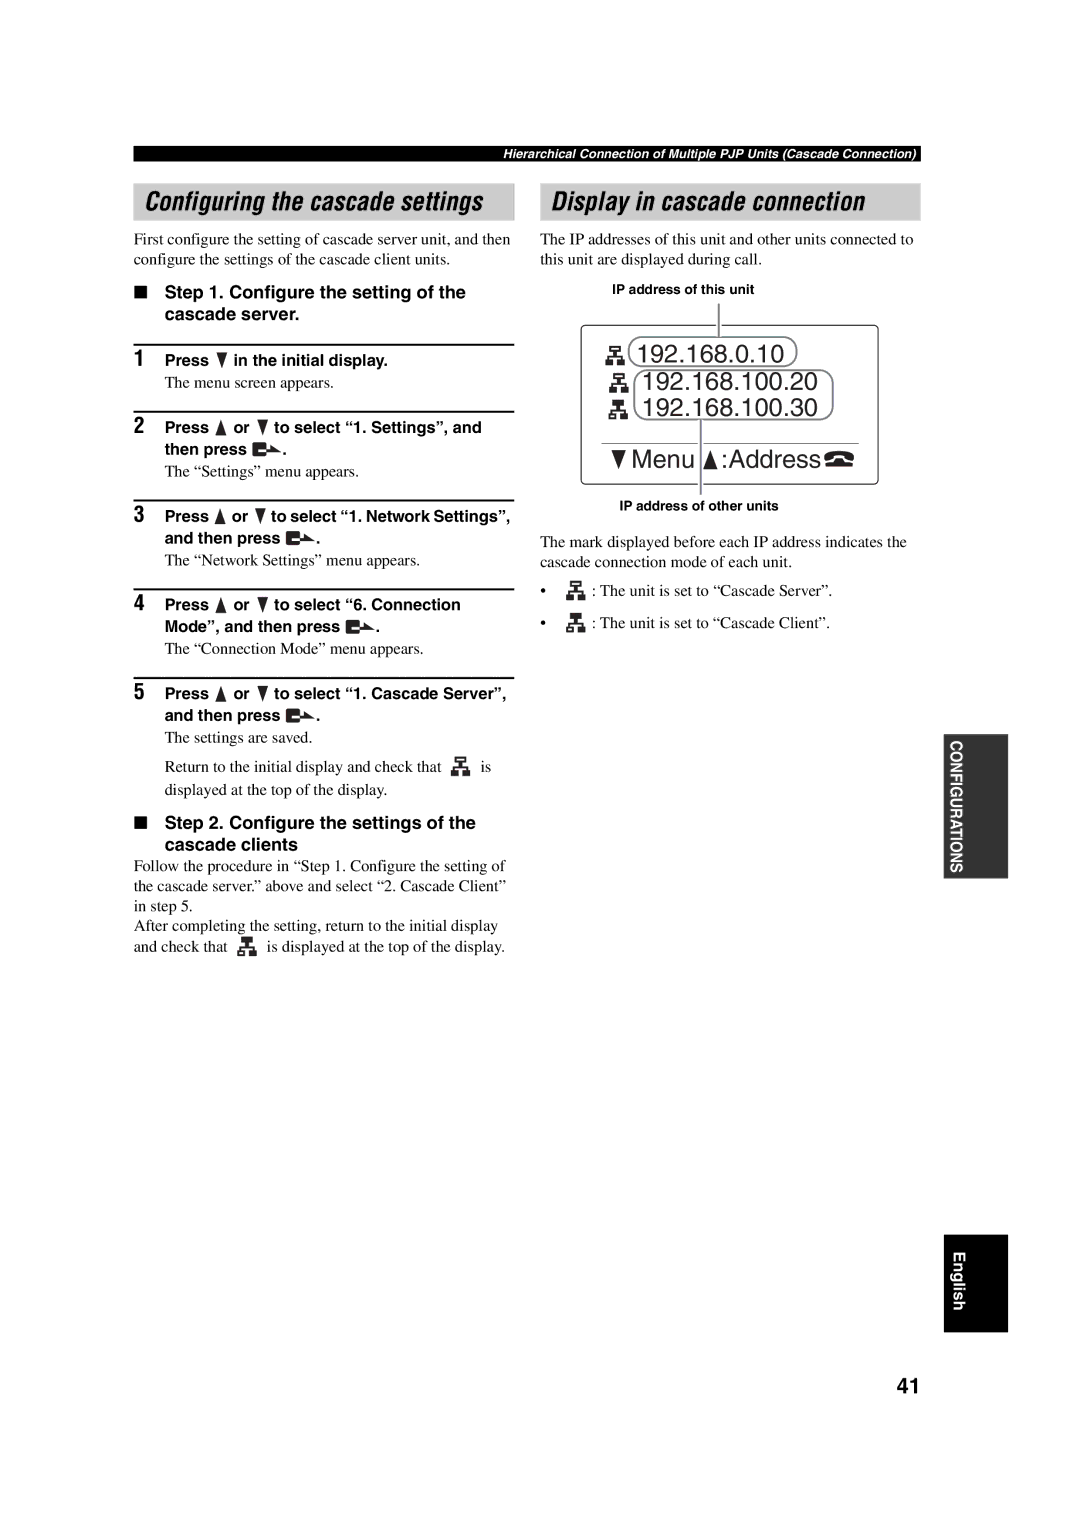
The IP addresses of this unit and other units connected to this unit are displayed during call.
IP address of this unit
192.168.0.10 |
192.168.100.20 |
192.168.100.30 |
 Menu
Menu  :Address
IP address of other units
The mark displayed before each IP address indicates the cascade connection mode of each unit.
• | : The unit is set to “Cascade Server”. |
• | : The unit is set to “Cascade Client”. |
CONFIGURATIONS
■Step 2. Configure the settings of the
cascade clients
Follow the procedure in “Step 1. Configure the setting of the cascade server.” above and select “2. Cascade Client” in step 5.
After completing the setting, return to the initial display
and check that ![]()
![]()
![]()
![]()
![]()
![]()
![]() is displayed at the top of the display.
is displayed at the top of the display.
English
41