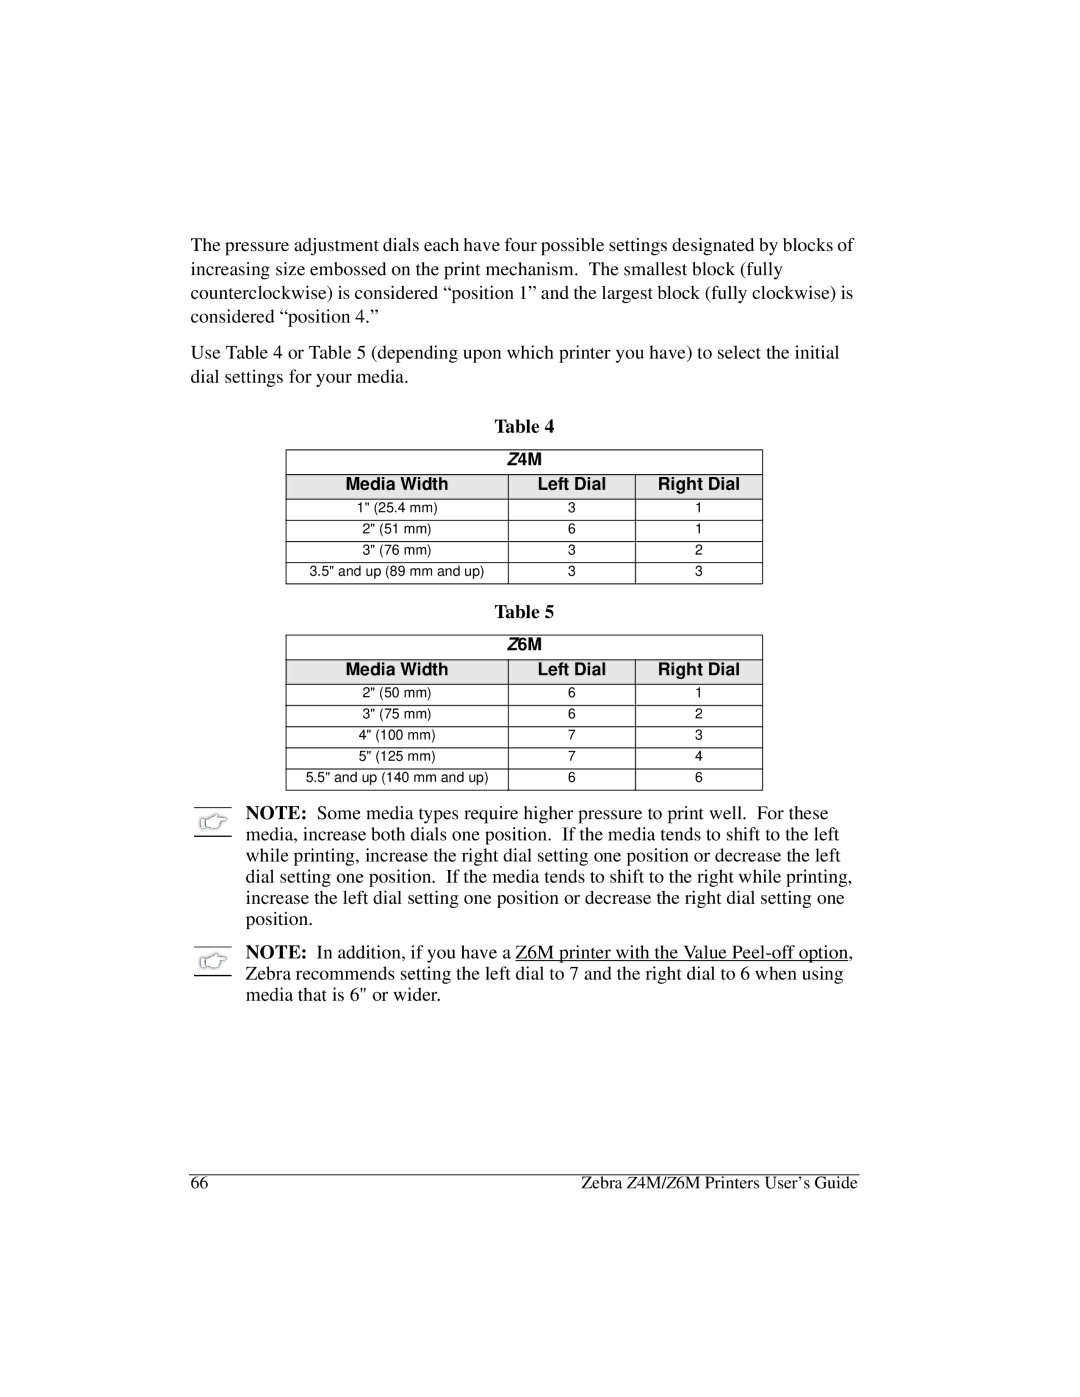
The pressure adjustment dials each have four possible settings designated by blocks of increasing size embossed on the print mechanism. The smallest block (fully counterclockwise) is considered “position 1” and the largest block (fully clockwise) is considered “position 4.”
Use Table 4 or Table 5 (depending upon which printer you have) to select the initial dial settings for your media.
Table 4
Z4M
Media Width | Left Dial | Right Dial |
1" (25.4 mm) | 3 | 1 |
|
|
|
2" (51 mm) | 6 | 1 |
|
|
|
3" (76 mm) | 3 | 2 |
|
|
|
3.5" and up (89 mm and up) | 3 | 3 |
|
|
|
Table 5
Z6M
Media Width | Left Dial | Right Dial |
2" (50 mm) | 6 | 1 |
|
|
|
3" (75 mm) | 6 | 2 |
|
|
|
4" (100 mm) | 7 | 3 |
|
|
|
5" (125 mm) | 7 | 4 |
|
|
|
5.5" and up (140 mm and up) | 6 | 6 |
|
|
|
NOTE: Some media types require higher pressure to print well. For these media, increase both dials one position. If the media tends to shift to the left while printing, increase the right dial setting one position or decrease the left dial setting one position. If the media tends to shift to the right while printing, increase the left dial setting one position or decrease the right dial setting one position.
NOTE: In addition, if you have a Z6M printer with the Value
66 | Zebra Z4M/Z6M Printers User’s Guide |
