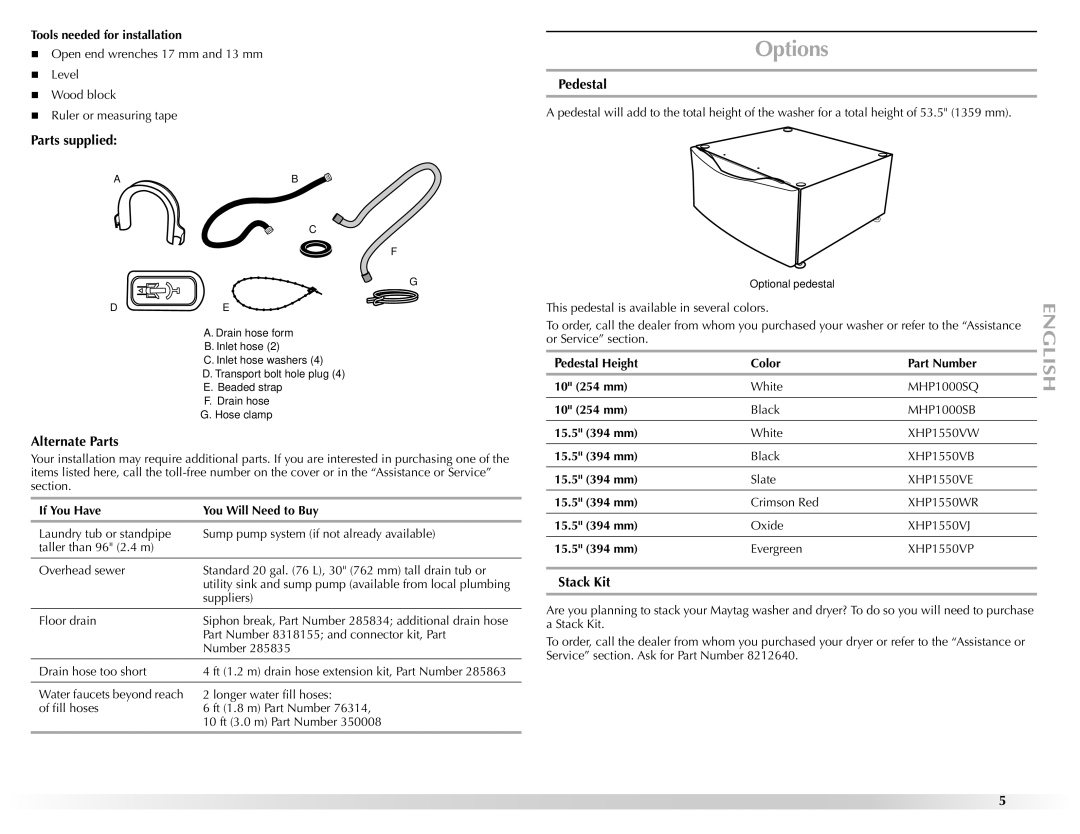
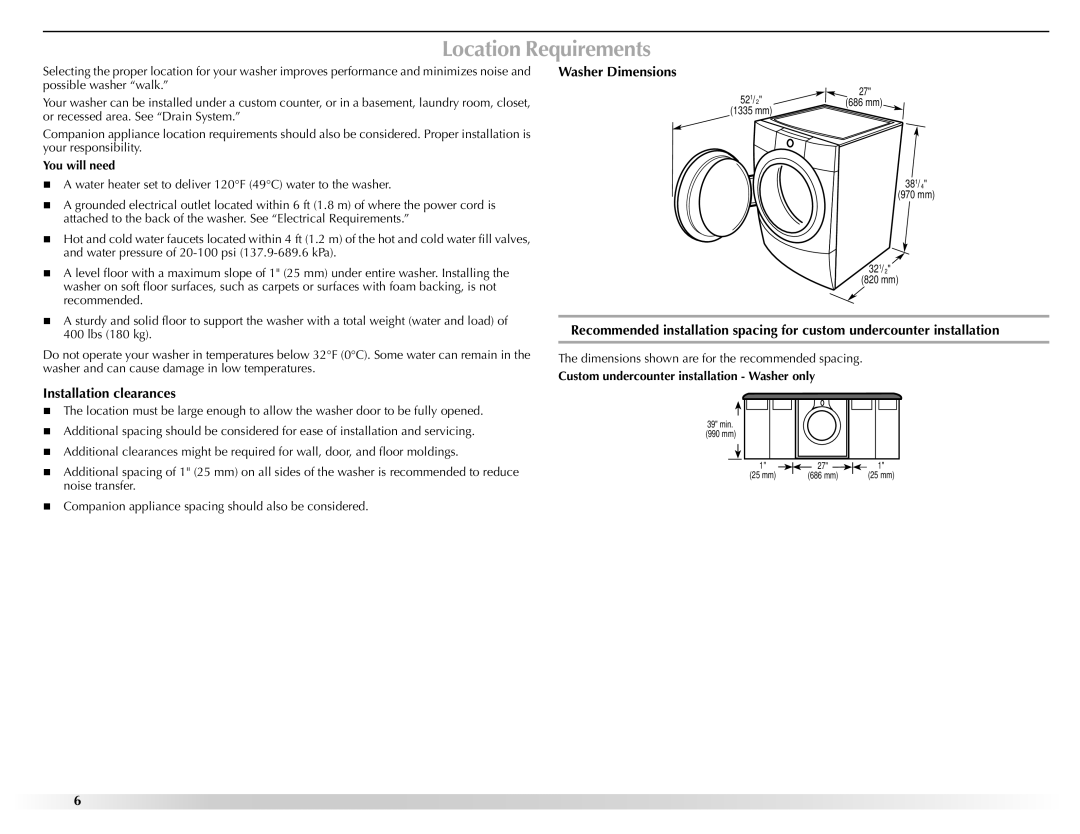
Maytag 461970255072 manual Location Requirements, Installation clearances, Washer Dimensions

Page 6

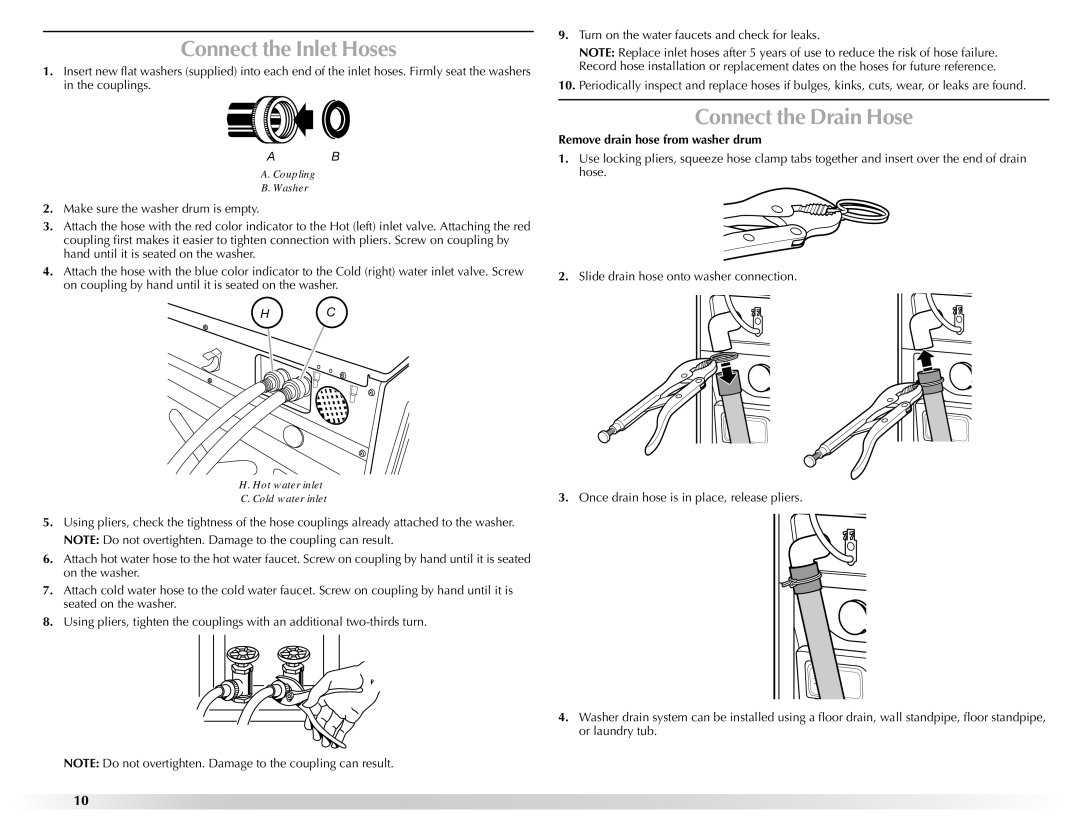
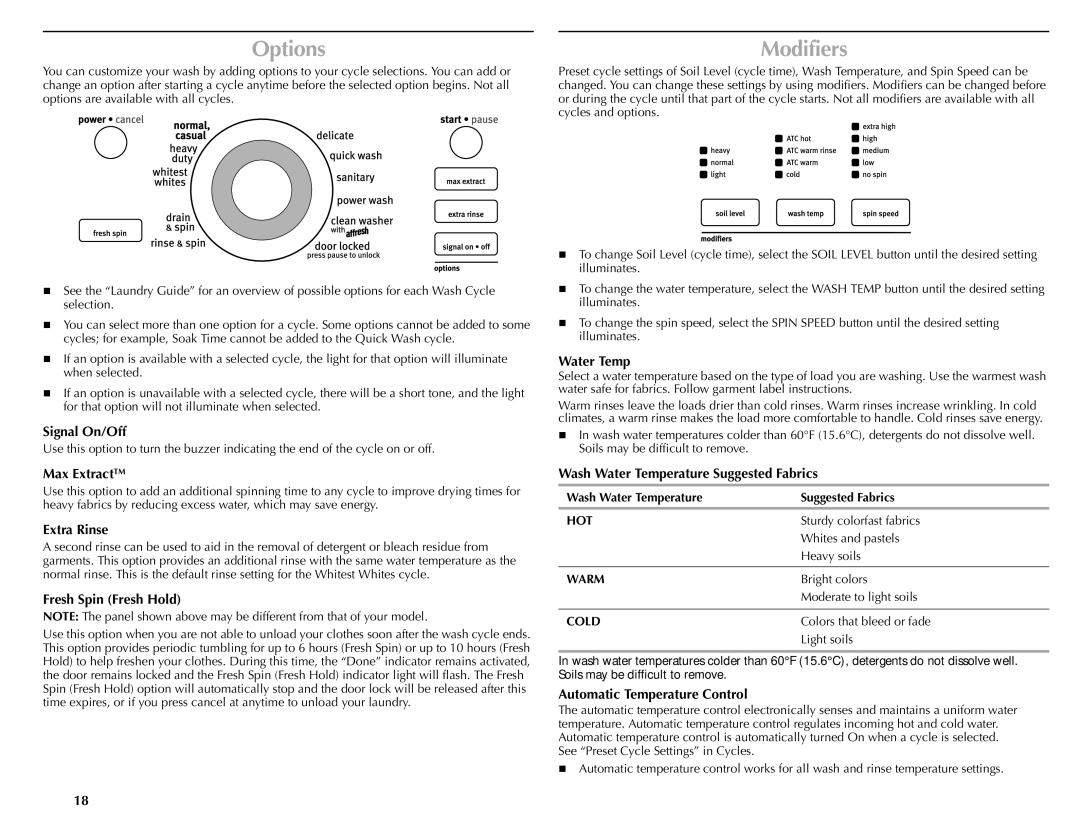
Location Requirements

Selecting the proper location for your washer improves performance and minimizes noise and possible washer “walk.”

Your washer can be installed under a custom counter, or in a basement, laundry room, closet, or recessed area. See “Drain System.”

Companion appliance location requirements should also be considered. Proper installation is your responsibility.

You will need

„A water heater set to deliver 120°F (49°C) water to the washer.

„A grounded electrical outlet located within 6 ft (1.8 m) of where the power cord is attached to the back of the washer. See “Electrical Requirements.”

„Hot and cold water faucets located within 4 ft (1.2 m) of the hot and cold water fill valves, and water pressure of 20-100 psi (137.9-689.6 kPa).

„A level floor with a maximum slope of 1" (25 mm) under entire washer. Installing the washer on soft floor surfaces, such as carpets or surfaces with foam backing, is not recommended.

„A sturdy and solid floor to support the washer with a total weight (water and load) of 400 lbs (180 kg).

Do not operate your washer in temperatures below 32°F (0°C). Some water can remain in the washer and can cause damage in low temperatures.

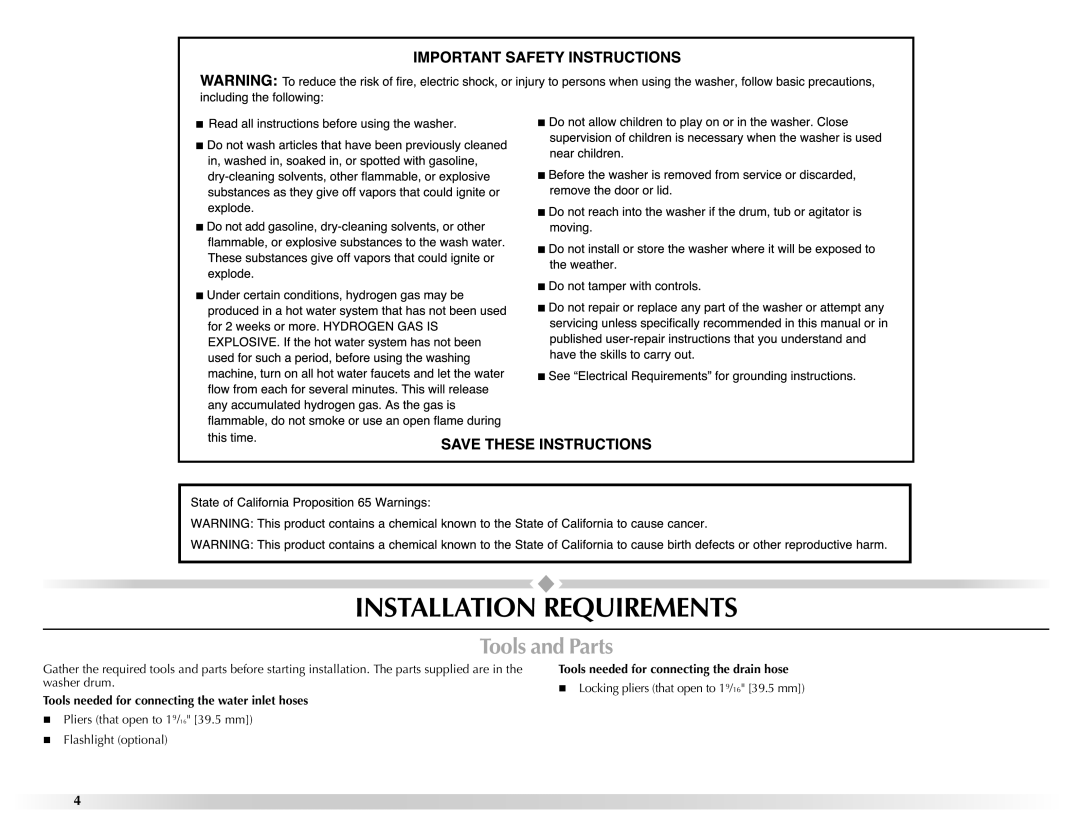
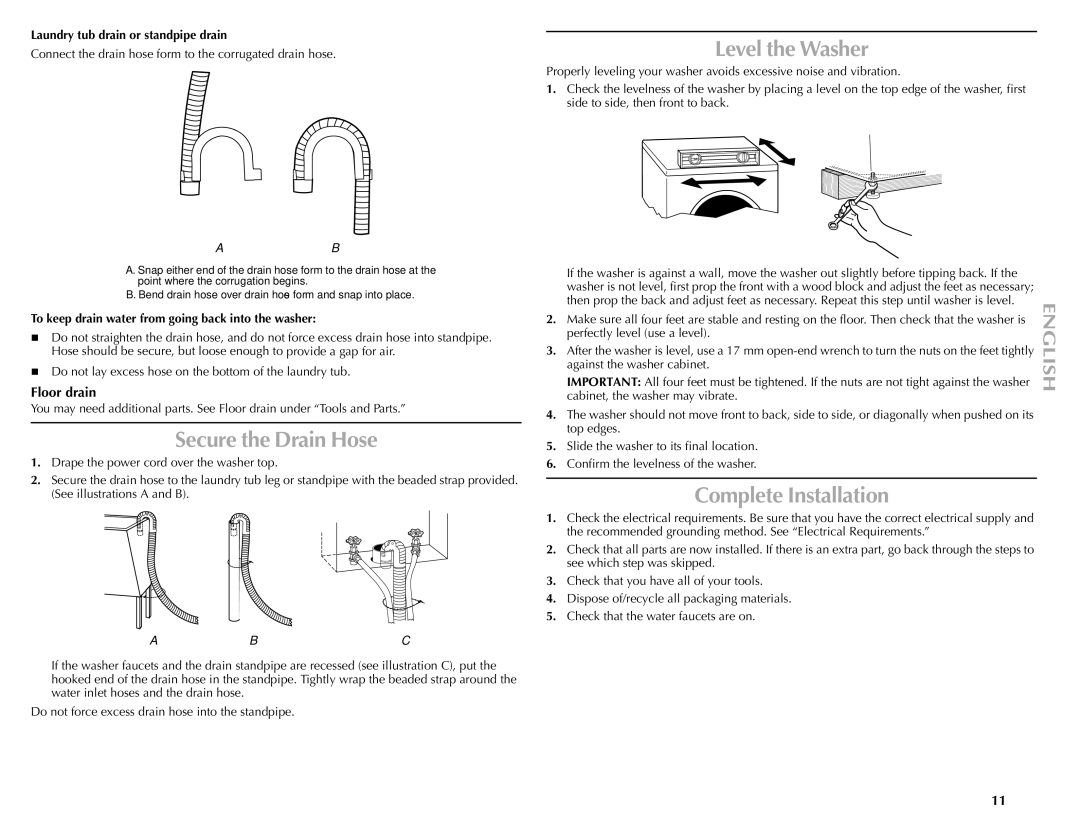
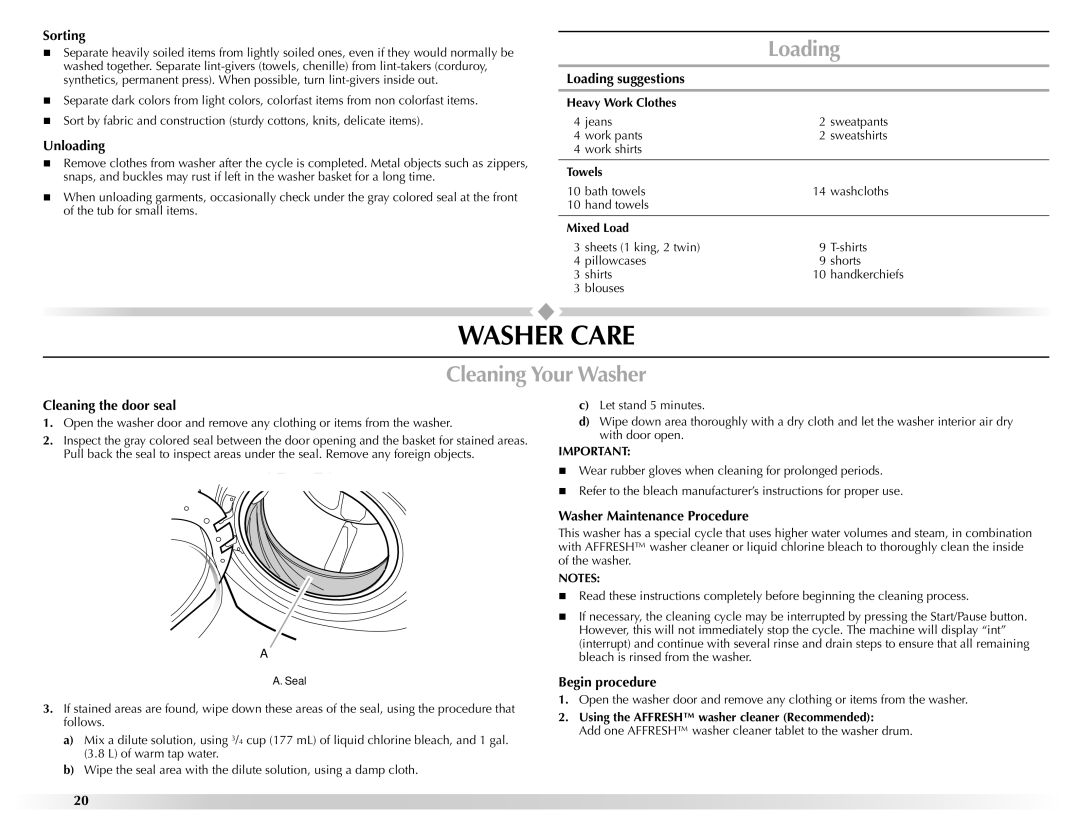
Installation clearances

„The location must be large enough to allow the washer door to be fully opened.

„Additional spacing should be considered for ease of installation and servicing.

„Additional clearances might be required for wall, door, and floor moldings.

„Additional spacing of 1" (25 mm) on all sides of the washer is recommended to reduce noise transfer.

„Companion appliance spacing should also be considered.

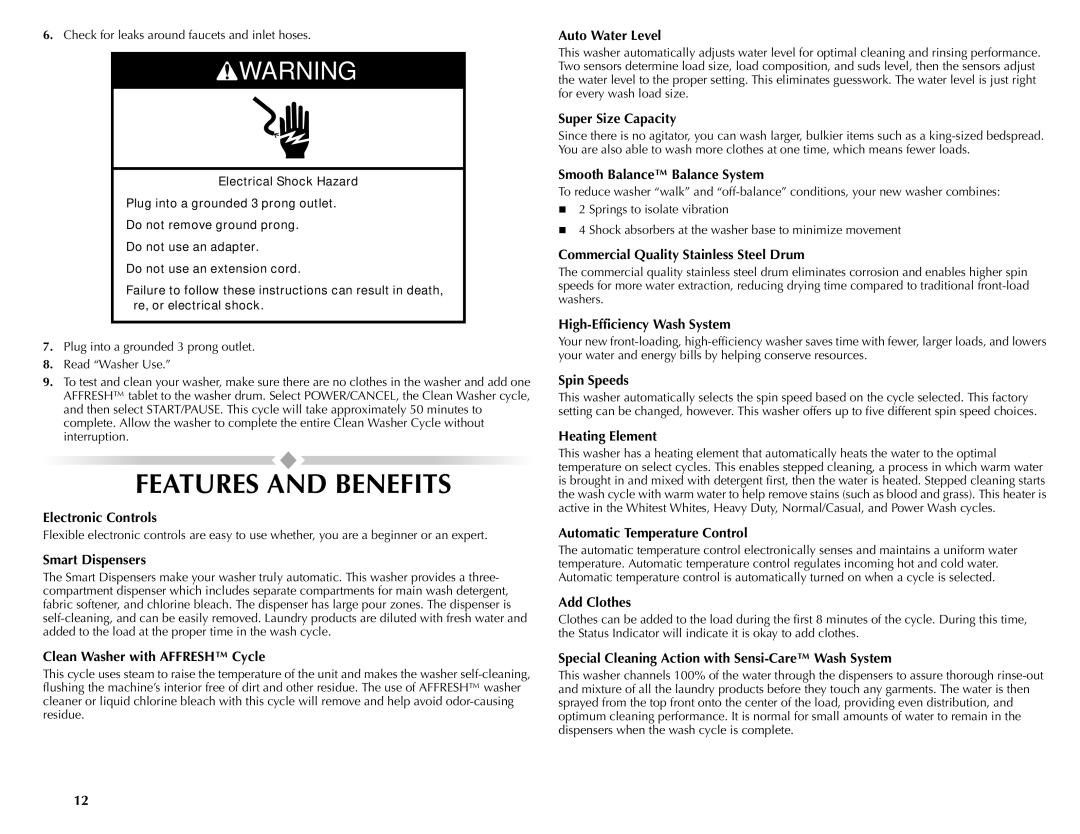
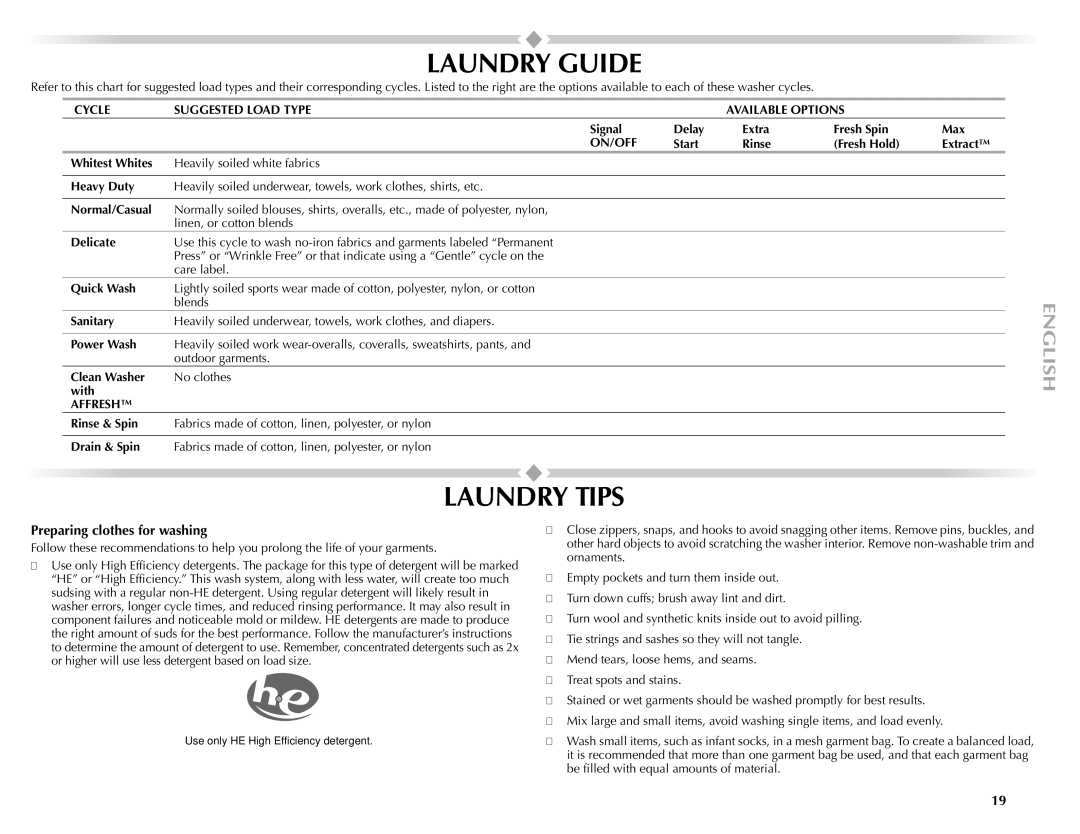
Washer Dimensions

27"

521/2"(686 mm)

(1335 mm)

381/4"

(970 mm)

321/2"

(820 mm)

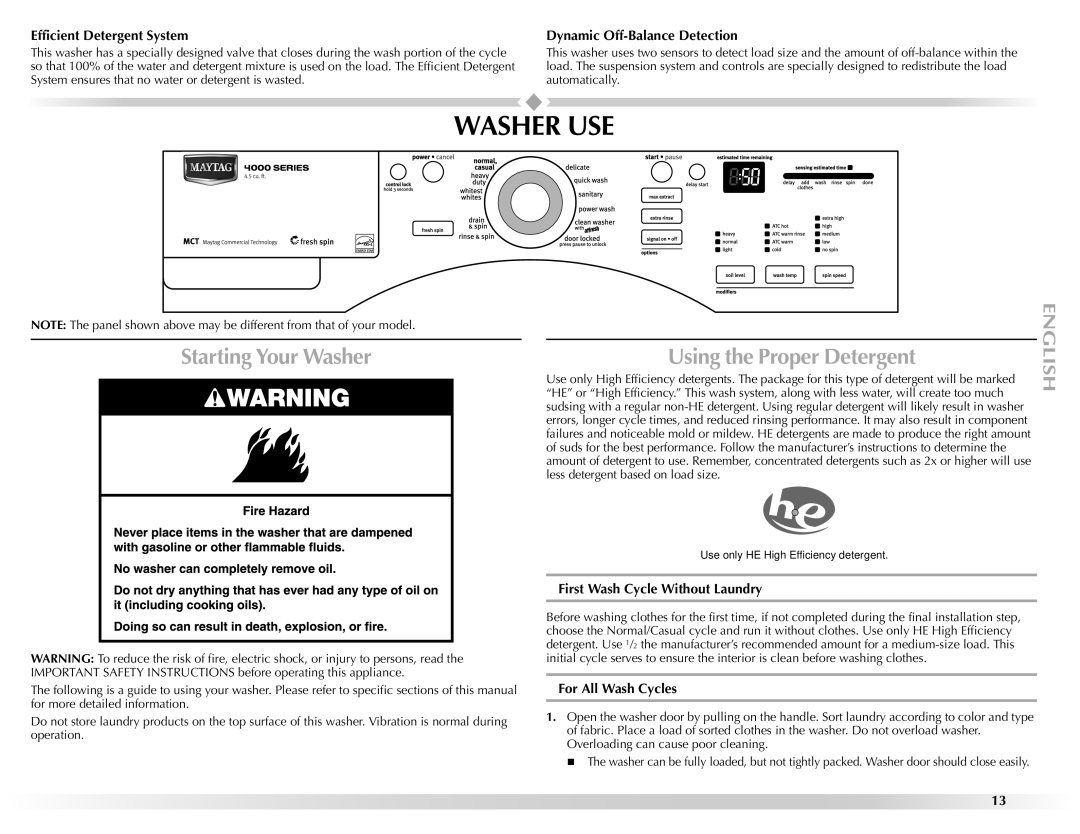
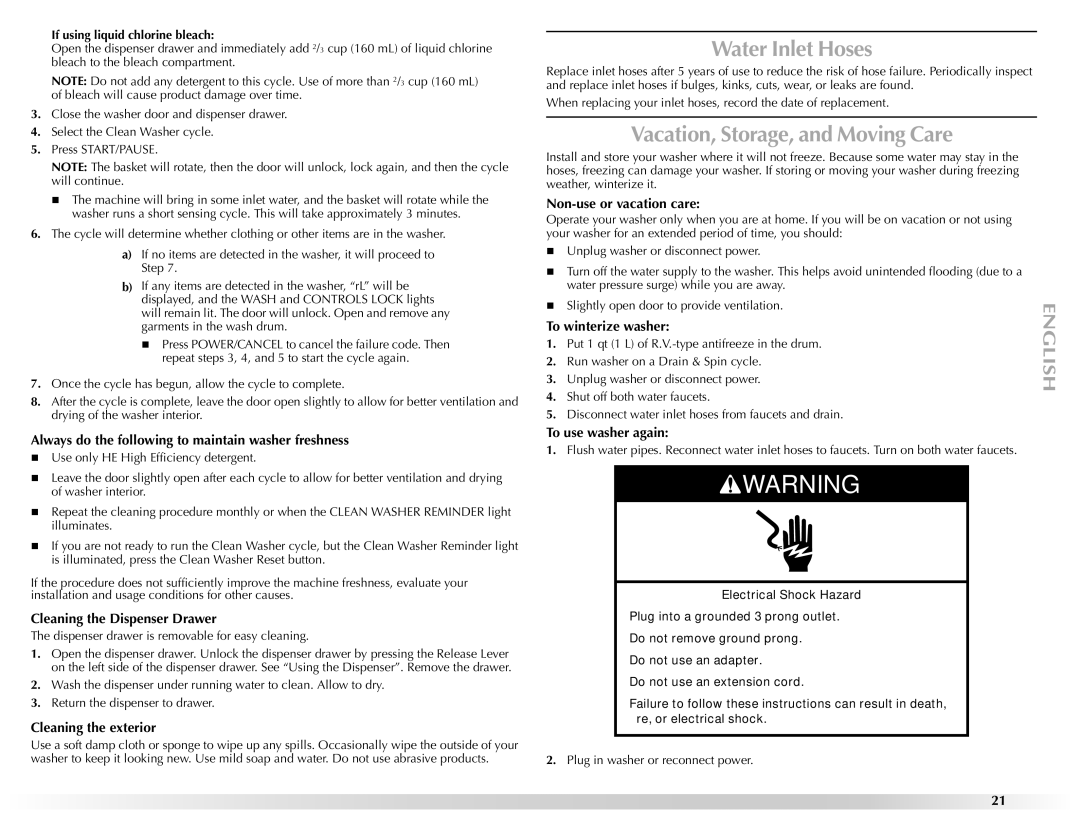
Recommended installation spacing for custom undercounter installation

The dimensions shown are for the recommended spacing.

Custom undercounter installation - Washer only

39" min.

(990 mm)

1"


27"


1"

(25 mm)


(686 mm)


(25 mm)

6

Image 6
Contents Performance Series 461970255072 W10286177 BTable of Contents Table DES MatièresWasher Safety Your safety and the safety of others are very importantTools needed for connecting the drain hose Installation RequirementsTools needed for connecting the water inlet hoses Tools and PartsPedestal OptionsParts supplied Alternate PartsCustom undercounter installation Washer only Installation clearancesWasher Dimensions Location RequirementsRecessed area or closet installation Recessed or closet installation Washer on pedestalDrain System Electrical RequirementsInstallation Instructions Remove Transport SystemConnect the Inlet Hoses Connect the Drain HoseRemove drain hose from washer drum Level the Washer Complete InstallationSecure the Drain Hose Floor drainFeatures and Benefits Starting Your Washer Using the Proper Detergent Washer USETo fill dispenser compartments Using the DispenserChoosing the Right Detergent To begin the wash cycle immediatelyMain wash compartment Pausing or RestartingChanging Cycles, Options, and Modifiers Chlorine bleach compartmentStatus Indicator CyclesPreset cycle settings Power WashClean Washer with Affresh DelicateModifiers Preparing clothes for washing Laundry GuideLaundry Tips Cycle Suggested Load Type Available OptionsCleaning Your Washer Washer CareLoading Water Inlet Hoses Vacation, Storage, and Moving CareTo transport the washer TroubleshootingReinstalling the washer Washer won’t startWasher leaks Washer won’t fill, wash, or rinseWasher stops Dispensers clogged or leakingGray whites, dingy colors Stains on loadLoad is wrinkled Cycle too longIf you need replacement parts Assistance or ServiceMaytag Laundry Limited Warranty CanadaSixth Through Tenth Year Motor and Wash Basket Items Excluded from WarrantyThis limited warranty does not cover Disclaimer of Implied WarrantiesSécurité DE LA Laveuse Votre sécurité et celle des autres est très importantePage Exigences Dinstallation Outillage et piècesEnsemble de superposition Exigences d’emplacementDimensions de la laveuse Dégagements de séparation à respecterEspacement requis Spécifications électriques Espacement recommandé pour linstallation dans un placardSystème de vidange Système de vidange avec évier de buanderie vue CInstructions Dinstallation Élimination des accessoires de transportPour une laveuse raccordée en permanence Raccordement des tuyaux d’alimentation Raccordement du tuyau de vidangeÉgout au plancher Immobilisation du tuyau de vidangeRéglage de laplomb de la laveuse Pour empêcher leau de vidange de refluer dans la laveuseAchever l’installation Utilisation DE LA Laveuse Premier programme de lavage sans linge à laver Mise en marche de la laveuseUtilisation du détergent approprié Pour tous les programmes de lavageCompartiment du lavage principal Utilisation du distributeurChoix du détergent approprié Pour commencer le programme de lavage immédiatementCompartiment pour assouplissant de tissu Pause ou remise en marcheChangement des programmes Options et modificateurs Compartiment pour lagent de blanchimentTémoins lumineux ProgrammesDelicate articles délicats Power Wash lavage haute puissanceNormal/Casual normal/tout-aller Quick Wash lavage rapideModificateurs Guide DE Lessivage Programme Type DE Charge Suggéré Options DisponiblesConseils DE Lessivage ChargementNettoyage du joint de la porte Entretien DE LA LaveuseNettoyage de la laveuse Procédure dentretien de la laveuseTuyaux darrivée deau Dépannage La laveuse ne se met pas en marche La laveuse ne se remplit pas, ne rince pas ou ne lave pasCharge trop mouillée Distributeurs obstrués ou ayant une fuiteMauvaises odeurs de la laveuse Résidus ou charpie sur le lingeProgramme trop long Linge froisséBlanc grisâtre, couleurs défraîchies Porte verrouillée à la fin du programme de lavagePour plus dassistance Assistance OU ServiceSi vous avez besoin de pièces de rechange Pour plus d’assistanceÉléments Exclus DE LA Garantie Garantie Limitée DES Appareils DE Buanderie MaytagPremière Année La présente garantie limitée ne couvre pasPage Page All rights reserved