Maytag 461970255072 manual Installation Instructions, Remove Transport System

Page 9

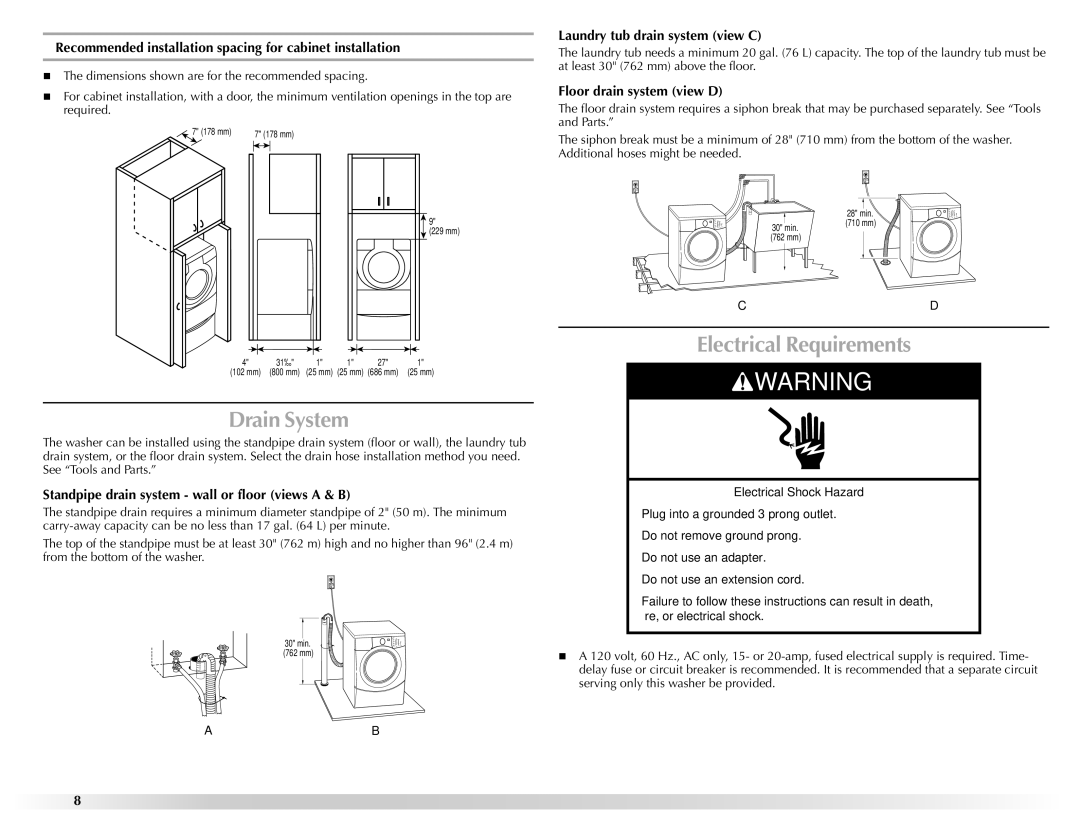
„This washer is equipped with a power supply cord having a 3 prong grounding plug.

„To minimize possible shock hazard, the cord must be plugged into a mating, 3 prong, grounding-type outlet, grounded in accordance with local codes and ordinances. If a mating outlet is not available, it is the personal responsibility and obligation of the customer to have the properly grounded outlet installed by a qualified electrician.

„If codes permit and a separate ground wire is used, it is recommended that a qualified electrician determine that the ground path is adequate.

„Check with a qualified electrician if you are not sure the washer is properly grounded. .

INSTALLATION INSTRUCTIONS

Remove Transport System

WARNING

Excessive Weight Hazard

Use two or more people to move and install washer.

Failure to do so can result in back or other injury.

IMPORTANT: Position the washer so that the rear of the washer is within approximately 3 ft (900 mm) of its final location.

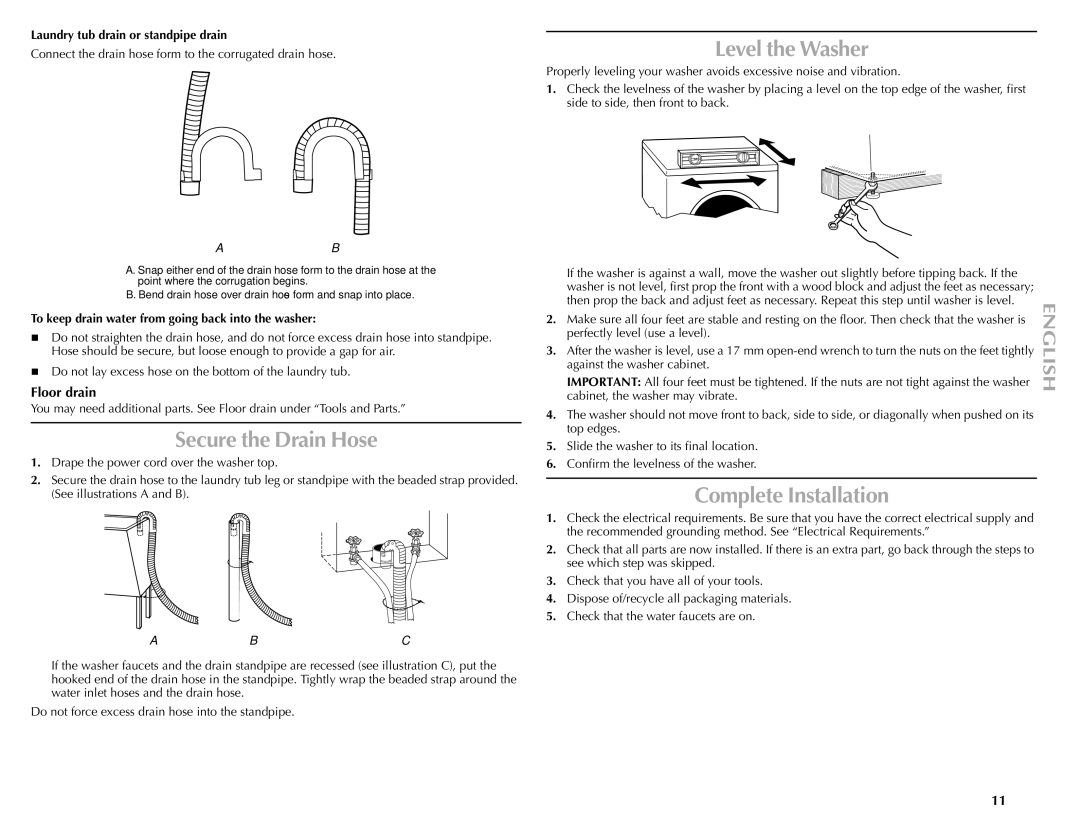
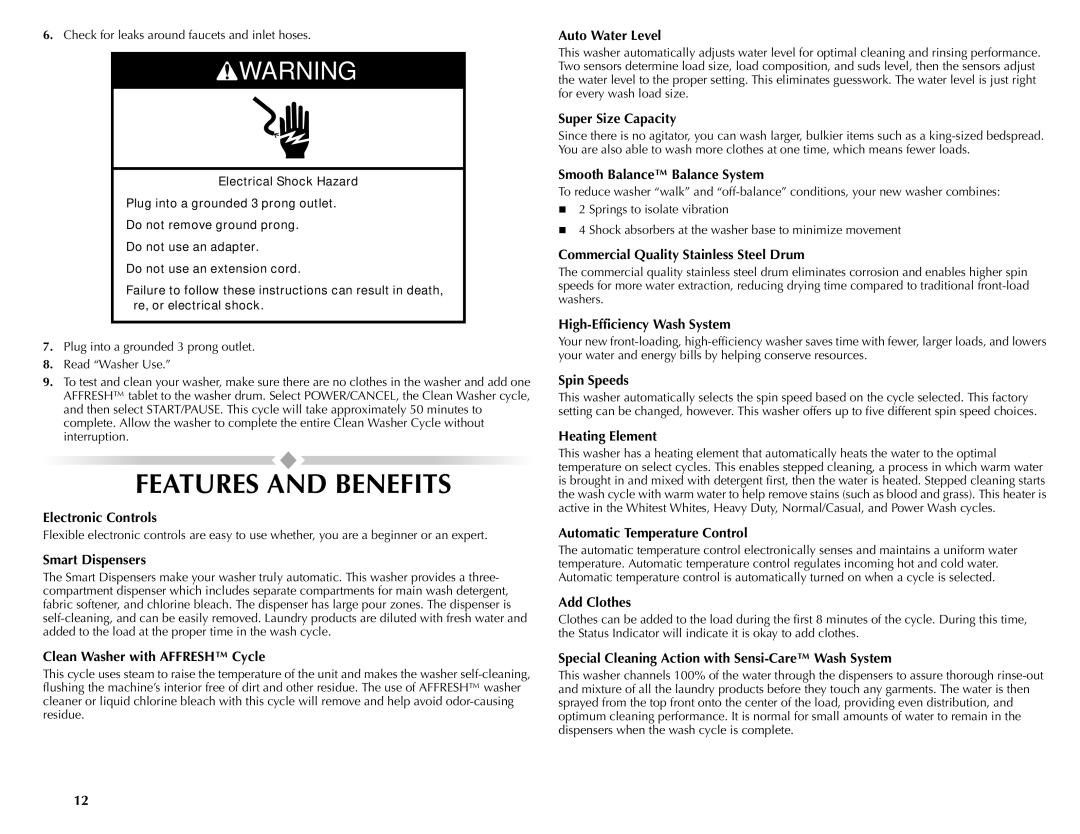
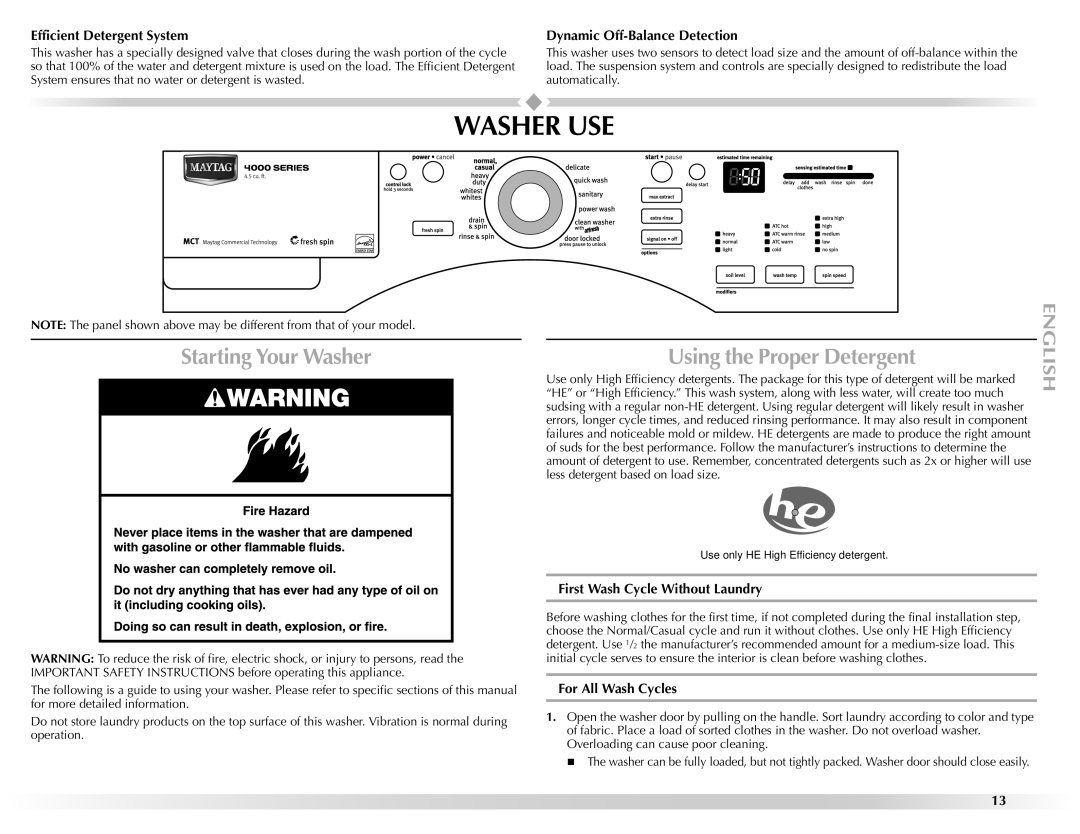
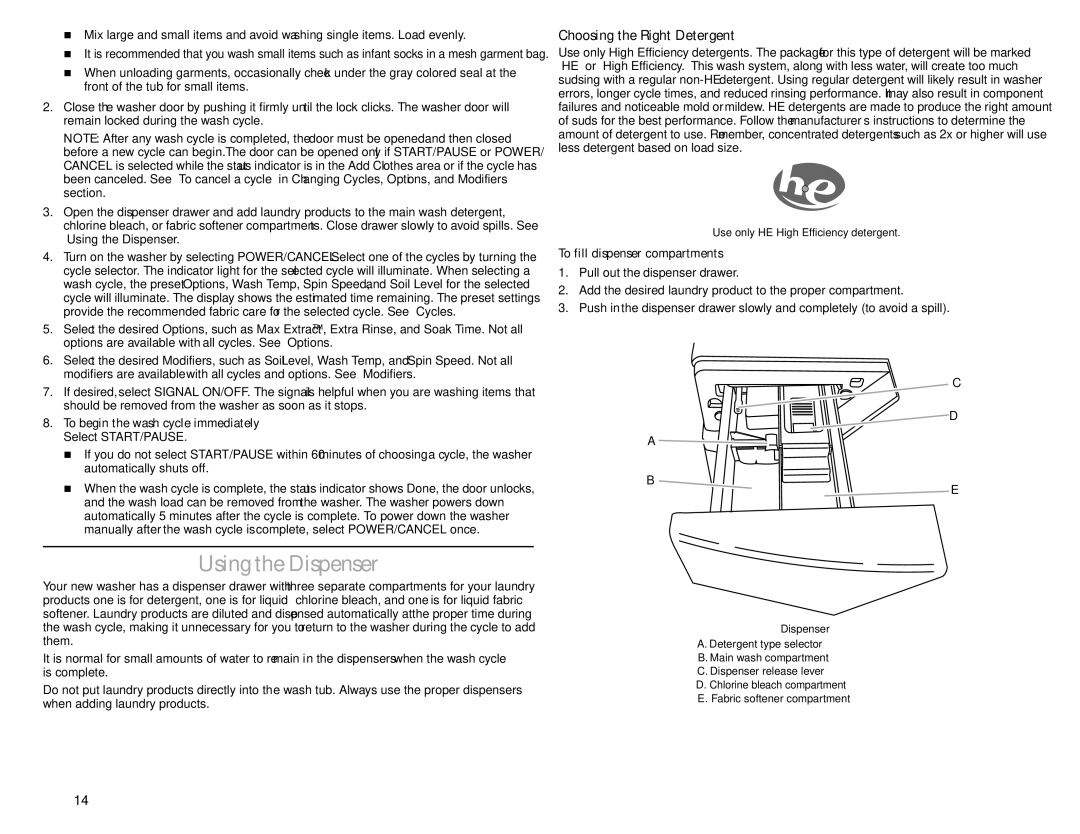
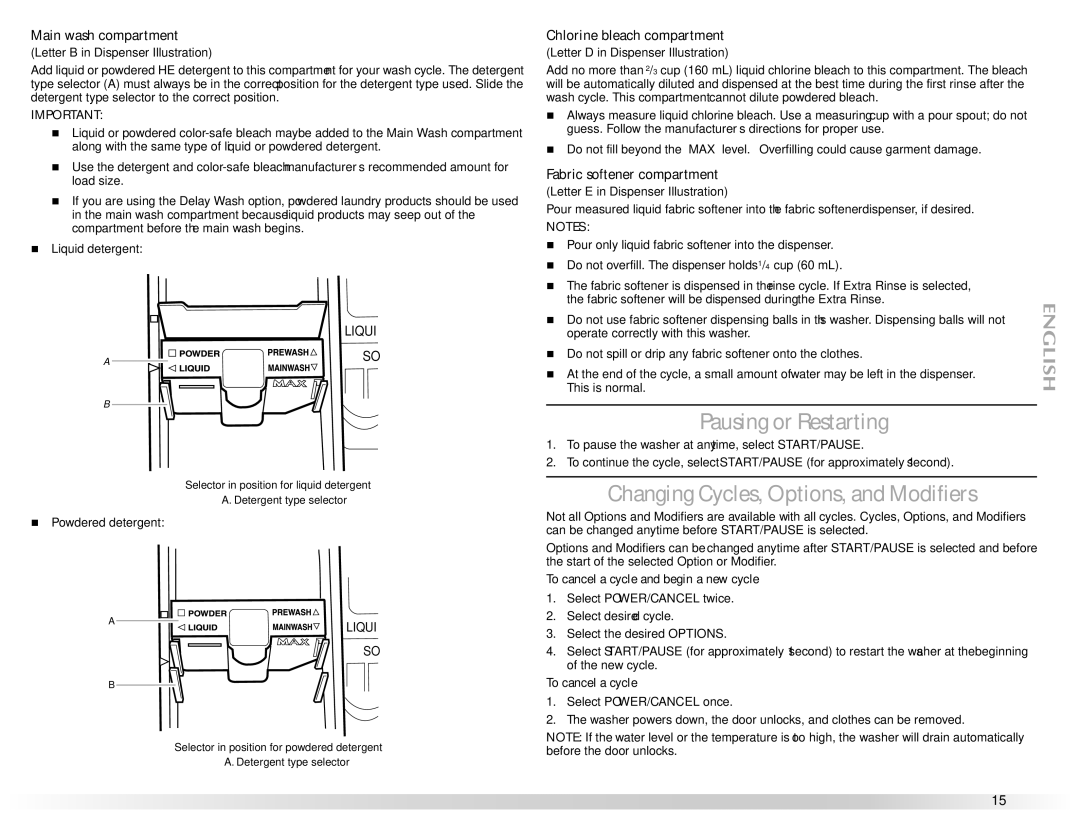
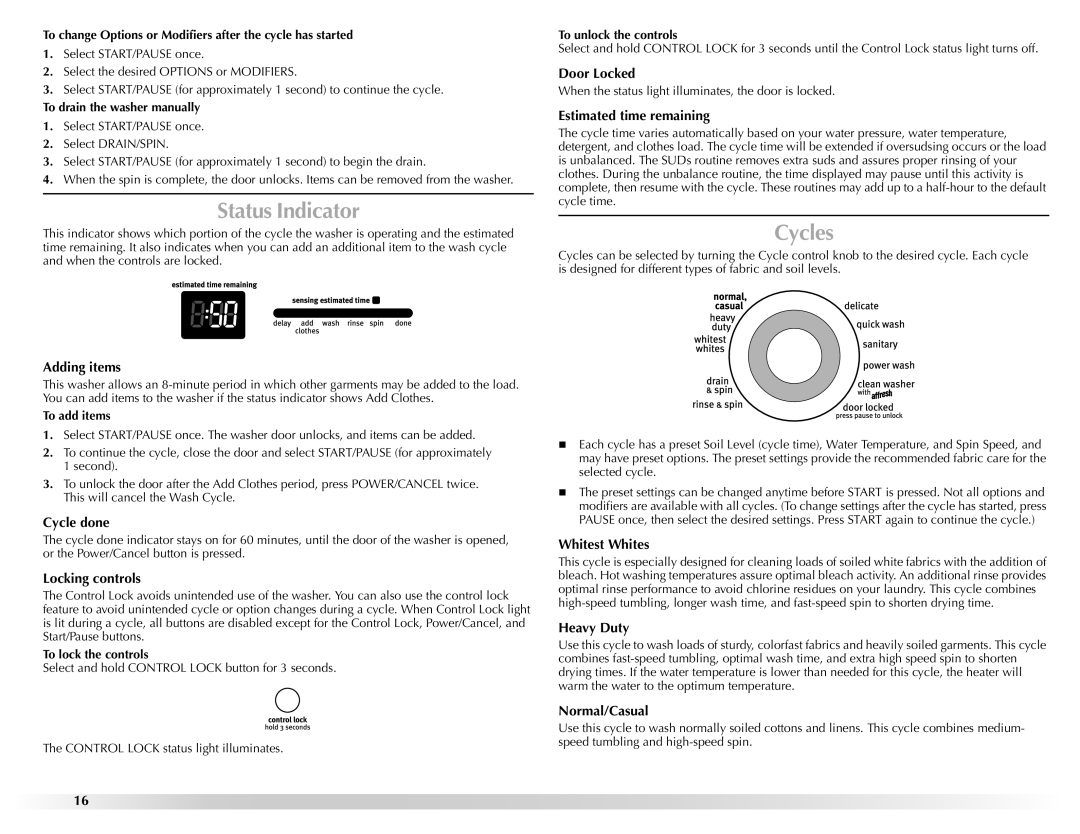
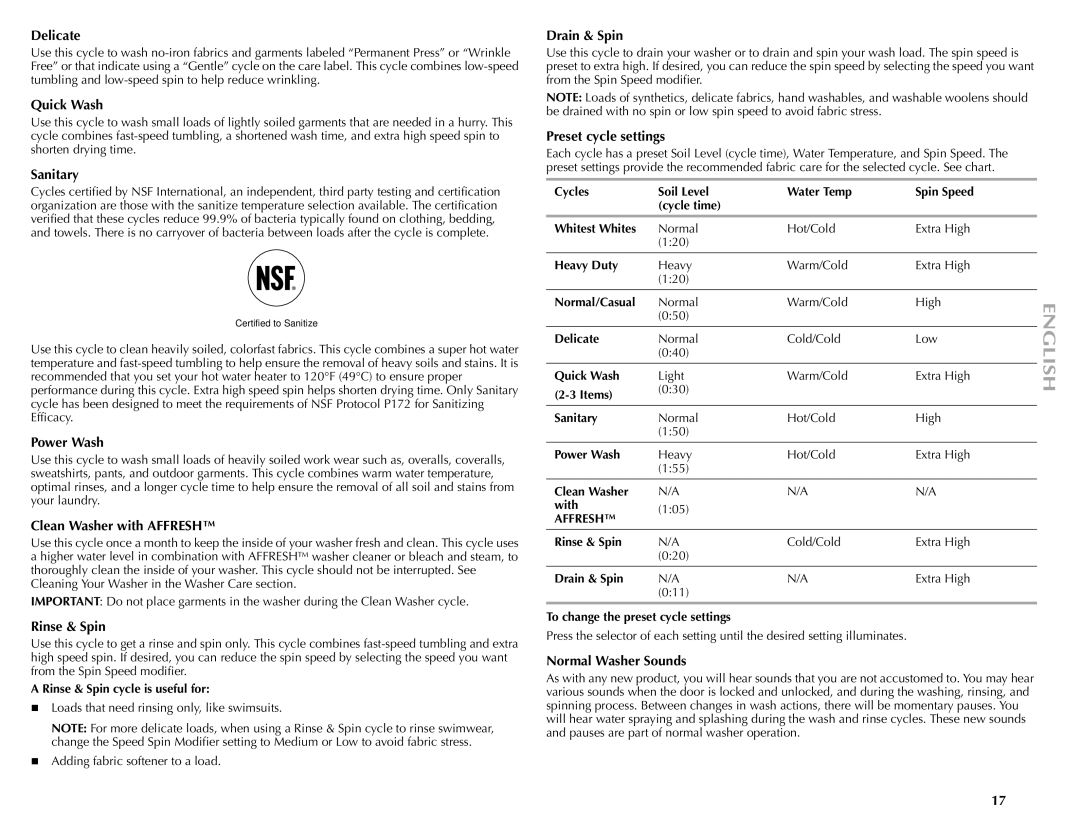
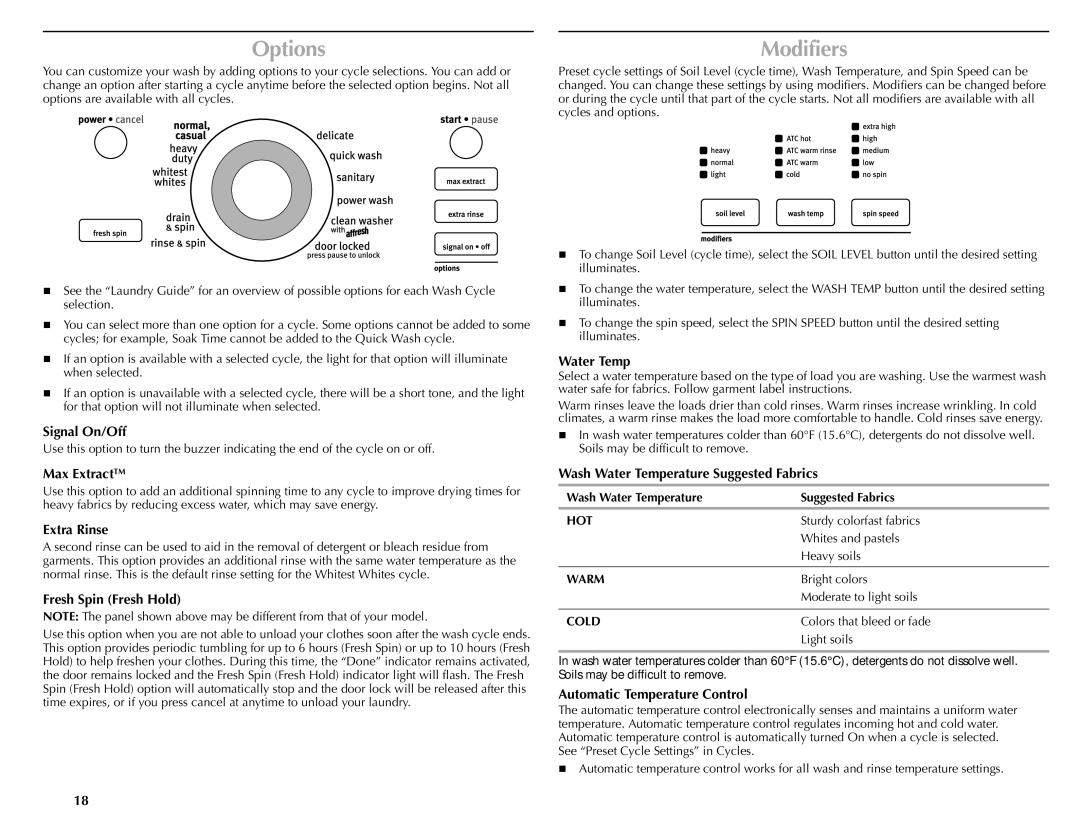
There are 4 bolts in the rear panel of the washer that support the suspension system during transportation. These bolts also retain the power cord inside the washer until the bolts are removed.

1.Using a 13 mm wrench, loosen each of the bolts.

2.Once the bolt is loose, move it to the center of the hole and completely pull out the bolt, including the plastic spacer covering the bolt.

3.Once all 4 bolts are removed, discard bolt and spacers. Then pull the power cord through the opening of the rear panel and close the hole with the attached cap.

4.Close the bolt holes with the 4 transport bolt hole plugs.

NOTE: If the washer is to be transported at a later date, call your local service center. To avoid suspension and structural damage to your washer, it must be properly set up for relocation by a certified technician.

9
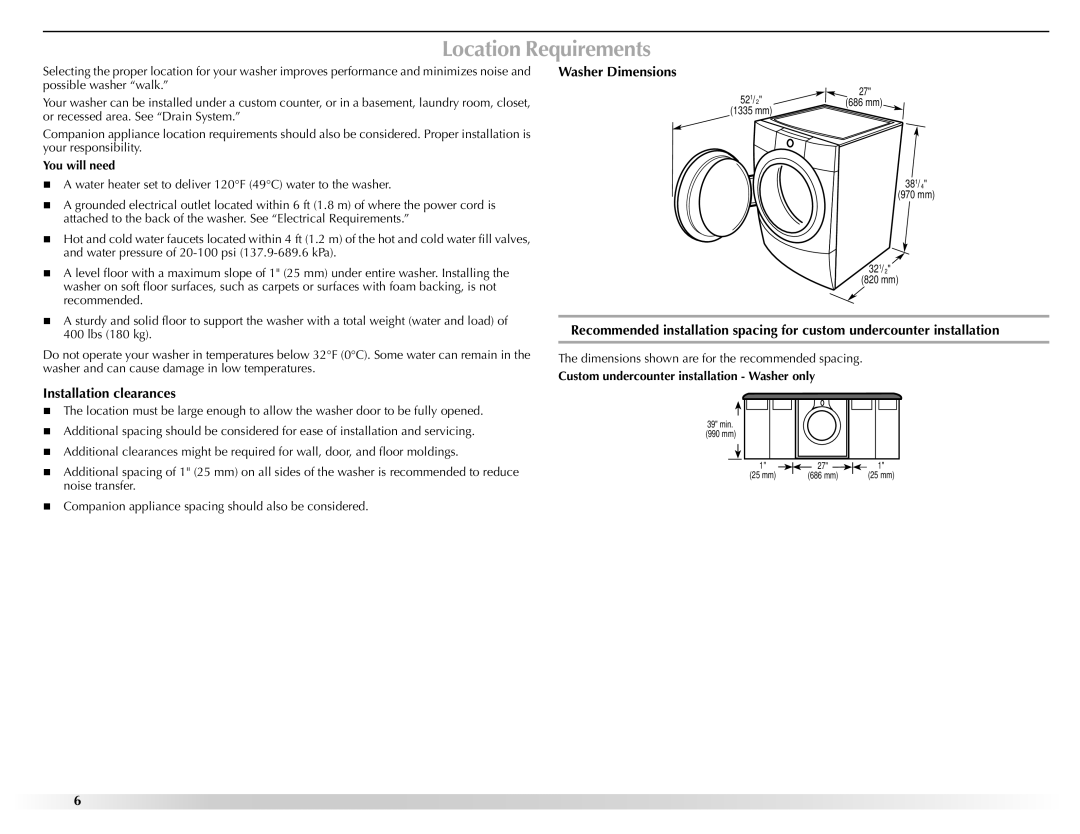
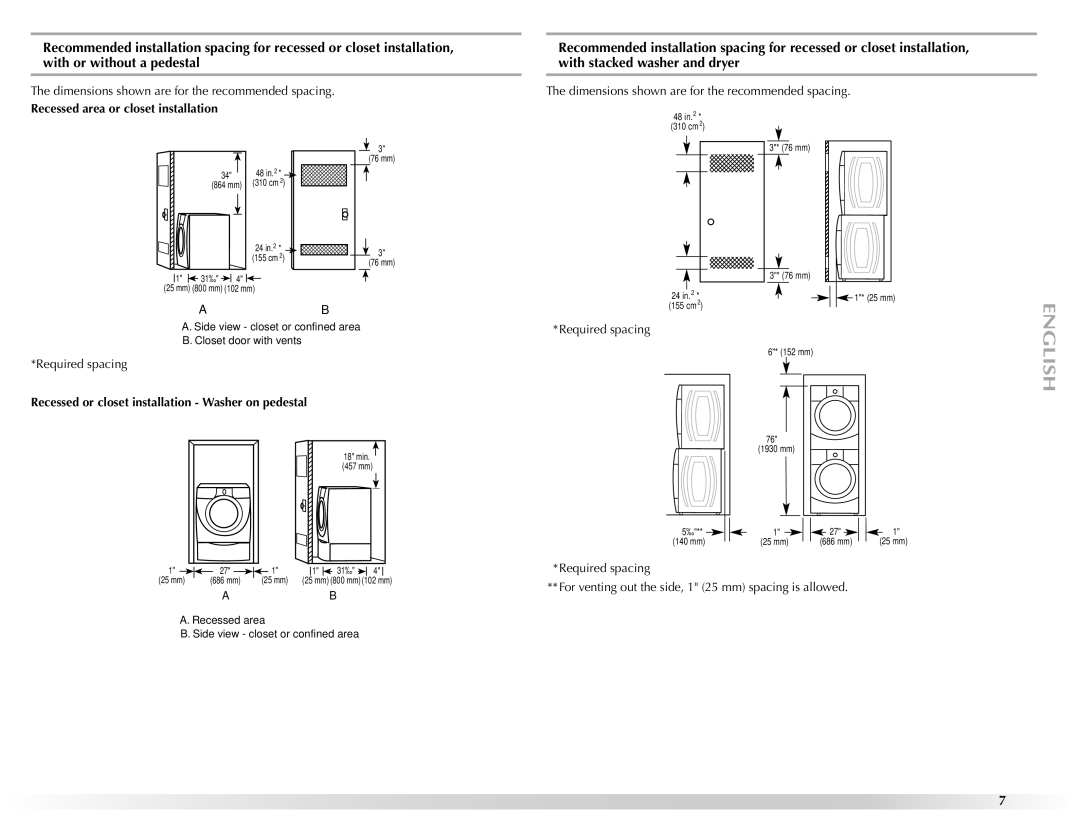
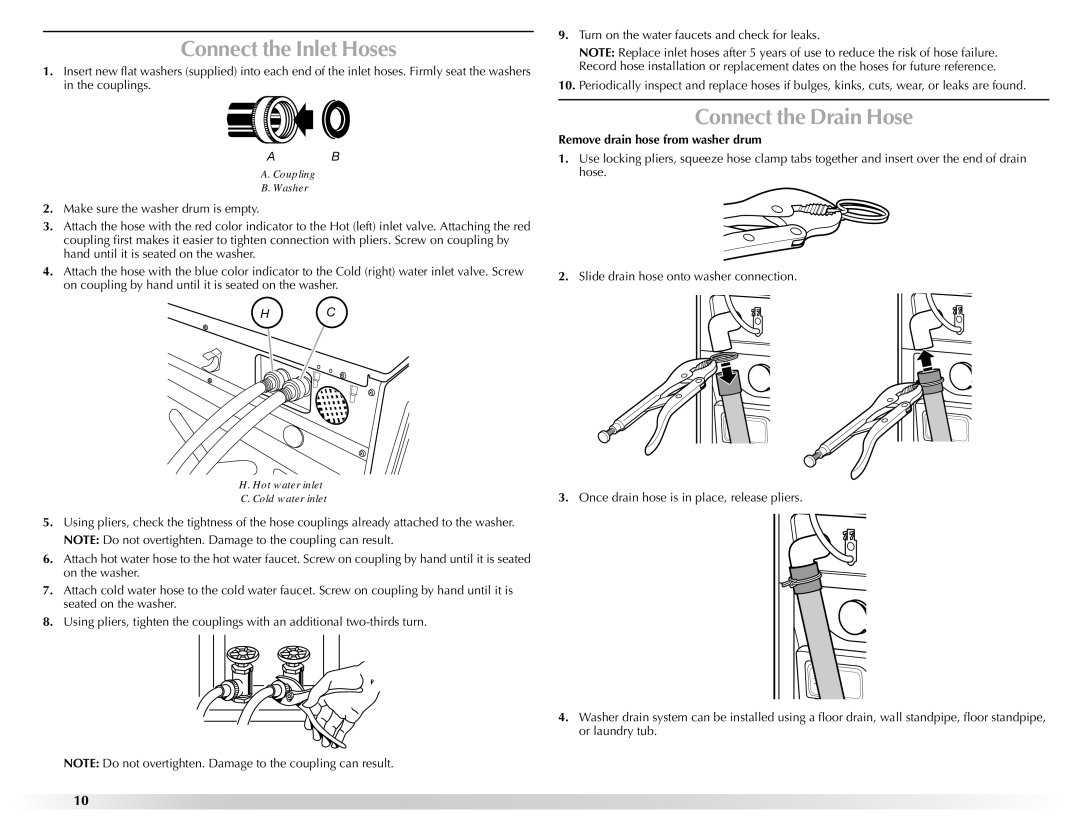
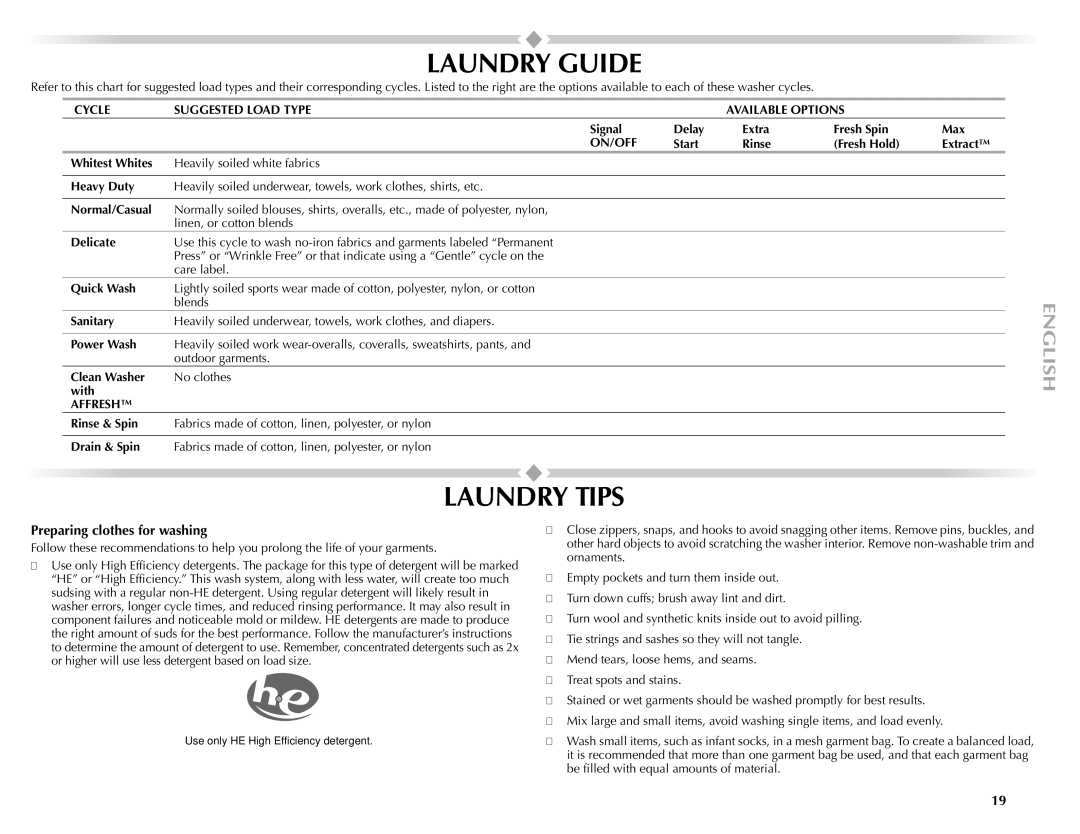
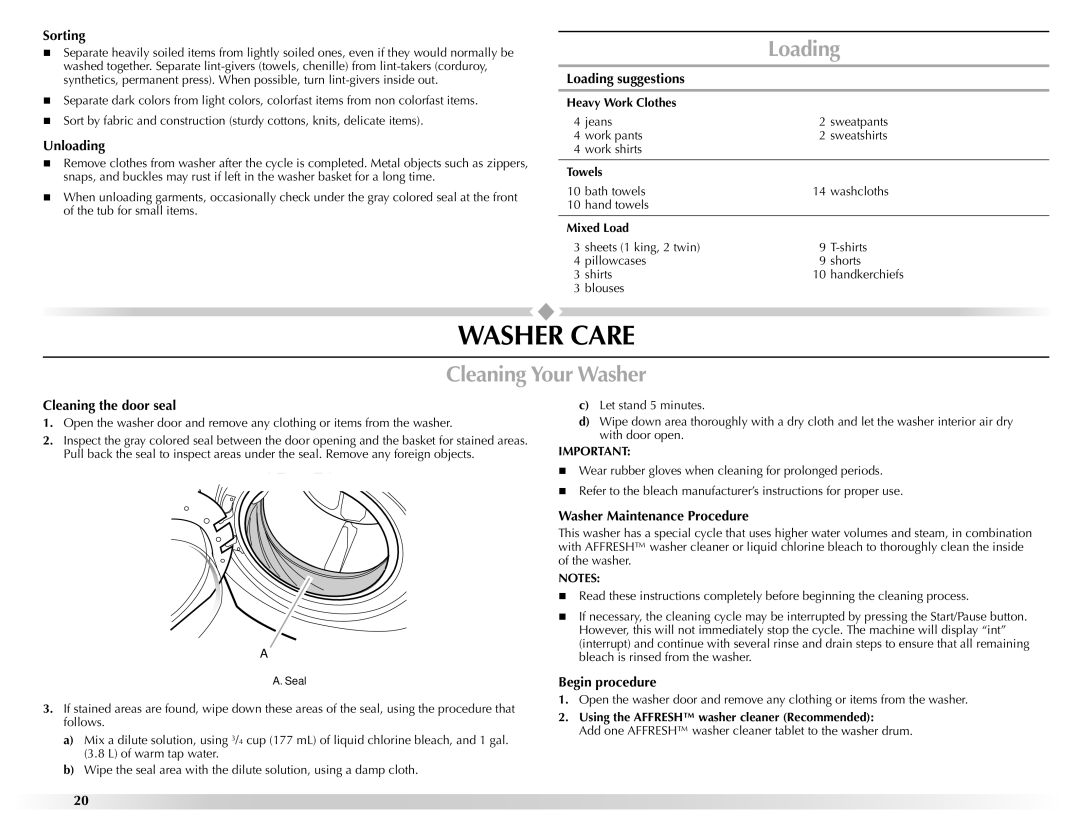
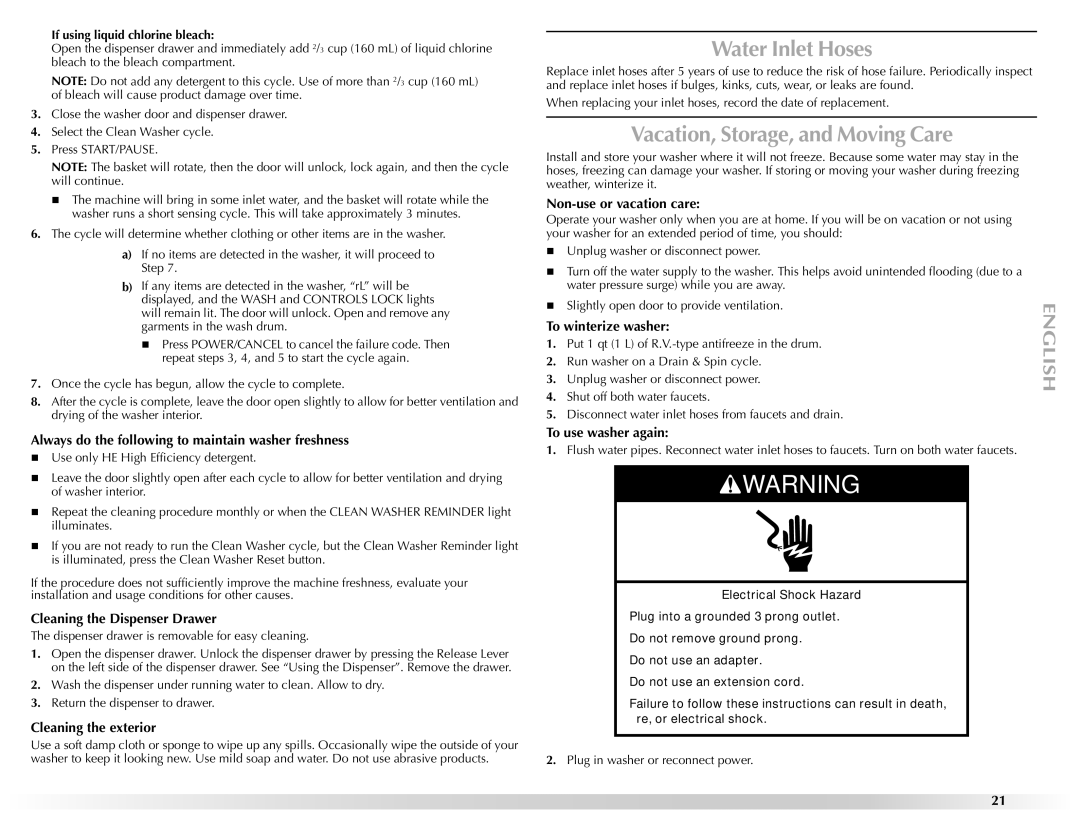
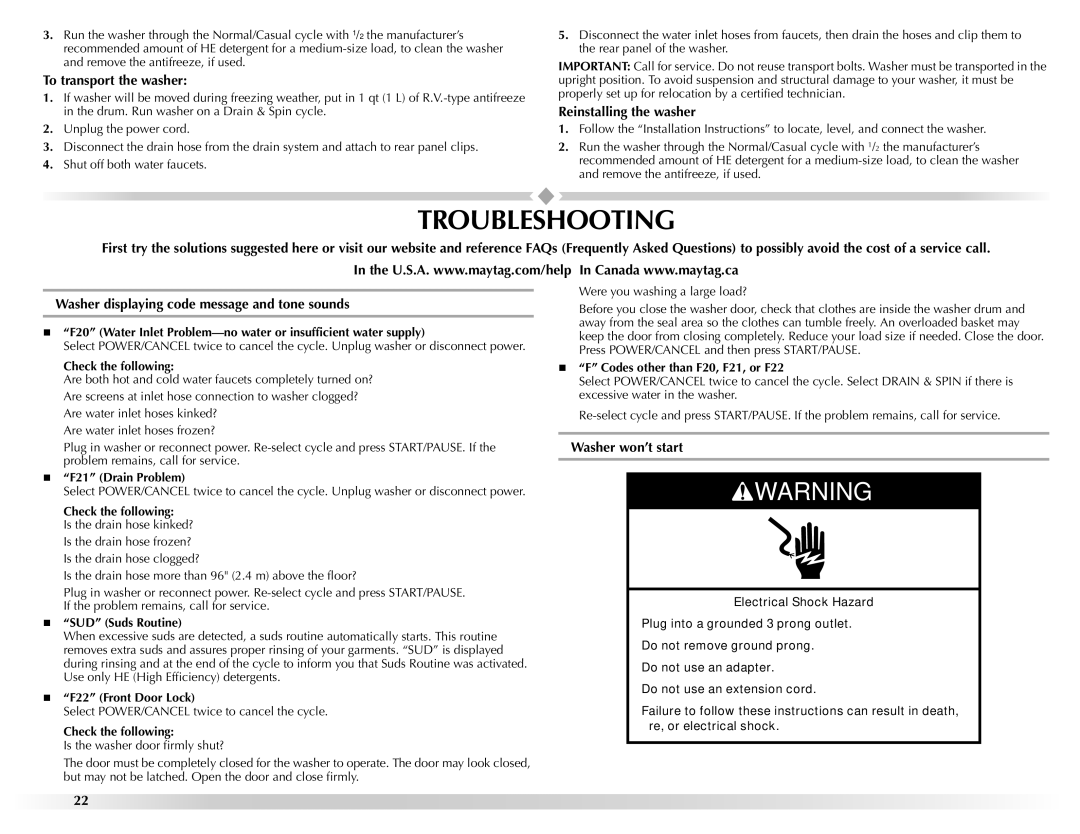
Image 9 Contents
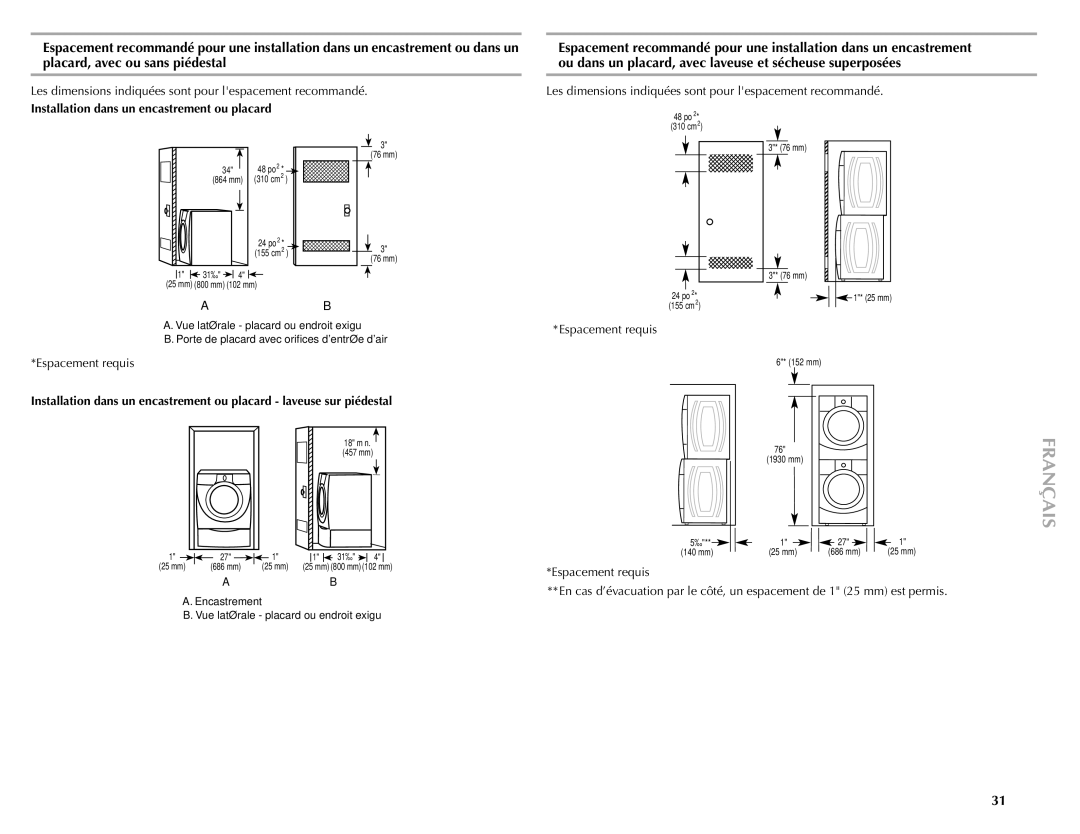
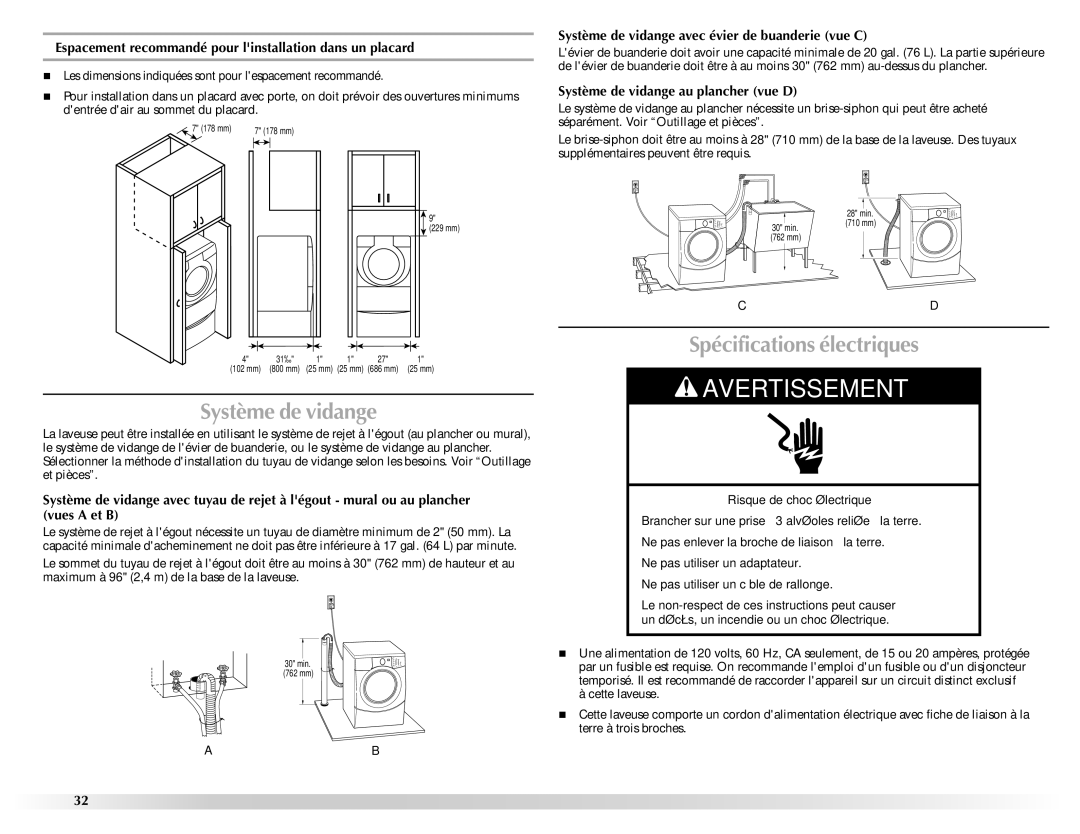
461970255072 W10286177 B Performance SeriesTable DES Matières Table of ContentsYour safety and the safety of others are very important Washer SafetyTools needed for connecting the water inlet hoses Installation RequirementsTools needed for connecting the drain hose Tools and PartsParts supplied OptionsPedestal Alternate PartsWasher Dimensions Installation clearancesCustom undercounter installation Washer only Location RequirementsRecessed or closet installation Washer on pedestal Recessed area or closet installationElectrical Requirements Drain SystemRemove Transport System Installation InstructionsConnect the Inlet Hoses Connect the Drain HoseRemove drain hose from washer drum Secure the Drain Hose Complete InstallationLevel the Washer Floor drainFeatures and Benefits Washer USE Starting Your Washer Using the Proper DetergentChoosing the Right Detergent Using the DispenserTo fill dispenser compartments To begin the wash cycle immediatelyChanging Cycles, Options, and Modifiers Pausing or RestartingMain wash compartment Chlorine bleach compartmentCycles Status IndicatorClean Washer with Affresh Power WashPreset cycle settings DelicateModifiers Laundry Tips Laundry GuidePreparing clothes for washing Cycle Suggested Load Type Available OptionsCleaning Your Washer Washer CareLoading Vacation, Storage, and Moving Care Water Inlet HosesReinstalling the washer TroubleshootingTo transport the washer Washer won’t startWasher stops Washer won’t fill, wash, or rinseWasher leaks Dispensers clogged or leakingLoad is wrinkled Stains on loadGray whites, dingy colors Cycle too longMaytag Laundry Limited Warranty Assistance or ServiceIf you need replacement parts CanadaThis limited warranty does not cover Items Excluded from WarrantySixth Through Tenth Year Motor and Wash Basket Disclaimer of Implied WarrantiesVotre sécurité et celle des autres est très importante Sécurité DE LA LaveusePage Outillage et pièces Exigences DinstallationDimensions de la laveuse Exigences d’emplacementEnsemble de superposition Dégagements de séparation à respecterEspacement requis Système de vidange Espacement recommandé pour linstallation dans un placardSpécifications électriques Système de vidange avec évier de buanderie vue CInstructions Dinstallation Élimination des accessoires de transportPour une laveuse raccordée en permanence Raccordement du tuyau de vidange Raccordement des tuyaux d’alimentationRéglage de laplomb de la laveuse Immobilisation du tuyau de vidangeÉgout au plancher Pour empêcher leau de vidange de refluer dans la laveuseAchever l’installation Utilisation DE LA Laveuse Utilisation du détergent approprié Mise en marche de la laveusePremier programme de lavage sans linge à laver Pour tous les programmes de lavageChoix du détergent approprié Utilisation du distributeurCompartiment du lavage principal Pour commencer le programme de lavage immédiatementChangement des programmes Options et modificateurs Pause ou remise en marcheCompartiment pour assouplissant de tissu Compartiment pour lagent de blanchimentProgrammes Témoins lumineuxNormal/Casual normal/tout-aller Power Wash lavage haute puissanceDelicate articles délicats Quick Wash lavage rapideModificateurs Programme Type DE Charge Suggéré Options Disponibles Guide DE LessivageChargement Conseils DE LessivageNettoyage de la laveuse Entretien DE LA LaveuseNettoyage du joint de la porte Procédure dentretien de la laveuseTuyaux darrivée deau Dépannage La laveuse ne se remplit pas, ne rince pas ou ne lave pas La laveuse ne se met pas en marcheMauvaises odeurs de la laveuse Distributeurs obstrués ou ayant une fuiteCharge trop mouillée Résidus ou charpie sur le lingeBlanc grisâtre, couleurs défraîchies Linge froisséProgramme trop long Porte verrouillée à la fin du programme de lavageSi vous avez besoin de pièces de rechange Assistance OU ServicePour plus dassistance Pour plus d’assistancePremière Année Garantie Limitée DES Appareils DE Buanderie MaytagÉléments Exclus DE LA Garantie La présente garantie limitée ne couvre pasPage Page All rights reserved