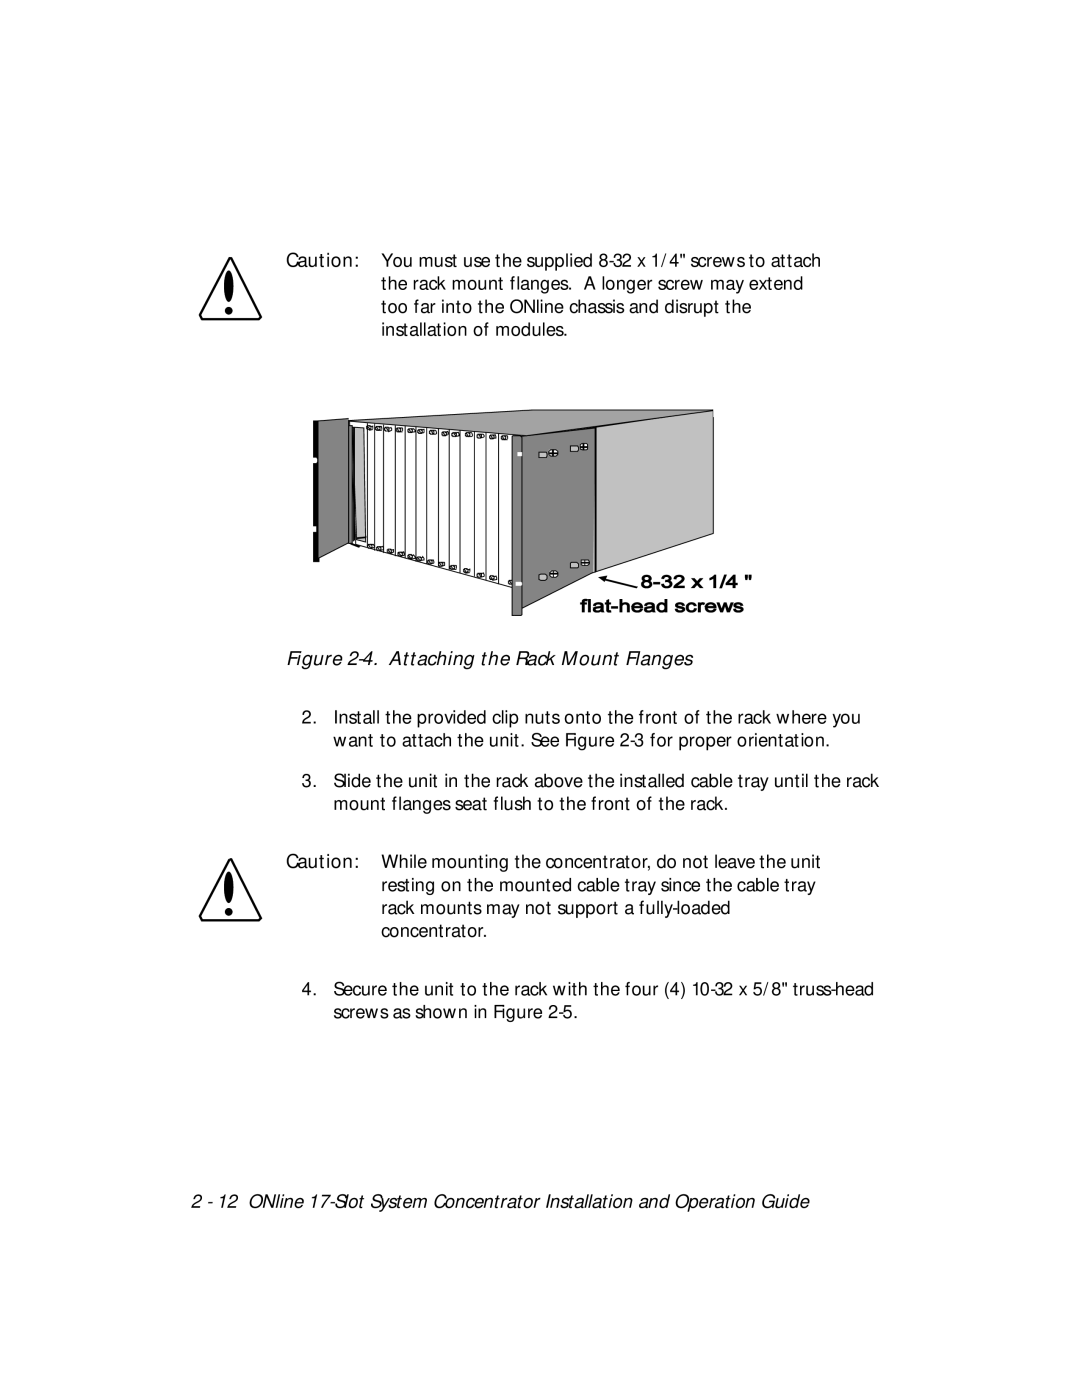
Caution: You must use the supplied
Figure 2-4. Attaching the Rack Mount Flanges
2.Install the provided clip nuts onto the front of the rack where you want to attach the unit. See Figure
3.Slide the unit in the rack above the installed cable tray until the rack mount flanges seat flush to the front of the rack.
Caution: While mounting the concentrator, do not leave the unit resting on the mounted cable tray since the cable tray rack mounts may not support a
4.Secure the unit to the rack with the four (4)
2 - 12 ONline