3M™ Rapid Detection Reader | Working with Results and Logs |
Working with Results and Logs
The 3M Rapid Detection Reader can store up to 900 results (300 assay results, 300 LQC results and 300 IQC results). When the CM database is full, the oldest result is
In manual transfer mode only (i.e., when 3M Rapid Detection Reader is not connected to a network), the warning “Database Almost Full, Backup Data” will be displayed when the assay or LQC result databases have less than 20 spaces left. This message will continue to be displayed until the database is cleared.
In auto transfer mode, only new results that have not been previously transferred are transferred during an upload. Data is not deleted from the CM upon transfer.
The 3M Rapid Detection Reader can store up to 500 Log records (including system power up, upload/download of data, assay and LQC errors). When the database is full, the oldest result is
Viewing Saved Results
1.From the Main Menu screen (Figure 4), touch Results. If prompted, enter Operator ID and/or Password using either the touch screen or the barcode scanner. To accept the displayed information, touch Accept.
NOTE: Both the Operator ID and Password are
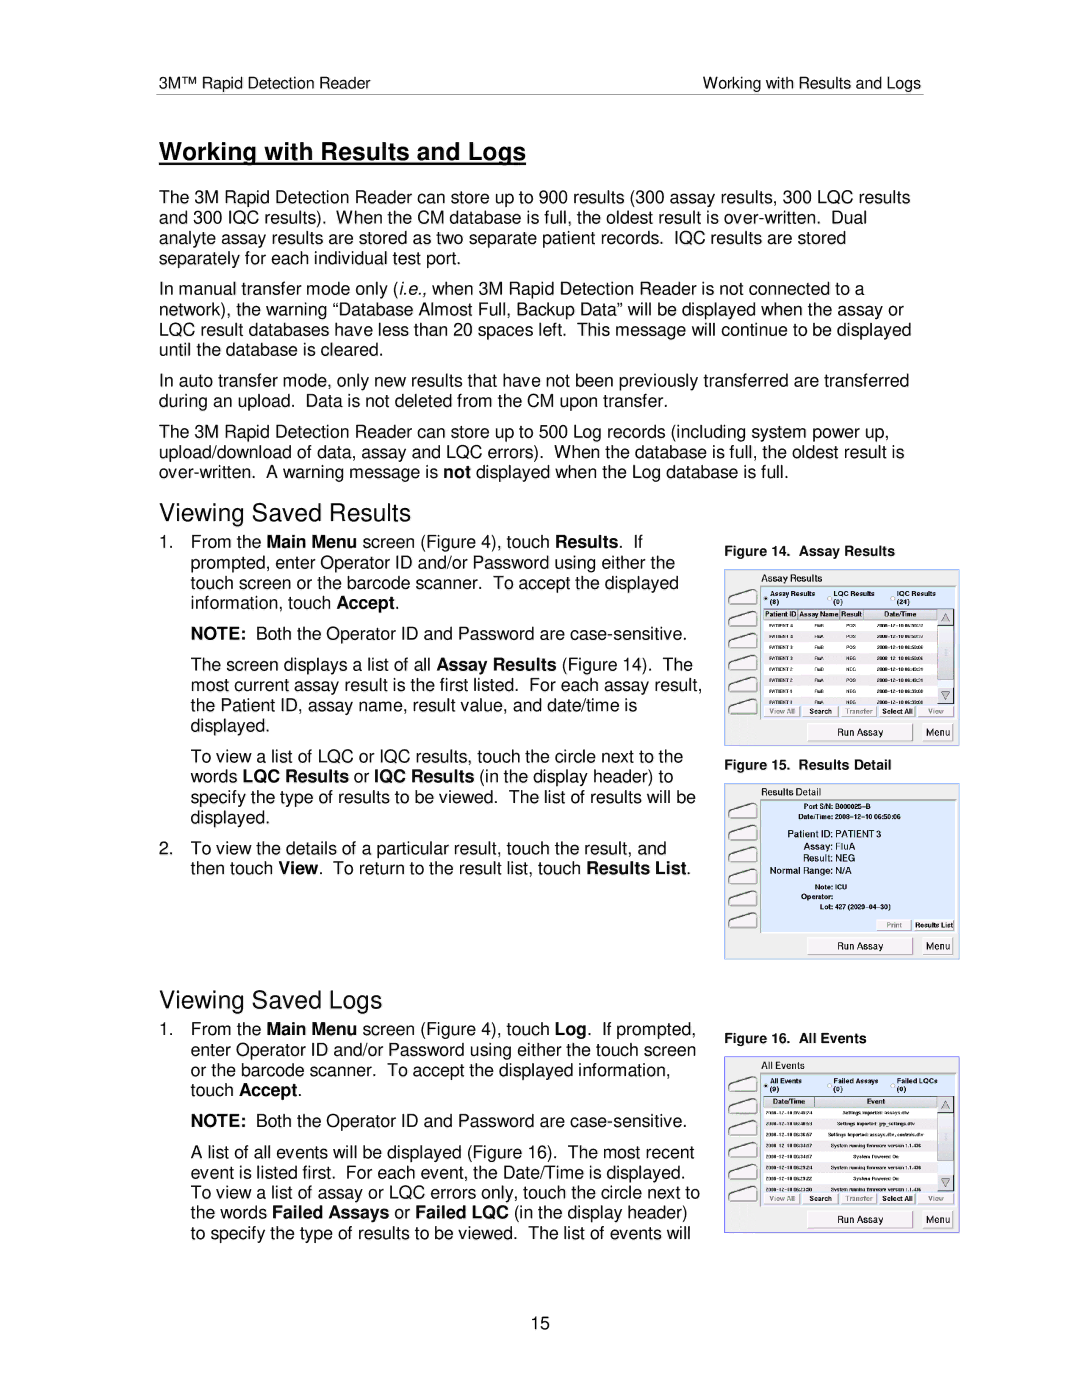
The screen displays a list of all Assay Results (Figure 14). The most current assay result is the first listed. For each assay result, the Patient ID, assay name, result value, and date/time is displayed.
To view a list of LQC or IQC results, touch the circle next to the words LQC Results or IQC Results (in the display header) to specify the type of results to be viewed. The list of results will be displayed.
2.To view the details of a particular result, touch the result, and then touch View. To return to the result list, touch Results List.
Viewing Saved Logs
1.From the Main Menu screen (Figure 4), touch Log. If prompted, enter Operator ID and/or Password using either the touch screen or the barcode scanner. To accept the displayed information, touch Accept.
NOTE: Both the Operator ID and Password are
A list of all events will be displayed (Figure 16). The most recent event is listed first. For each event, the Date/Time is displayed. To view a list of assay or LQC errors only, touch the circle next to the words Failed Assays or Failed LQC (in the display header) to specify the type of results to be viewed. The list of events will
Figure 14. Assay Results
Figure 15. Results Detail
Figure 16. All Events
15