3M™ Rapid Detection Reader | Working with Results and Logs |
Manually Transferring / Printing Results or Logs
Results (assay, patient or IQC) that have been selected on the Results screen can be transferred to a printer, USB flash drive or to a network. It is important to note that the user should manually delete the results from the Reader after manual transfer or they will be transferred again, unless a specific range of results is selected when the next manual transfer is performed.
Log events (All, Failed Assays or Failed LQC) that have been selected on the Events screen can be transferred to a USB flash drive or to a network. Only Failed Assays and Failed LQC can be printed from the CM.
NOTE: A single USB flash drive can be used to transfer results from all Readers as the file names start with their respective control module serial numbers. The USB flash drive must be preconfigured with 4 subdirectories (folders) named: patient, lqc, iqc and log, for this use.
CAUTION.
Do not remove the USB flash drive from the control module while data is being transferred.
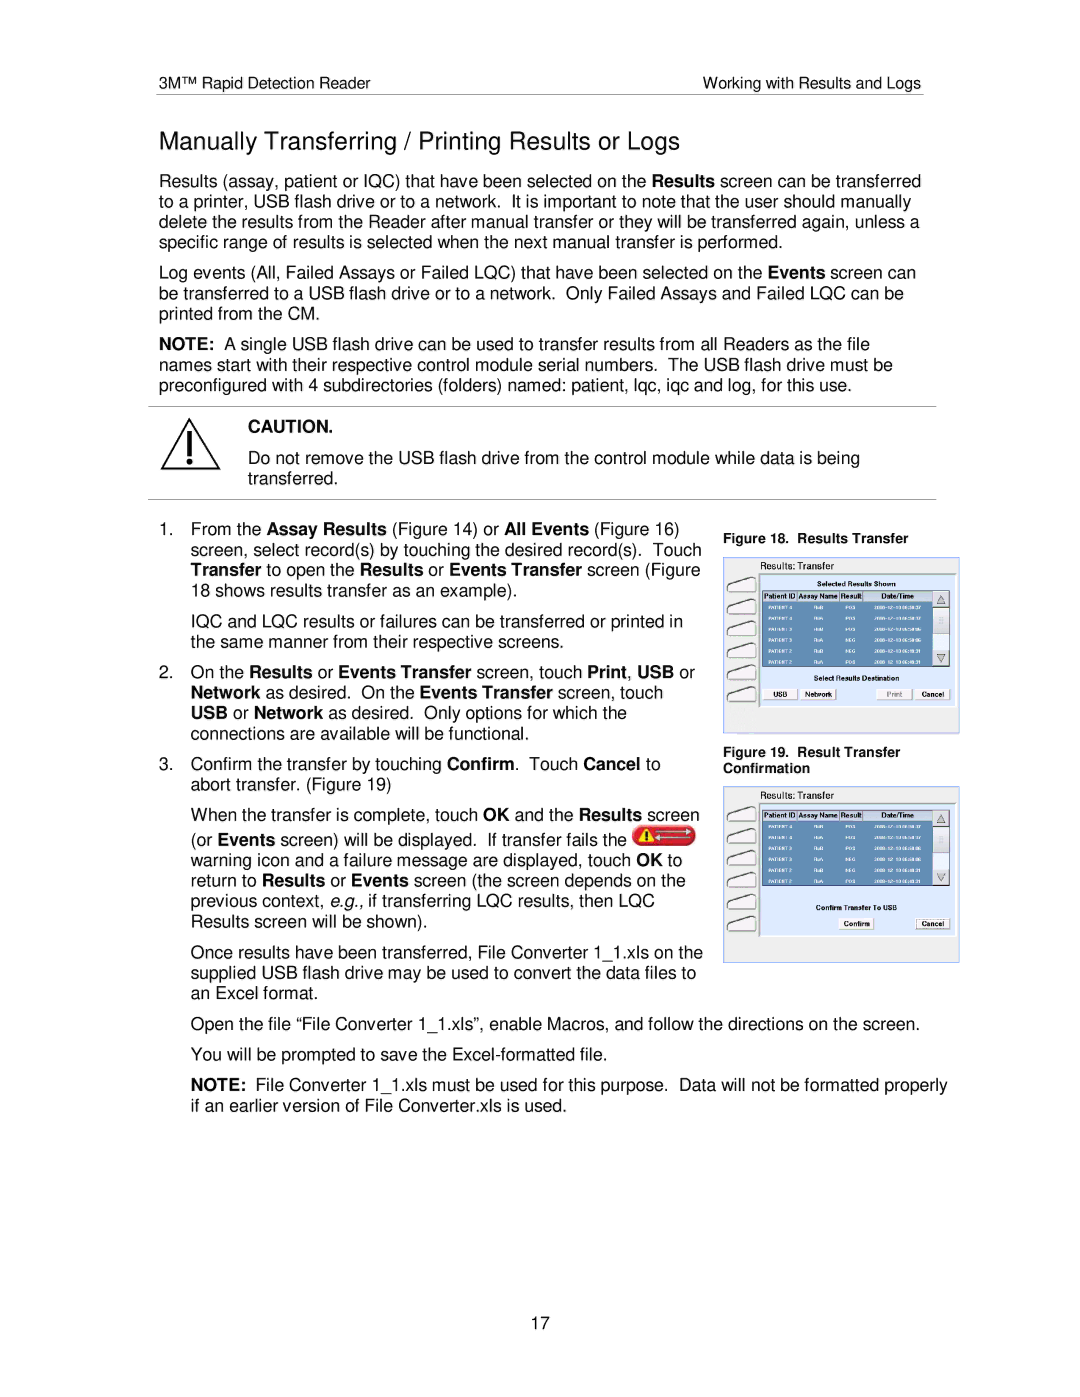
1.From the Assay Results (Figure 14) or All Events (Figure 16) screen, select record(s) by touching the desired record(s). Touch Transfer to open the Results or Events Transfer screen (Figure 18 shows results transfer as an example).
IQC and LQC results or failures can be transferred or printed in the same manner from their respective screens.
2.On the Results or Events Transfer screen, touch Print, USB or Network as desired. On the Events Transfer screen, touch USB or Network as desired. Only options for which the connections are available will be functional.
3.Confirm the transfer by touching Confirm. Touch Cancel to abort transfer. (Figure 19)
When the transfer is complete, touch OK and the Results screen (or Events screen) will be displayed. If transfer fails the ![]() warning icon and a failure message are displayed, touch OK to return to Results or Events screen (the screen depends on the previous context, e.g., if transferring LQC results, then LQC Results screen will be shown).
warning icon and a failure message are displayed, touch OK to return to Results or Events screen (the screen depends on the previous context, e.g., if transferring LQC results, then LQC Results screen will be shown).
Once results have been transferred, File Converter 1_1.xls on the supplied USB flash drive may be used to convert the data files to an Excel format.
Figure 18. Results Transfer
Figure 19. Result Transfer Confirmation
Open the file “File Converter 1_1.xls”, enable Macros, and follow the directions on the screen. You will be prompted to save the
NOTE: File Converter 1_1.xls must be used for this purpose. Data will not be formatted properly if an earlier version of File Converter.xls is used.
17