Operating procedures
CAUTION If you enter one or more item IDs when the printer is not in the READY state, tags will immediately begin to print, without stopping, when the printer is put back into the READY state.
8.Scan or otherwise enter barcode information as described in the online Staff Help (click the “?” button). The printer will print item ID and library information on a blank RFID tag.
9.When printing is finished, the printer will separate the tag from the backing strip and present the tag above the dispenser door. When you remove the tag, the printer is ready to print the next tag.
Feed button LED indicators — regular volume printer
LED Status | Printer Status |
Off | Power Off |
|
|
Solid Green | On (idle) |
|
|
Flashing Amber | Stopped (see Troubleshooting) |
|
|
Flashing Green | Normal Operation |
|
|
Flashing Red | Stopped (out of media or ribbon, or top cover open) |
|
|
Double Flashing Green | Paused |
|
|
Solid Amber | |
|
|
Alternately Flashing Green and Red | Needs Service (see Troubleshooting) |
|
|
Printing — high volume printer
This procedure describes the high volume printer’s default
Note: Printer controls and indicators are described in the tables following this procedure.
1.Open the printer by carefully lifting the right cover panel up on its hinges, exposing the inside of the printer.
2.Verify that a tag roll and ribbon are properly installed, and that enough tags and ribbon are available to perform the required print job.
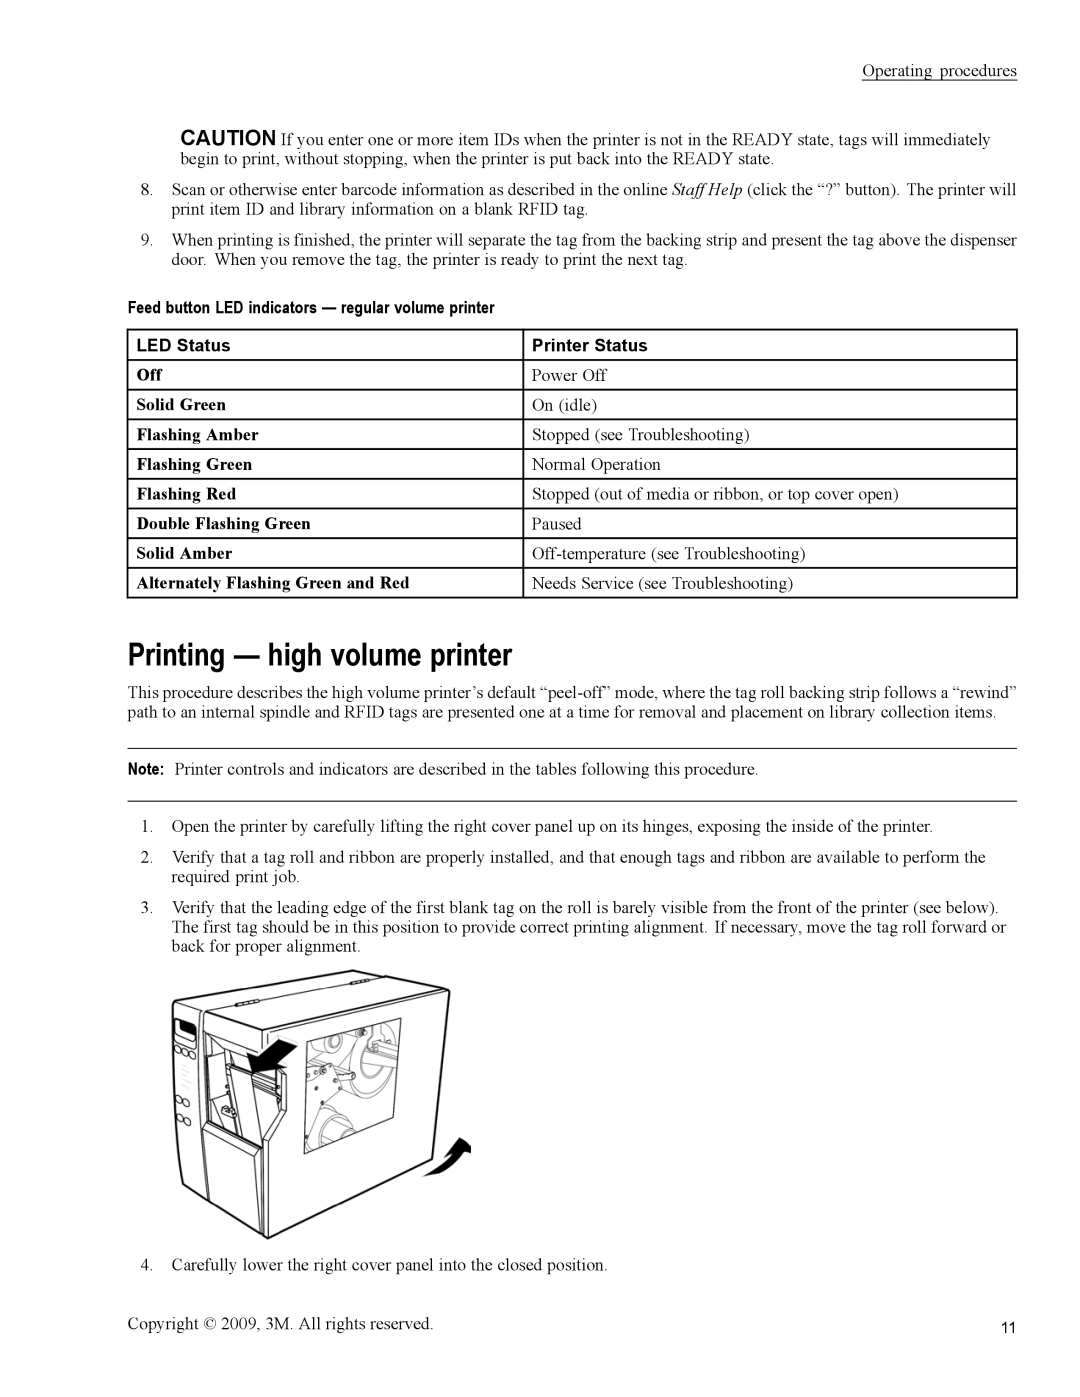
3.Verify that the leading edge of the first blank tag on the roll is barely visible from the front of the printer (see below). The first tag should be in this position to provide correct printing alignment. If necessary, move the tag roll forward or back for proper alignment.
4.Carefully lower the right cover panel into the closed position.
Copyright © 2009, 3M. All rights reserved. | 11 |
