Operating procedures
10.Extend the tag roll leader out from the print head and thread the leader as shown on the previous page, from the platen roller down to the rewind spindle.
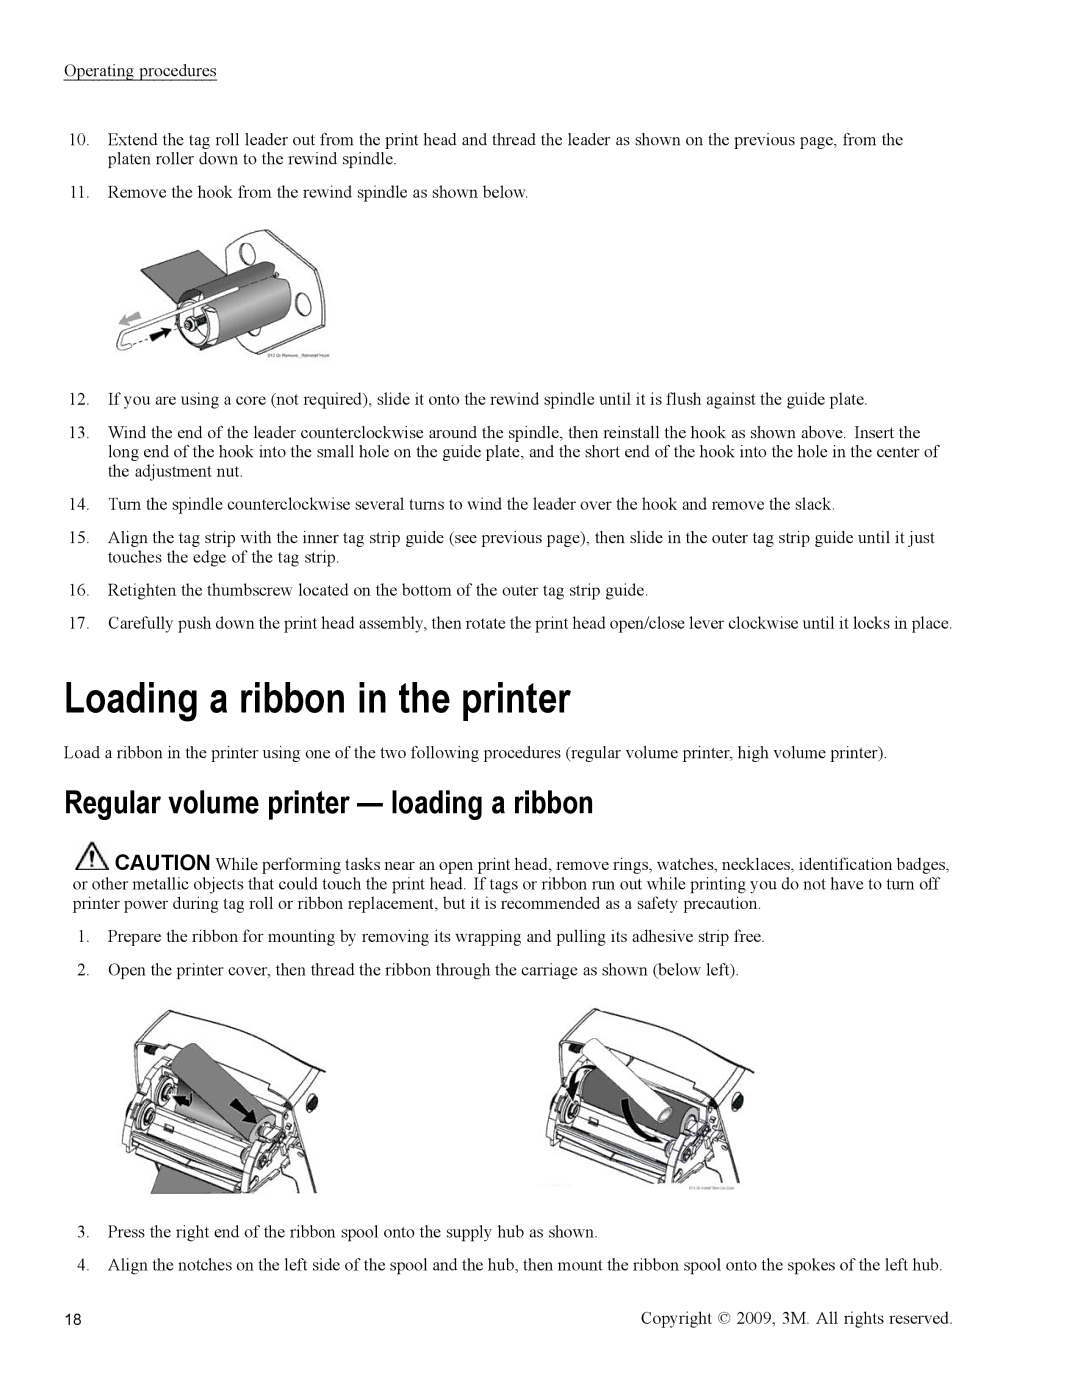
11.Remove the hook from the rewind spindle as shown below.
12.If you are using a core (not required), slide it onto the rewind spindle until it is flush against the guide plate.
13.Wind the end of the leader counterclockwise around the spindle, then reinstall the hook as shown above. Insert the long end of the hook into the small hole on the guide plate, and the short end of the hook into the hole in the center of the adjustment nut.
14.Turn the spindle counterclockwise several turns to wind the leader over the hook and remove the slack.
15.Align the tag strip with the inner tag strip guide (see previous page), then slide in the outer tag strip guide until it just touches the edge of the tag strip.
16.Retighten the thumbscrew located on the bottom of the outer tag strip guide.
17.Carefully push down the print head assembly, then rotate the print head open/close lever clockwise until it locks in place.
Loading a ribbon in the printer
Load a ribbon in the printer using one of the two following procedures (regular volume printer, high volume printer).
Regular volume printer — loading a ribbon
![]() CAUTION While performing tasks near an open print head, remove rings, watches, necklaces, identification badges, or other metallic objects that could touch the print head. If tags or ribbon run out while printing you do not have to turn off printer power during tag roll or ribbon replacement, but it is recommended as a safety precaution.
CAUTION While performing tasks near an open print head, remove rings, watches, necklaces, identification badges, or other metallic objects that could touch the print head. If tags or ribbon run out while printing you do not have to turn off printer power during tag roll or ribbon replacement, but it is recommended as a safety precaution.
1.Prepare the ribbon for mounting by removing its wrapping and pulling its adhesive strip free.
2.Open the printer cover, then thread the ribbon through the carriage as shown (below left).
3.Press the right end of the ribbon spool onto the supply hub as shown.
4.Align the notches on the left side of the spool and the hub, then mount the ribbon spool onto the spokes of the left hub.
18 | Copyright © 2009, 3M. All rights reserved. |