Operating procedures
5.Press the right side of the
Note: Your first ribbon
6.Align the notches on the left side of the
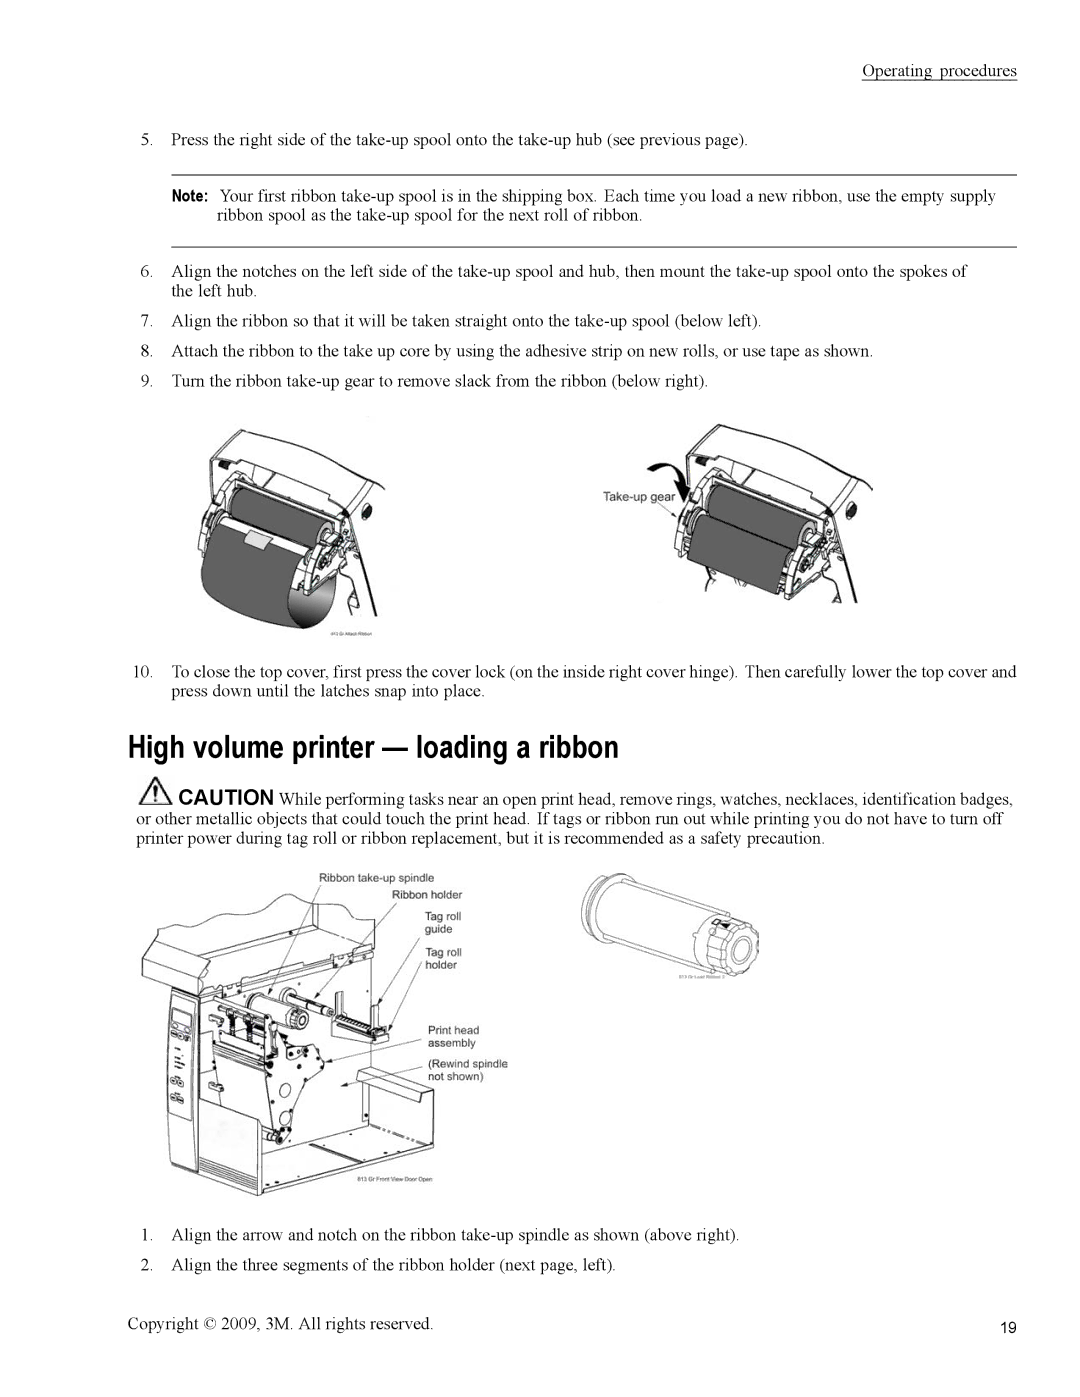
7.Align the ribbon so that it will be taken straight onto the
8.Attach the ribbon to the take up core by using the adhesive strip on new rolls, or use tape as shown.
9.Turn the ribbon
10.To close the top cover, first press the cover lock (on the inside right cover hinge). Then carefully lower the top cover and press down until the latches snap into place.
High volume printer — loading a ribbon
![]() CAUTION While performing tasks near an open print head, remove rings, watches, necklaces, identification badges, or other metallic objects that could touch the print head. If tags or ribbon run out while printing you do not have to turn off printer power during tag roll or ribbon replacement, but it is recommended as a safety precaution.
CAUTION While performing tasks near an open print head, remove rings, watches, necklaces, identification badges, or other metallic objects that could touch the print head. If tags or ribbon run out while printing you do not have to turn off printer power during tag roll or ribbon replacement, but it is recommended as a safety precaution.
1.Align the arrow and notch on the ribbon
2.Align the three segments of the ribbon holder (next page, left).
Copyright © 2009, 3M. All rights reserved. | 19 |