PROGRAMMING THE VSSI-PRO
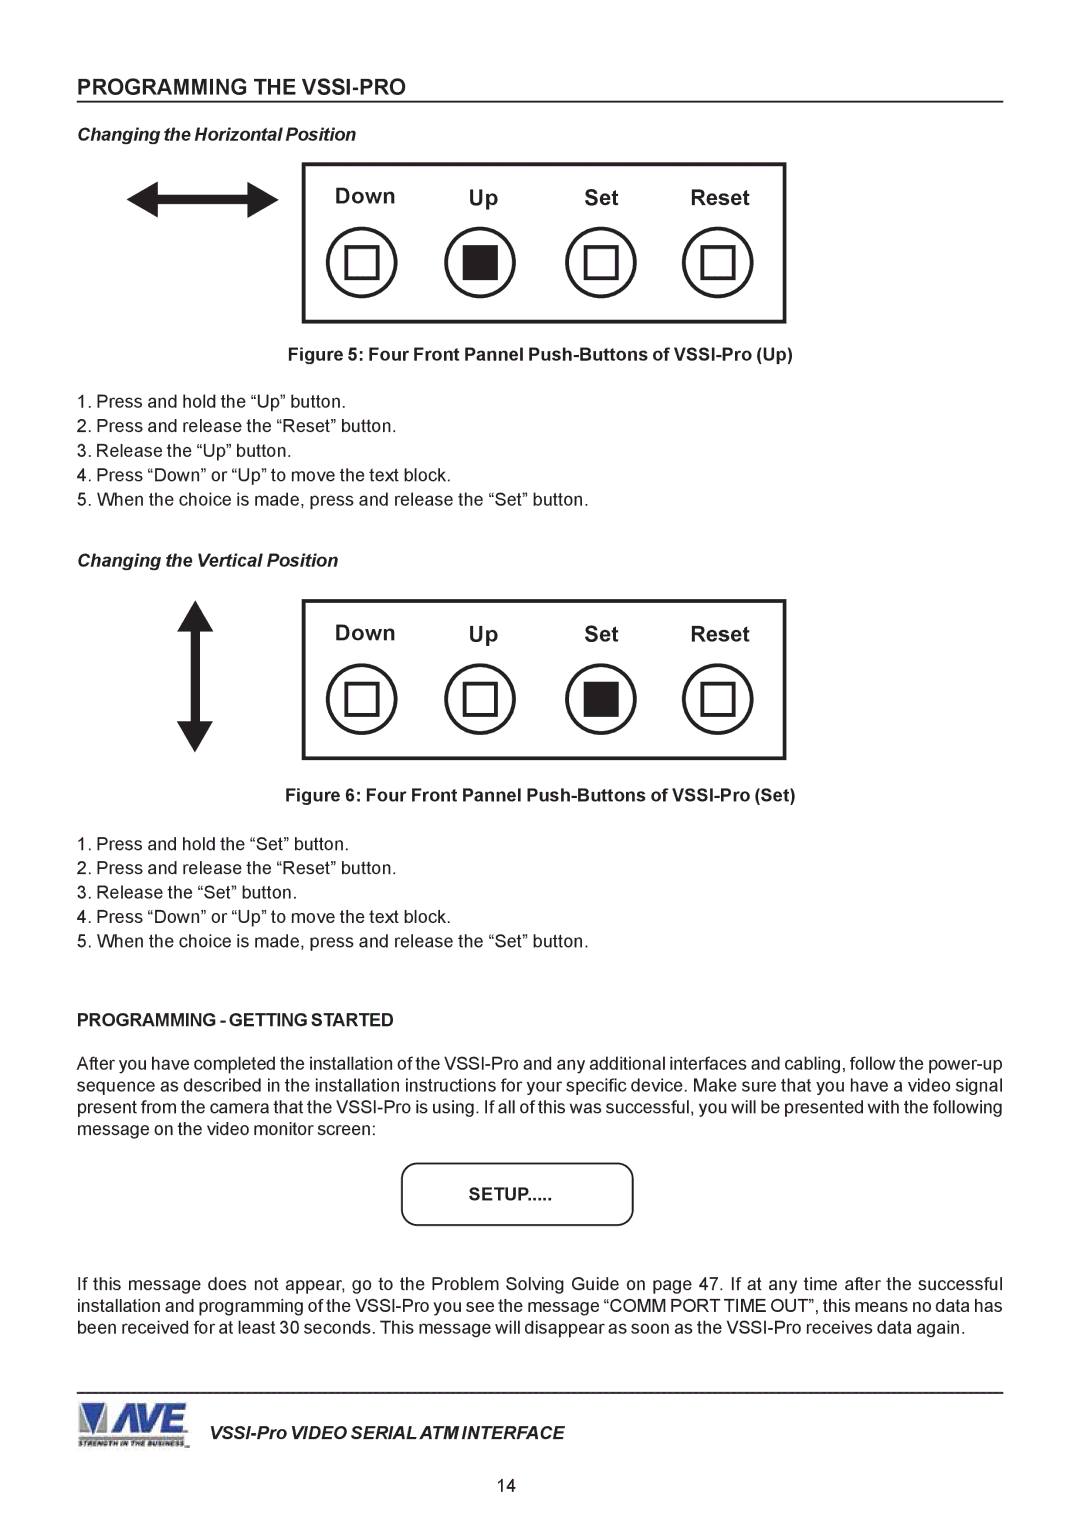
Changing the Horizontal Position
Down Up Set Reset
Figure 5: Four Front Pannel Push-Buttons of VSSI-Pro (Up)
1.Press and hold the “Up” button.
2.Press and release the “Reset” button.
3.Release the “Up” button.
4.Press “Down” or “Up” to move the text block.
5.When the choice is made, press and release the “Set” button.
Changing the Vertical Position
Down Up Set Reset
Figure 6: Four Front Pannel Push-Buttons of VSSI-Pro (Set)
1.Press and hold the “Set” button.
2.Press and release the “Reset” button.
3.Release the “Set” button.
4.Press “Down” or “Up” to move the text block.
5.When the choice is made, press and release the “Set” button.
PROGRAMMING - GETTING STARTED
After you have completed the installation of the
SETUP.....
If this message does not appear, go to the Problem Solving Guide on page 47. If at any time after the successful installation and programming of the
14