PROGRAMMING THE VSSI-PRO
PROGRAMMING MENUS
To access the main-menu of the VSSI-Pro, simultaneously hold down the “Down” and “Up” buttons, press and release the “Reset” button, and then release the “Down” and “Up” buttons. This will take you to the main programming menu.
To navigate through this menu, press the “Down” or “Up” button to position the cursor in front of the desired item and then press “Set” to select the item and access any sub-menus for that item.
Within a sub-menu, press the “Down” or “Up” button and press “Set” again to select any items or change settings for a particular item.
If a sub-menu has an "EXIT" entry, always select it and press "Set". This will save the programmed settings in memory and return you to the previous menu. If you press “Reset” from a sub-menu, any programmed settings in that menu will not be saved in memory.
When finished programming the VSSI-Pro, return to the main-menu and press "Reset" to exit from the programming mode to the operation mode.
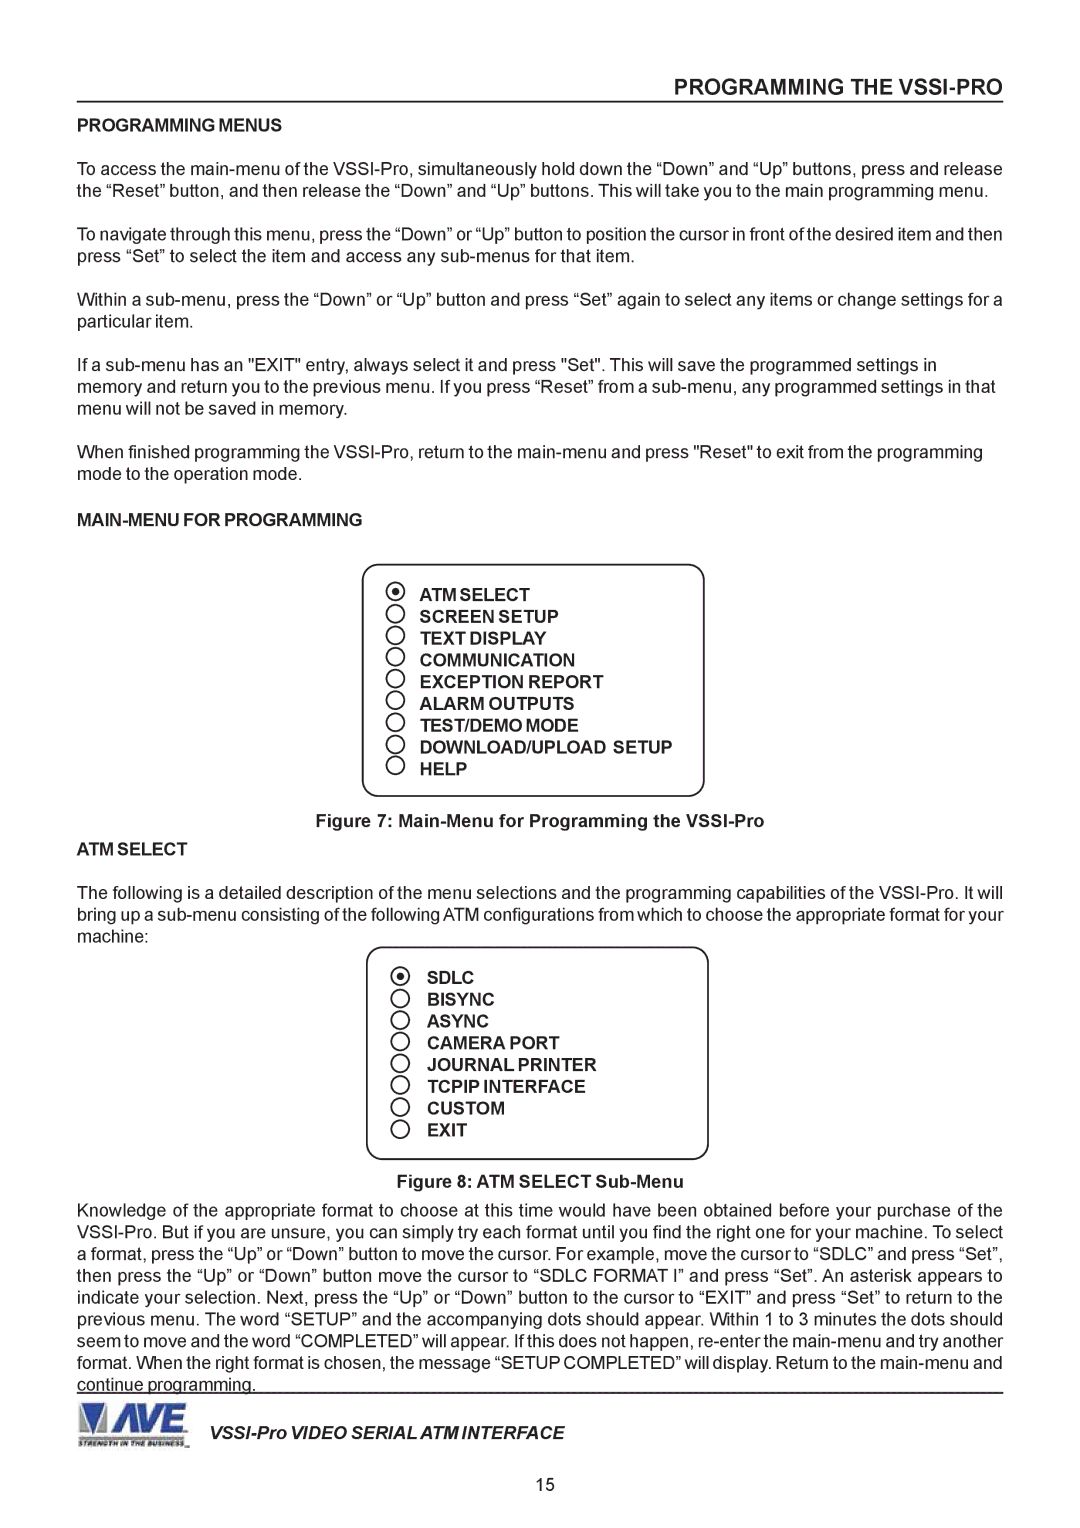
MAIN-MENU FOR PROGRAMMING
ATM SELECT
SCREEN SETUP
TEXT DISPLAY
COMMUNICATION
EXCEPTION REPORT
ALARM OUTPUTS
TEST/DEMO MODE
DOWNLOAD/UPLOAD SETUP
HELP
Figure 7: Main-Menu for Programming the VSSI-Pro
ATM SELECT
The following is a detailed description of the menu selections and the programming capabilities of the VSSI-Pro. It will bring up a sub-menu consisting of the following ATM configurations from which to choose the appropriate format for your machine:
SDLC
BISYNC
ASYNC
CAMERA PORT
JOURNAL PRINTER
TCPIP INTERFACE
CUSTOM
EXIT
Figure 8: ATM SELECT Sub-Menu
Knowledge of the appropriate format to choose at this time would have been obtained before your purchase of the VSSI-Pro. But if you are unsure, you can simply try each format until you find the right one for your machine. To select a format, press the “Up” or “Down” button to move the cursor. For example, move the cursor to “SDLC” and press “Set”, then press the “Up” or “Down” button move the cursor to “SDLC FORMAT I” and press “Set”. An asterisk appears to indicate your selection. Next, press the “Up” or “Down” button to the cursor to “EXIT” and press “Set” to return to the previous menu. The word “SETUP” and the accompanying dots should appear. Within 1 to 3 minutes the dots should seem to move and the word “COMPLETED” will appear. If this does not happen, re-enter the main-menu and try another format. When the right format is chosen, the message “SETUP COMPLETED” will display. Return to the main-menu and continue programming.
VSSI-Pro VIDEO SERIAL ATM INTERFACE