PROGRAMMING THE VSSI-PRO
NAVIGATING THE RANGE AND THE EXCEPTION STRING
Before you define your range, we need to explain how to navigate through the range and exception string using the front panel switches. To program the range, press the “Up” or “Down” button to move the cursor to “RANGE” and press “Set”. The first “0” in the range starts to flash. This means it is active and ready for programming. Press the “Up” or “Down” button to cycle through the values and press “Set” when the desired value is displayed. This will advance the active block to the next character. While you are on an active block, pressing the “Up” and “Set” buttons simultaneously will return that block back to a blank, which is designated by a solid white box. You can follow this format to program your range. When you have finished and wish to set this range into the
DEFINING THE RANGE
To define the range for the selected exception, press the “Up” or “Down” button to move the cursor to “RANGE” and press “Set”. This will make the first position in the range field active. Follow the procedure outlined in the previous few paragraphs to enter your range.
EXITING THE RANGE FIELD
When you are ready to exit and continue on, simultaneously press and release the “Up” and “Down” buttons. This will set the range in the
PROGRAMMING NOTE
Press “Up” and “Set” together to erase an entry. Press “Up” and “Down” together to set the range or exception string into memory and to return to the previous menu.
Now every time the
EXIT
Press the “Up” or “Down” button to move the cursor to “EXIT” and press “Set” to return to the previous menu.
ALARM OUTPUTS
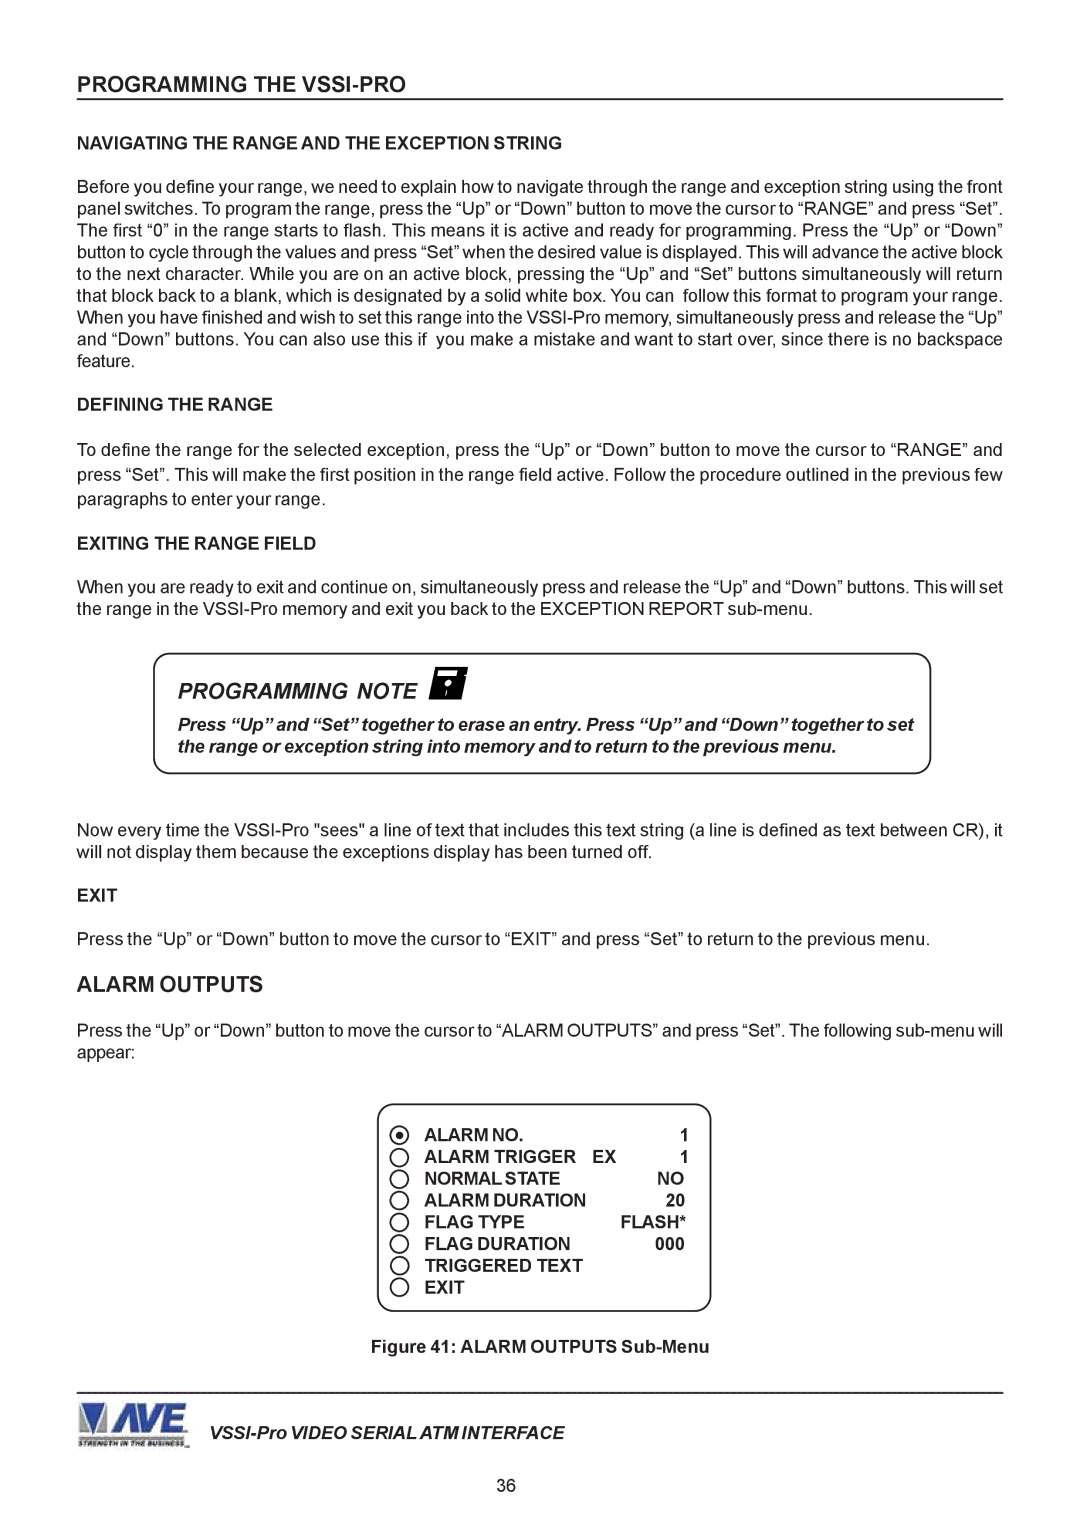
Press the “Up” or “Down” button to move the cursor to “ALARM OUTPUTS” and press “Set”. The following
ALARM NO. | 1 |
ALARM TRIGGER EX | 1 |
NORMAL STATE | NO |
ALARM DURATION | 20 |
FLAG TYPE | FLASH* |
FLAG DURATION | 000 |
TRIGGERED TEXT |
|
EXIT |
|
Figure 41: ALARM OUTPUTS Sub-Menu
36
