Setting Up - NetWare
Using the Add Printer Wizard
1.Click Start on your workstation, select Settings =>Printers. There might be some differences regarding this menu depending of MS Operating System you are running.
2.Start the Add Printer Wizard on the workstation. The Add Printer Wizard dialog will appear. Click Next.
3.Select Network printer and click Next.
4.Click Next again in the Locate Your Printer dialog (Win2000/XP) or press the Browse button (Win9X)
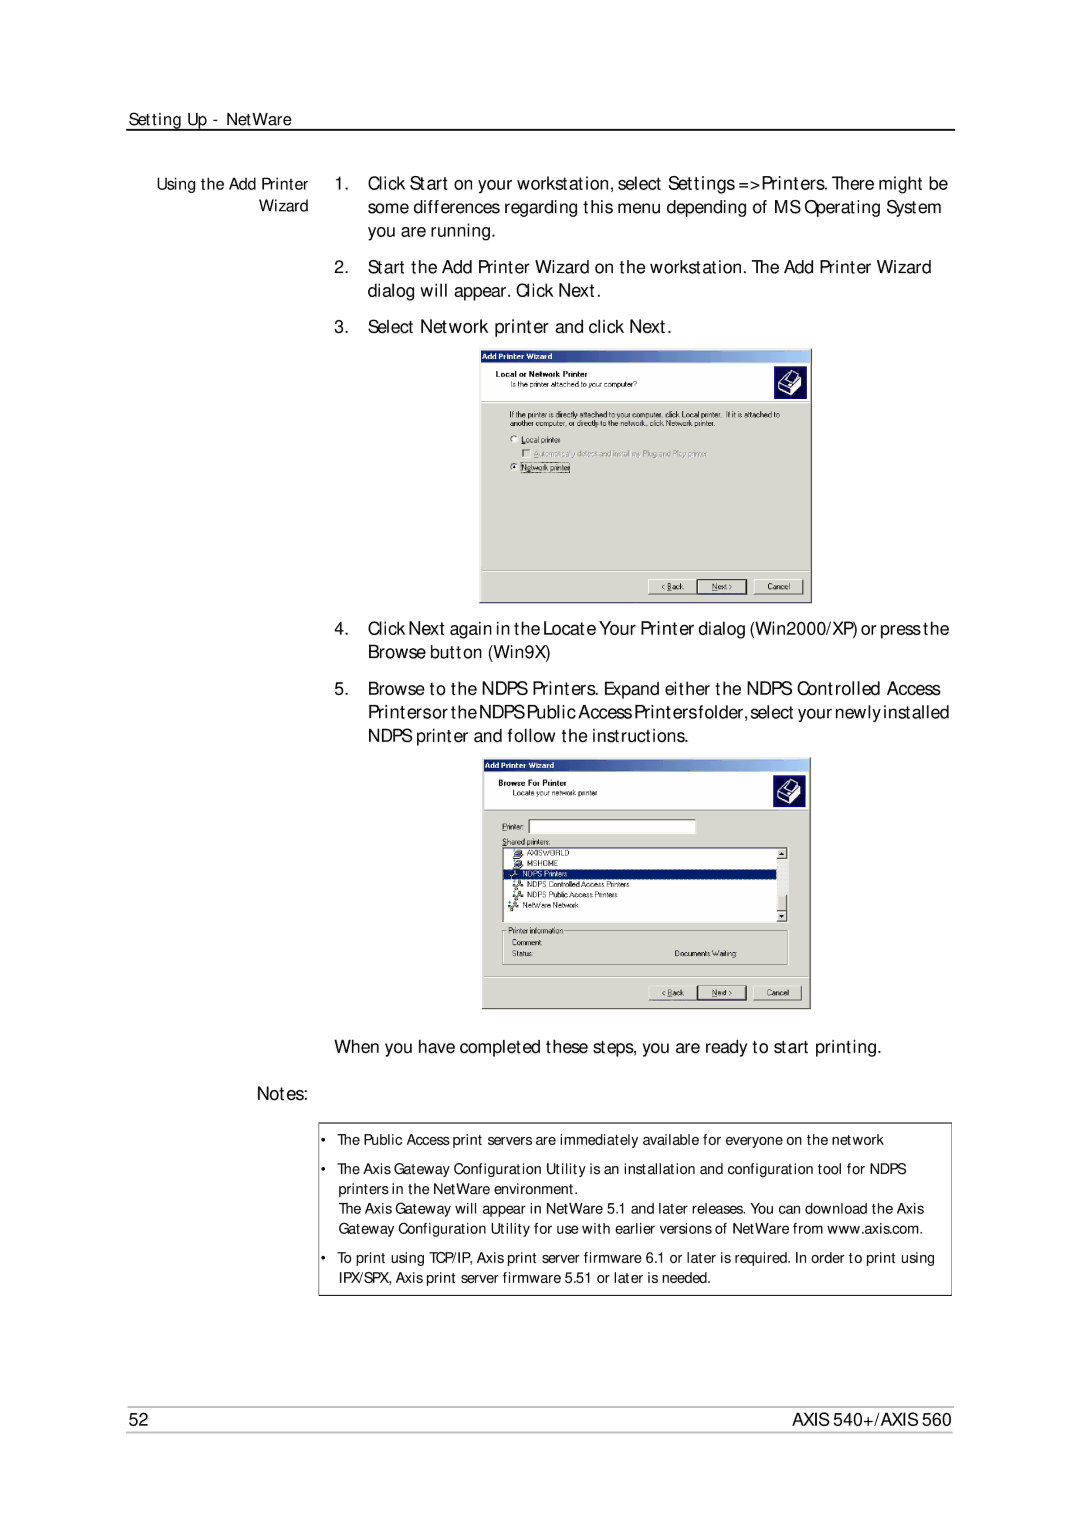
5.Browse to the NDPS Printers. Expand either the NDPS Controlled Access Printers or the NDPS Public Access Printers folder, select your newly installed NDPS printer and follow the instructions.
When you have completed these steps, you are ready to start printing.
Notes:
•The Public Access print servers are immediately available for everyone on the network
•The Axis Gateway Configuration Utility is an installation and configuration tool for NDPS printers in the NetWare environment.
The Axis Gateway will appear in NetWare 5.1 and later releases. You can download the Axis Gateway Configuration Utility for use with earlier versions of NetWare from www.axis.com.
•To print using TCP/IP, Axis print server firmware 6.1 or later is required. In order to print using IPX/SPX, Axis print server firmware 5.51 or later is needed.
52 | AXIS 540+/AXIS 560 |