Chapter 2: Overview
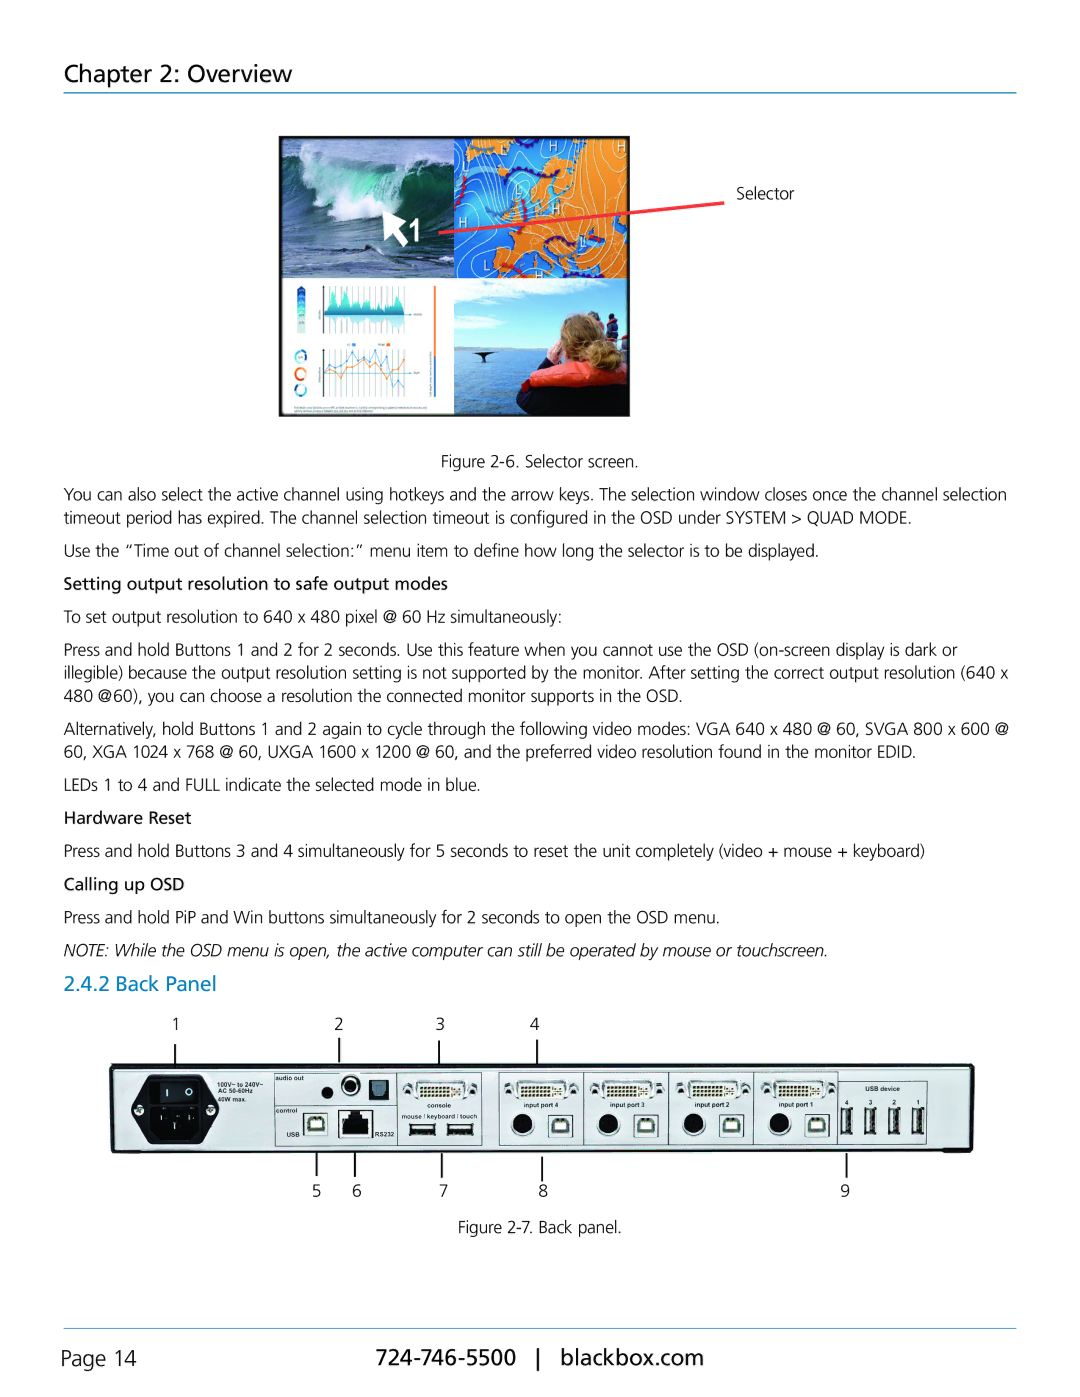
Selector
Figure 2-6. Selector screen.
You can also select the active channel using hotkeys and the arrow keys. The selection window closes once the channel selection timeout period has expired. The channel selection timeout is configured in the OSD under SYSTEM > QUAD MODE.
Use the “Time out of channel selection:” menu item to define how long the selector is to be displayed.
Setting output resolution to safe output modes
To set output resolution to 640 x 480 pixel @ 60 Hz simultaneously:
Press and hold Buttons 1 and 2 for 2 seconds. Use this feature when you cannot use the OSD
Alternatively, hold Buttons 1 and 2 again to cycle through the following video modes: VGA 640 x 480 @ 60, SVGA 800 x 600 @ 60, XGA 1024 x 768 @ 60, UXGA 1600 x 1200 @ 60, and the preferred video resolution found in the monitor EDID.
LEDs 1 to 4 and FULL indicate the selected mode in blue.
Hardware Reset
Press and hold Buttons 3 and 4 simultaneously for 5 seconds to reset the unit completely (video + mouse + keyboard)
Calling up OSD
Press and hold PiP and Win buttons simultaneously for 2 seconds to open the OSD menu.
NOTE: While the OSD menu is open, the active computer can still be operated by mouse or touchscreen.
2.4.2 Back Panel
1 | 2 | 3 | 4 |
|
|
|
|
|
|
|
|
|
|
|
|
|
|
|
|
|
|
|
|
5 | 6 | 7 | 8 | 9 | |||||
Figure 2-7. Back panel.
Page 14 |
