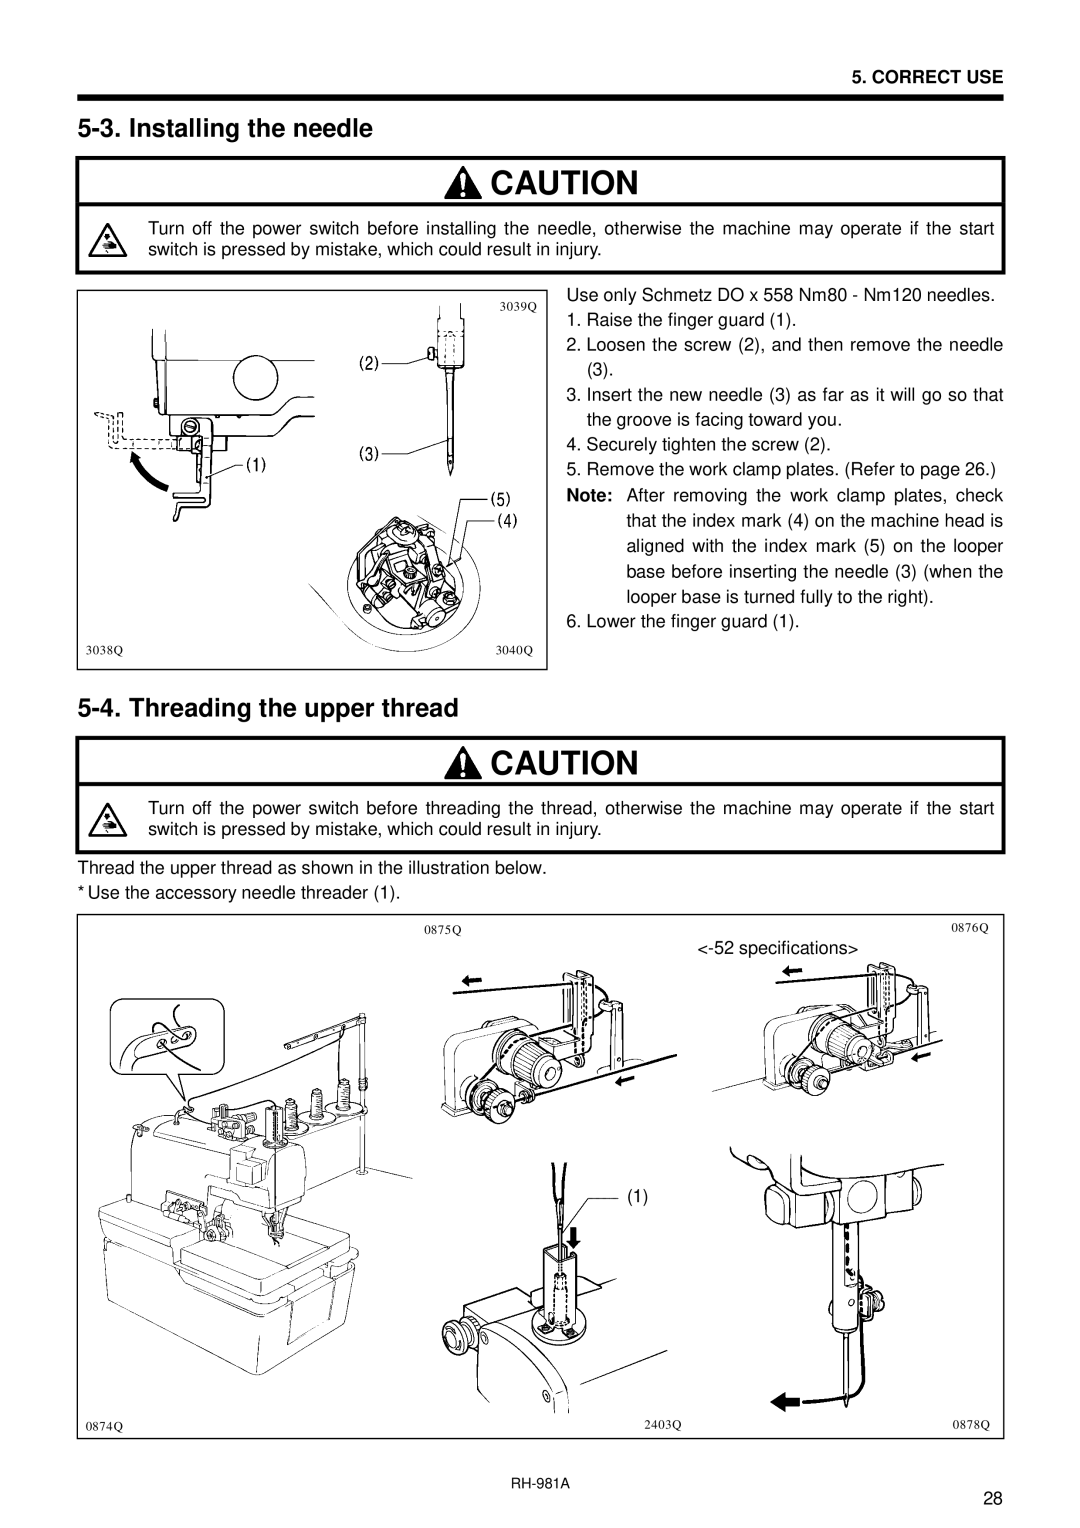
rh-918a specifications
The Brother RH-918A is a versatile and innovative machine tailored for both personal and professional use. As a robust electronic sewing machine, it combines functionality and user-friendly features that cater to a wide range of sewing enthusiasts, from beginners to advanced users.One of the standout features of the Brother RH-918A is its extensive stitch selection. With over 100 built-in stitches, including decorative stitches, utility stitches, and heirloom stitches, users have ample options to choose from, allowing for creativity and customization in every project. The machine also incorporates an easy-to-use stitch selector dial, making it simple for sewists to navigate and find the perfect stitch for their needs.
Another key characteristic of the RH-918A is its automatic needle threader. This time-saving feature allows users to thread the needle effortlessly, reducing eye strain and frustration, especially for those who may struggle with manual threading. Additionally, the top-loading bobbin system facilitates quick bobbin changes and ensures smooth feeding, enhancing overall sewing efficiency.
The machine is equipped with a powerful motor that provides consistent and strong stitches, able to handle various fabric types, from lightweight cotton to heavier materials like denim and canvas. This capability is critical for crafting garments, home décor items, and more intricate projects.
The Brother RH-918A also boasts several convenient features to enhance the user experience. An LED light illuminates the sewing area, making it easier to work on detailed projects, particularly in low-light environments. Furthermore, the machine includes multiple presser feet, such as a zipper foot, buttonhole foot, and walking foot, to expand its functionality and accommodate different sewing techniques.
For enhanced stability, the Brother RH-918A comes with a sturdy metal frame, ensuring durability and precision. Its intuitive interface, comfortable handwheel, and adjustable stitch length and width settings add to the overall ease of use, making sewing enjoyable for everyone.
In summary, the Brother RH-918A combines a wide range of stitches, user-friendly technologies, and robust build quality, making it an excellent choice in the world of sewing machines. Whether for basic repairs or elaborate creations, this machine stands out for its performance and reliability, appealing to a diverse audience of sewing enthusiasts.

