Creating Embroidery Patterns
Auto Punch
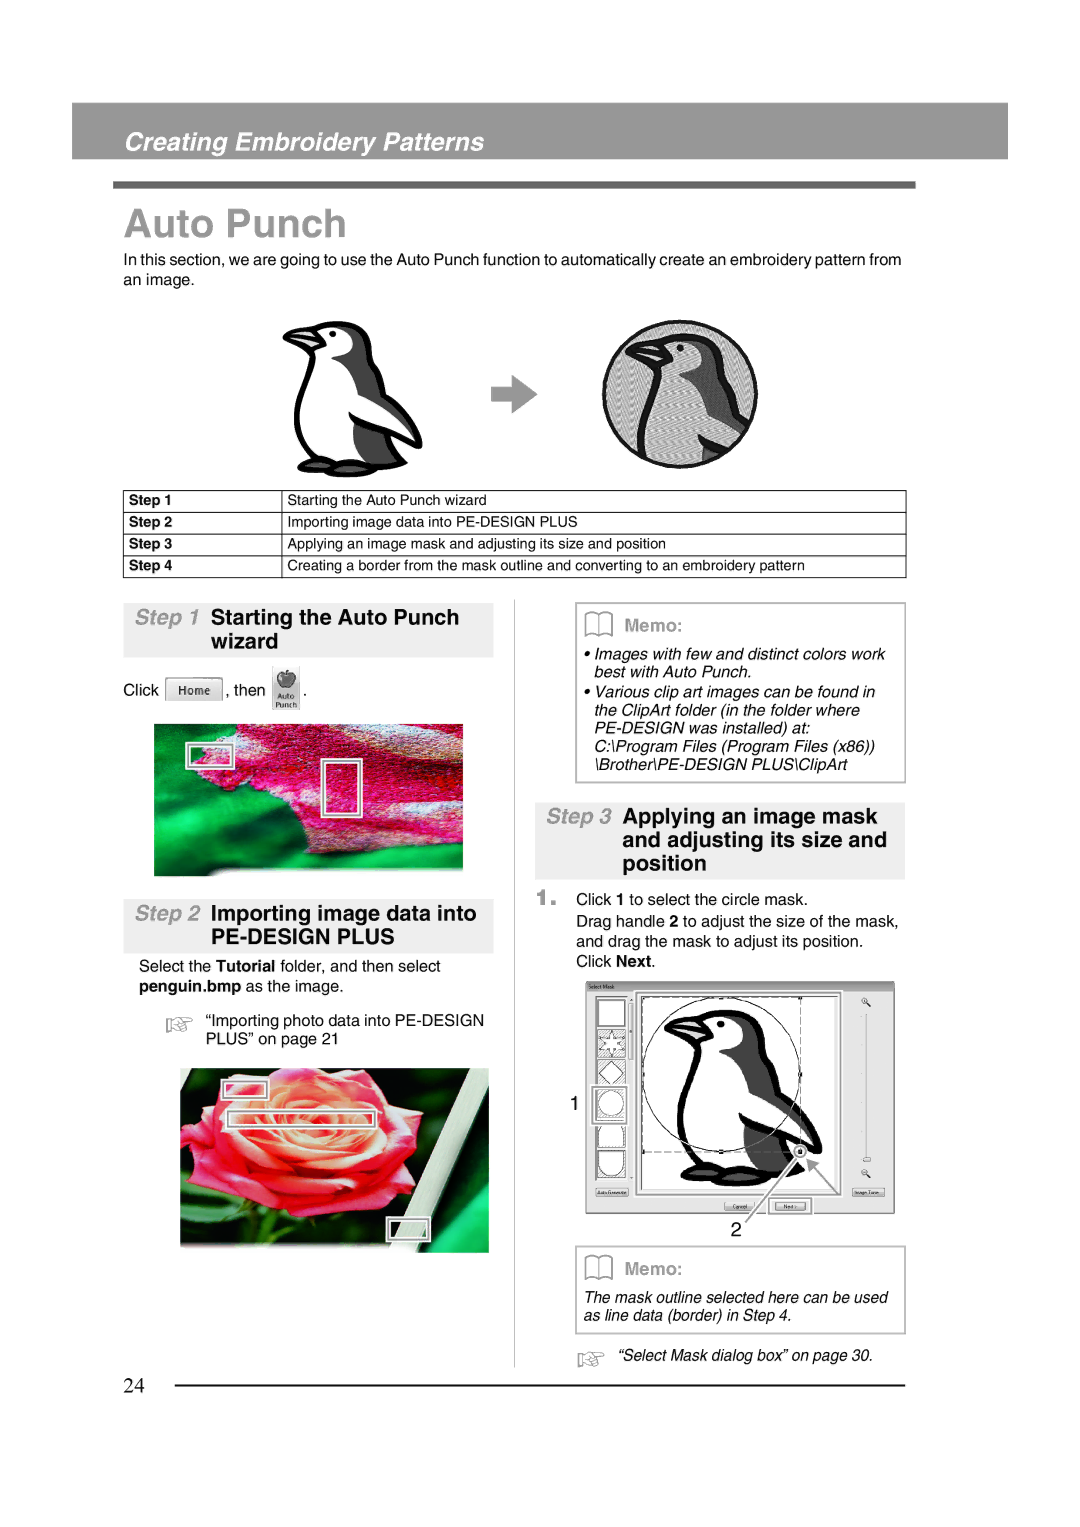
In this section, we are going to use the Auto Punch function to automatically create an embroidery pattern from an image.
Step 1
Step 2
Step 3
Step 4
Starting the Auto Punch wizard
Importing image data into
Applying an image mask and adjusting its size and position
Creating a border from the mask outline and converting to an embroidery pattern
Step 1 Starting the Auto Punch wizard
Click |
| , then | . | |||
|
|
|
|
|
|
|
|
|
|
|
|
|
|
Step 2 Importing image data into
PE-DESIGN PLUS
Select the Tutorial folder, and then select penguin.bmp as the image.
c “Importing photo data into
b Memo:
•Images with few and distinct colors work best with Auto Punch.
•Various clip art images can be found in the ClipArt folder (in the folder where
Step 3 Applying an image mask and adjusting its size and position
1.Click 1 to select the circle mask.
Drag handle 2 to adjust the size of the mask, and drag the mask to adjust its position. Click Next.
1 ![]()
2
b Memo:
The mask outline selected here can be used as line data (border) in Step 4.
c “Select Mask dialog box” on page 30.
24