Image To Stitch
Photo Stitch 2
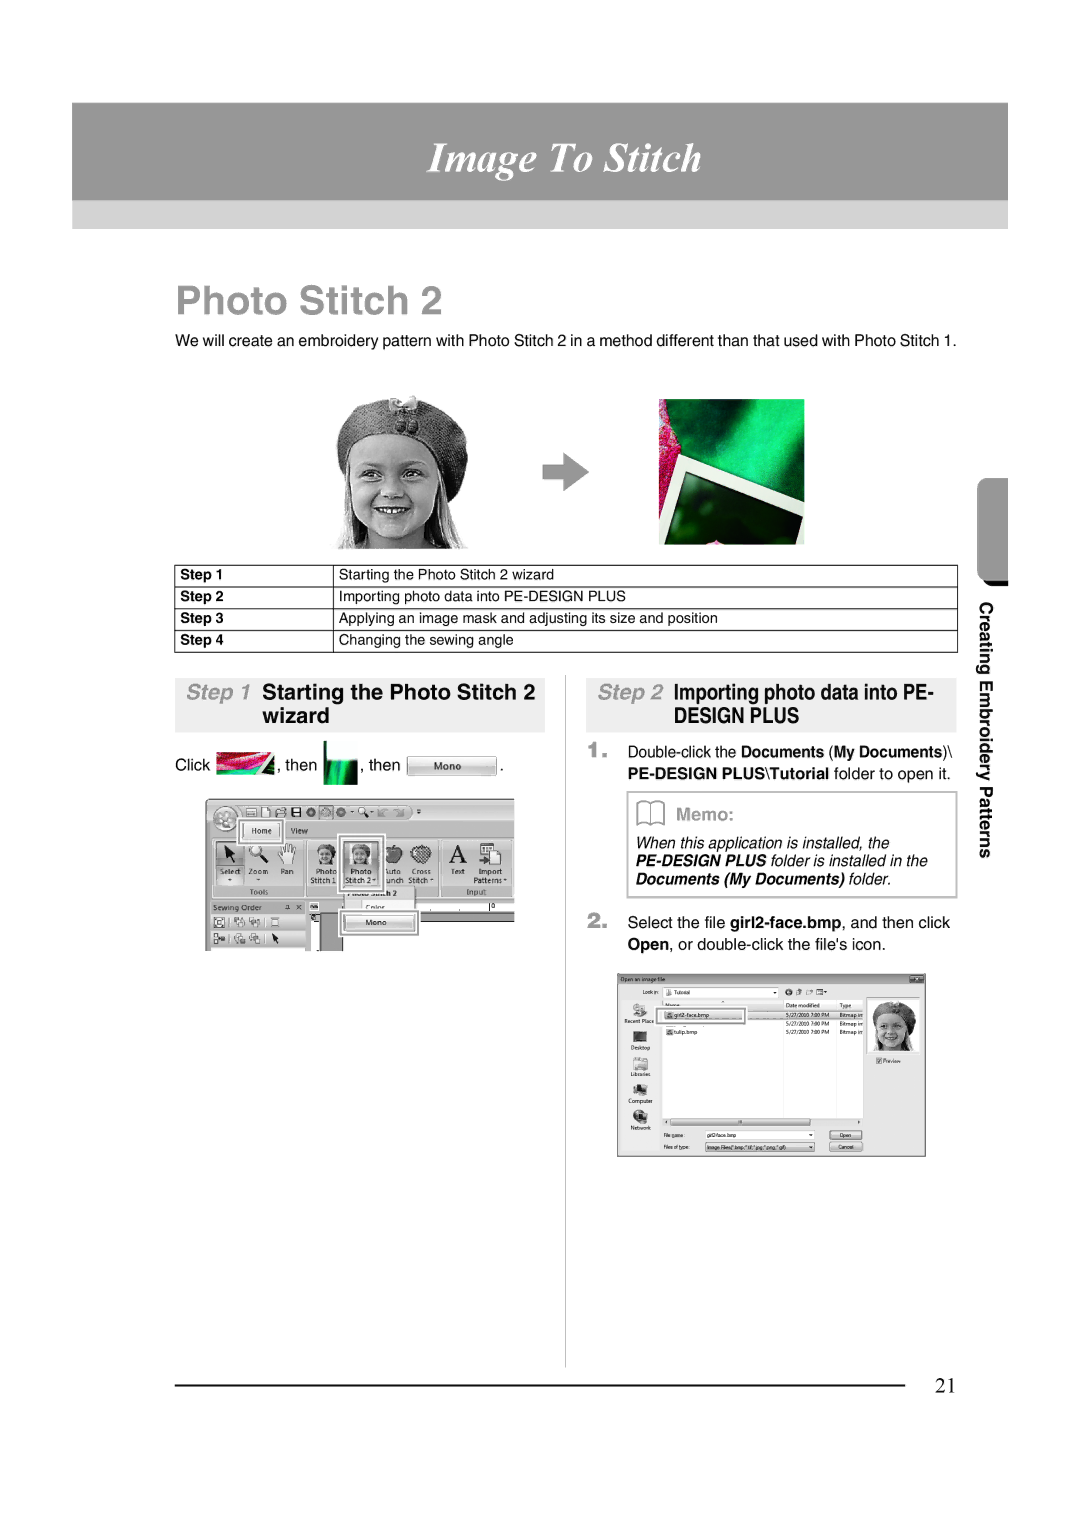
We will create an embroidery pattern with Photo Stitch 2 in a method different than that used with Photo Stitch 1.
Step 1 | Starting the Photo Stitch 2 wizard |
|
|
Step 2 | Importing photo data into |
|
|
Step 3 | Applying an image mask and adjusting its size and position |
|
|
Step 4 | Changing the sewing angle |
|
|
Creating
Step 1 Starting the Photo Stitch 2 wizard
Click |
| , then | , then | . | ||||
|
|
|
|
|
|
|
|
|
|
|
|
|
|
|
|
|
|
|
|
|
|
|
|
|
|
|
|
|
|
|
|
|
|
|
|
|
|
|
|
|
|
|
|
|
|
|
|
|
|
|
|
|
|
|
|
|
|
|
|
|
|
|
Step 2 Importing photo data into PE-
DESIGN PLUS
1.
b Memo:
When this application is installed, the
2.Select the file
Embroidery Patterns
21