4
Customizing Settings
F2 | 3 Press [F2] |
| |
F3 | (01 mm to 20 mm) ➞ press [OK]. |
| |
OK | You can also use the numeric keys to enter the standard frame erase width, and |
C(Clear) to clear the value.
If you enter a value outside the setting range, an error tone sounds. Enter a value within the setting range.
The selected mode is set, and the display returns to the COPY SETTINGS menu.
Reset
4 Press [Reset] to return to the Copy Basic Features screen.
Auto Sort
This setting allows automatic selection of the Collate (Offset Collate) mode when the originals are placed in the feeder. This is helpful when making multiple copies, because you do not need to remember to select the Finishing mode.
![]() NOTE
NOTE
Additional Functions
F3
F4
OK
•If AUTO SORT in Copy Settings (from the Additional Functions menu) is set to ‘01 ON’ when the
•The default setting is ‘01 ON’.
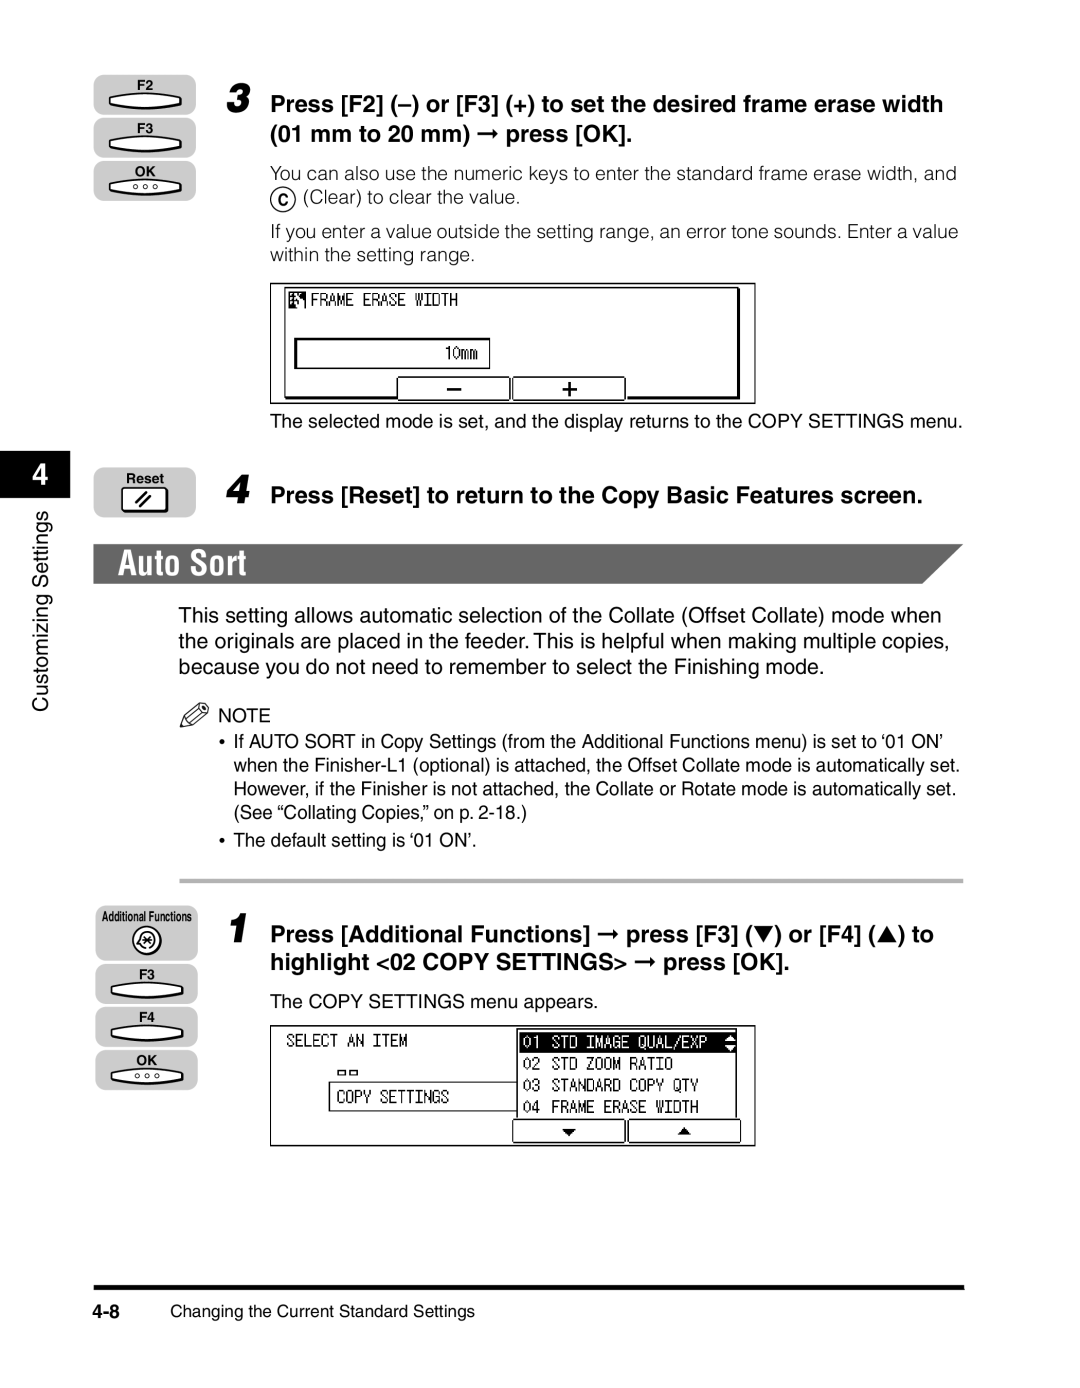
1Press [Additional Functions] ➞ press [F3] (▼) or [F4] (▲) to highlight <02 COPY SETTINGS> ➞ press [OK].
The COPY SETTINGS menu appears.