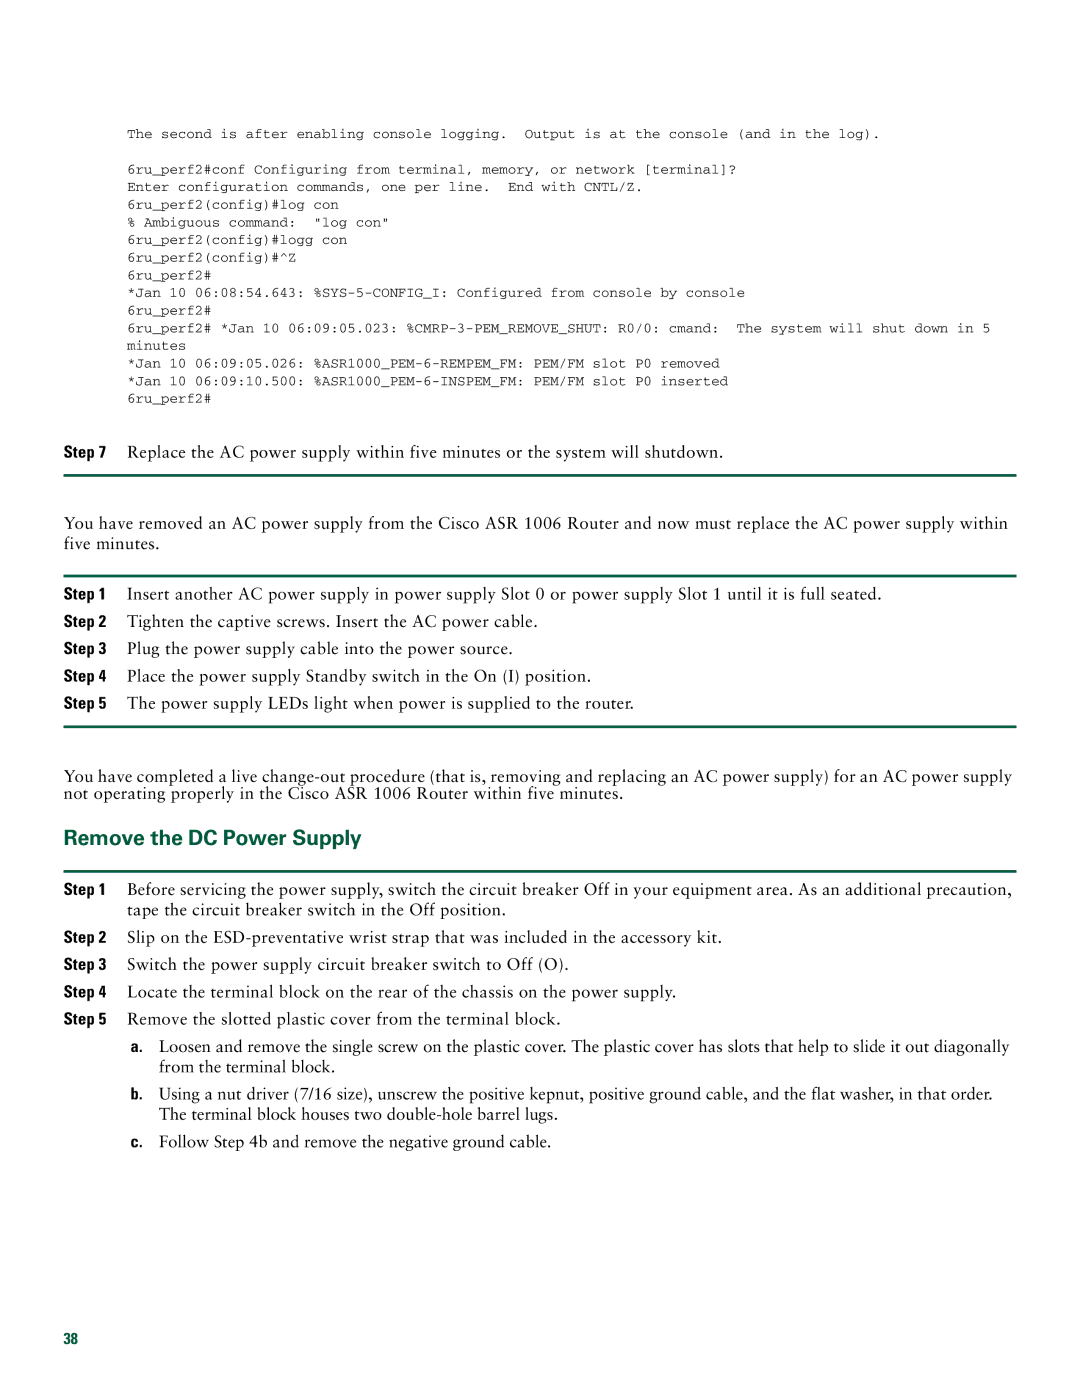
The second is after enabling console logging. Output is at the console (and in the log).
6ru_perf2#conf Configuring from terminal, memory, or network [terminal]? Enter configuration commands, one per line. End with CNTL/Z. 6ru_perf2(config)#log con
%Ambiguous command: "log con" 6ru_perf2(config)#logg con 6ru_perf2(config)#^Z 6ru_perf2#
*Jan 10 06:08:54.643:
6ru_perf2# *Jan 10 06:09:05.023:
*Jan 10 06:09:05.026:
*Jan 10 06:09:10.500:
Step 7 Replace the AC power supply within five minutes or the system will shutdown.
You have removed an AC power supply from the Cisco ASR 1006 Router and now must replace the AC power supply within five minutes.
Step 1 Insert another AC power supply in power supply Slot 0 or power supply Slot 1 until it is full seated.
Step 2 Tighten the captive screws. Insert the AC power cable.
Step 3 Plug the power supply cable into the power source.
Step 4 Place the power supply Standby switch in the On (I) position.
Step 5 The power supply LEDs light when power is supplied to the router.
You have completed a live
Remove the DC Power Supply
Step 1 Before servicing the power supply, switch the circuit breaker Off in your equipment area. As an additional precaution, tape the circuit breaker switch in the Off position.
Step 2 Slip on the
Step 3 Switch the power supply circuit breaker switch to Off (O).
Step 4 Locate the terminal block on the rear of the chassis on the power supply.
Step 5 Remove the slotted plastic cover from the terminal block.
a.Loosen and remove the single screw on the plastic cover. The plastic cover has slots that help to slide it out diagonally from the terminal block.
b.Using a nut driver (7/16 size), unscrew the positive kepnut, positive ground cable, and the flat washer, in that order. The terminal block houses two
c.Follow Step 4b and remove the negative ground cable.
38
