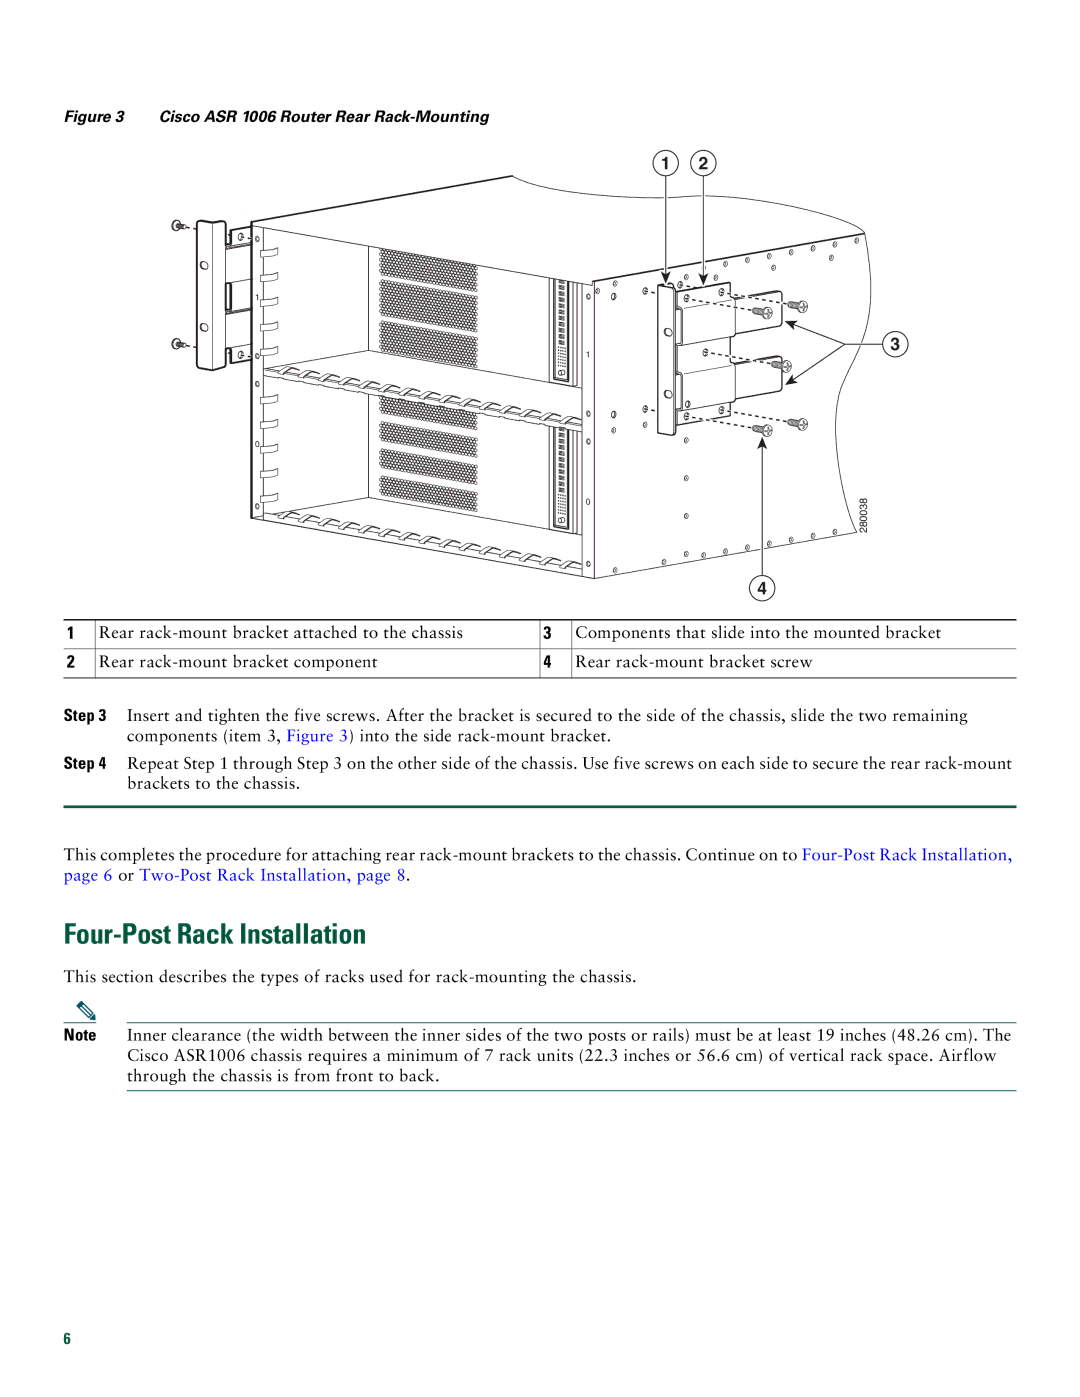
Figure 3 Cisco ASR 1006 Router Rear Rack-Mounting
1 2
1![]()
1
0![]()
0
3
280038
|
|
| 4 |
|
|
|
|
1 | Rear | 3 | Components that slide into the mounted bracket |
|
|
|
|
2 | Rear | 4 | Rear |
|
|
|
|
Step 3 Insert and tighten the five screws. After the bracket is secured to the side of the chassis, slide the two remaining components (item 3, Figure 3) into the side
Step 4 Repeat Step 1 through Step 3 on the other side of the chassis. Use five screws on each side to secure the rear
This completes the procedure for attaching rear
Four-Post Rack Installation
This section describes the types of racks used for
Note Inner clearance (the width between the inner sides of the two posts or rails) must be at least 19 inches (48.26 cm). The Cisco ASR1006 chassis requires a minimum of 7 rack units (22.3 inches or 56.6 cm) of vertical rack space. Airflow through the chassis is from front to back.
6