Chapter 2 Installing the Cisco MDS 9100 Series
Removing and Installing Components
Removing and Installing Power Supplies
This section provides instructions for removing and installing the power supplies for the Cisco MDS 9100 Series.
Caution Power supplies for the Cisco 9100 Series look similar but they differ slightly. Be sure to use the correct power supply designated for your Cisco 9100 Series switch. Using an incorrect power supply will not provide redundant power in the case of a power supply failure.
Removing Power Supplies
To remove a power supply, follow these steps:
Step 1 Turn the power switch to the off (0) position on the power supply you are removing.
Step 2 Disconnect the power cord from the power source.
Step 3 Loosen the captive screw.
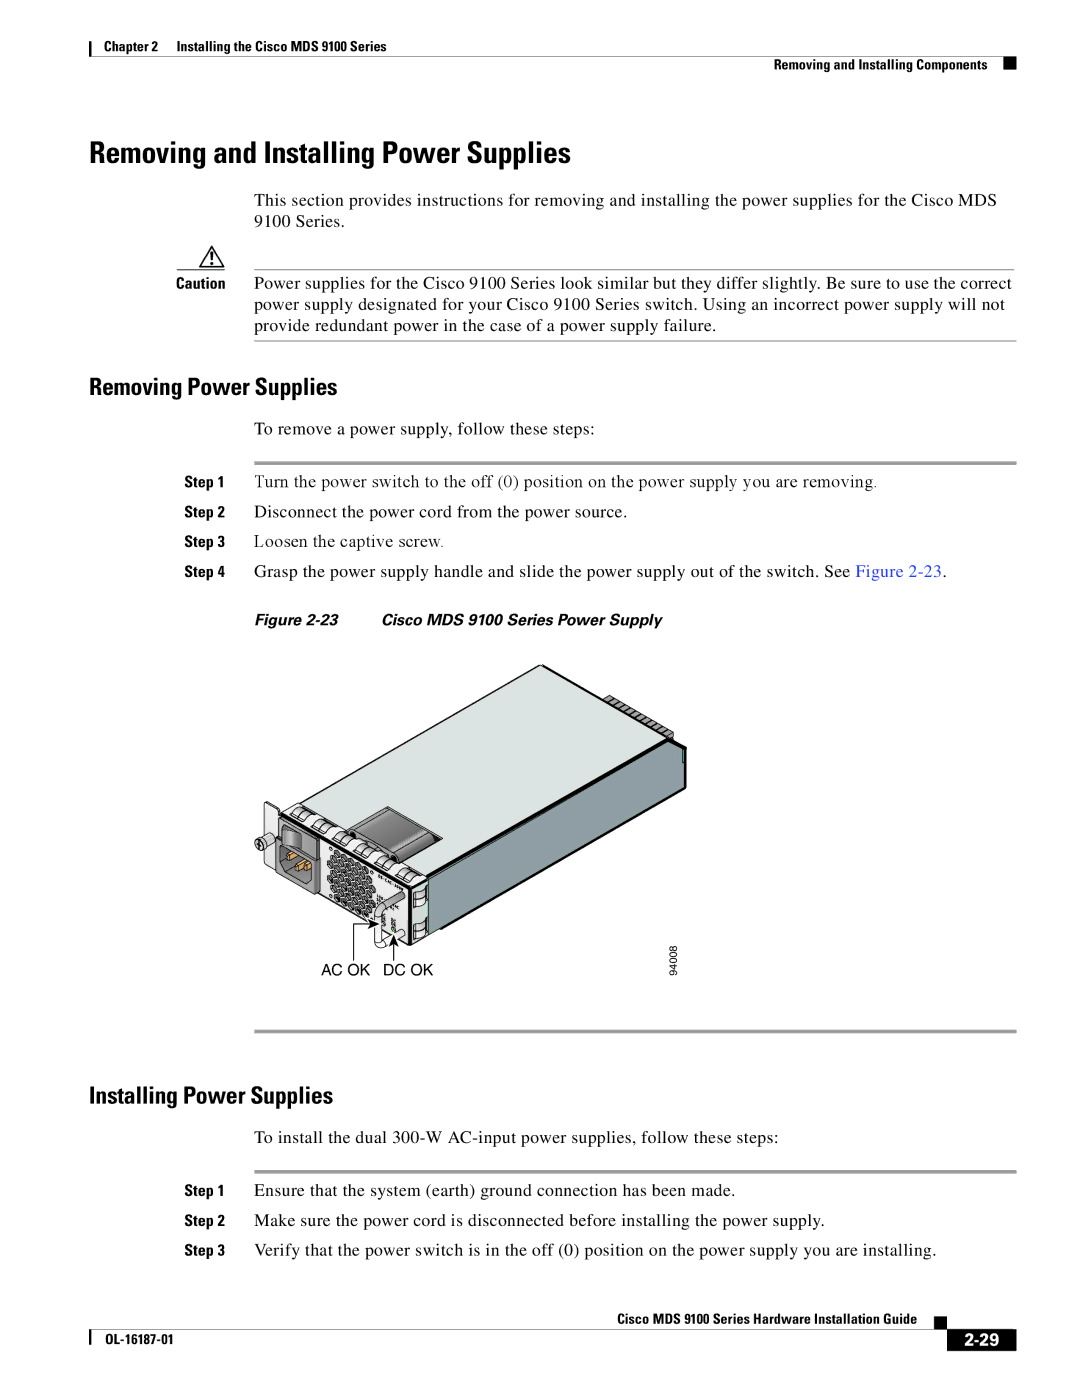
Step 4 Grasp the power supply handle and slide the power supply out of the switch. See Figure
Figure 2-23 Cisco MDS 9100 Series Power Supply
AC OK DC OK
94008
Installing Power Supplies
To install the dual
Step 1 Ensure that the system (earth) ground connection has been made.
Step 2 Make sure the power cord is disconnected before installing the power supply.
Step 3 Verify that the power switch is in the off (0) position on the power supply you are installing.
|
| Cisco MDS 9100 Series Hardware Installation Guide |
|
| |
|
|
| |||
|
|
|
| ||
|
|
|
| ||