Chapter 2 Installing the Cisco MDS 9100 Series
Installing the Switch in a Cabinet with Insufficient Front Clearance
1
Front rack-mount bracket
2
C bracket
Installing Cisco MDS 9100 Series Switch
To install a Cisco MDS 9120 or 9140 Switch
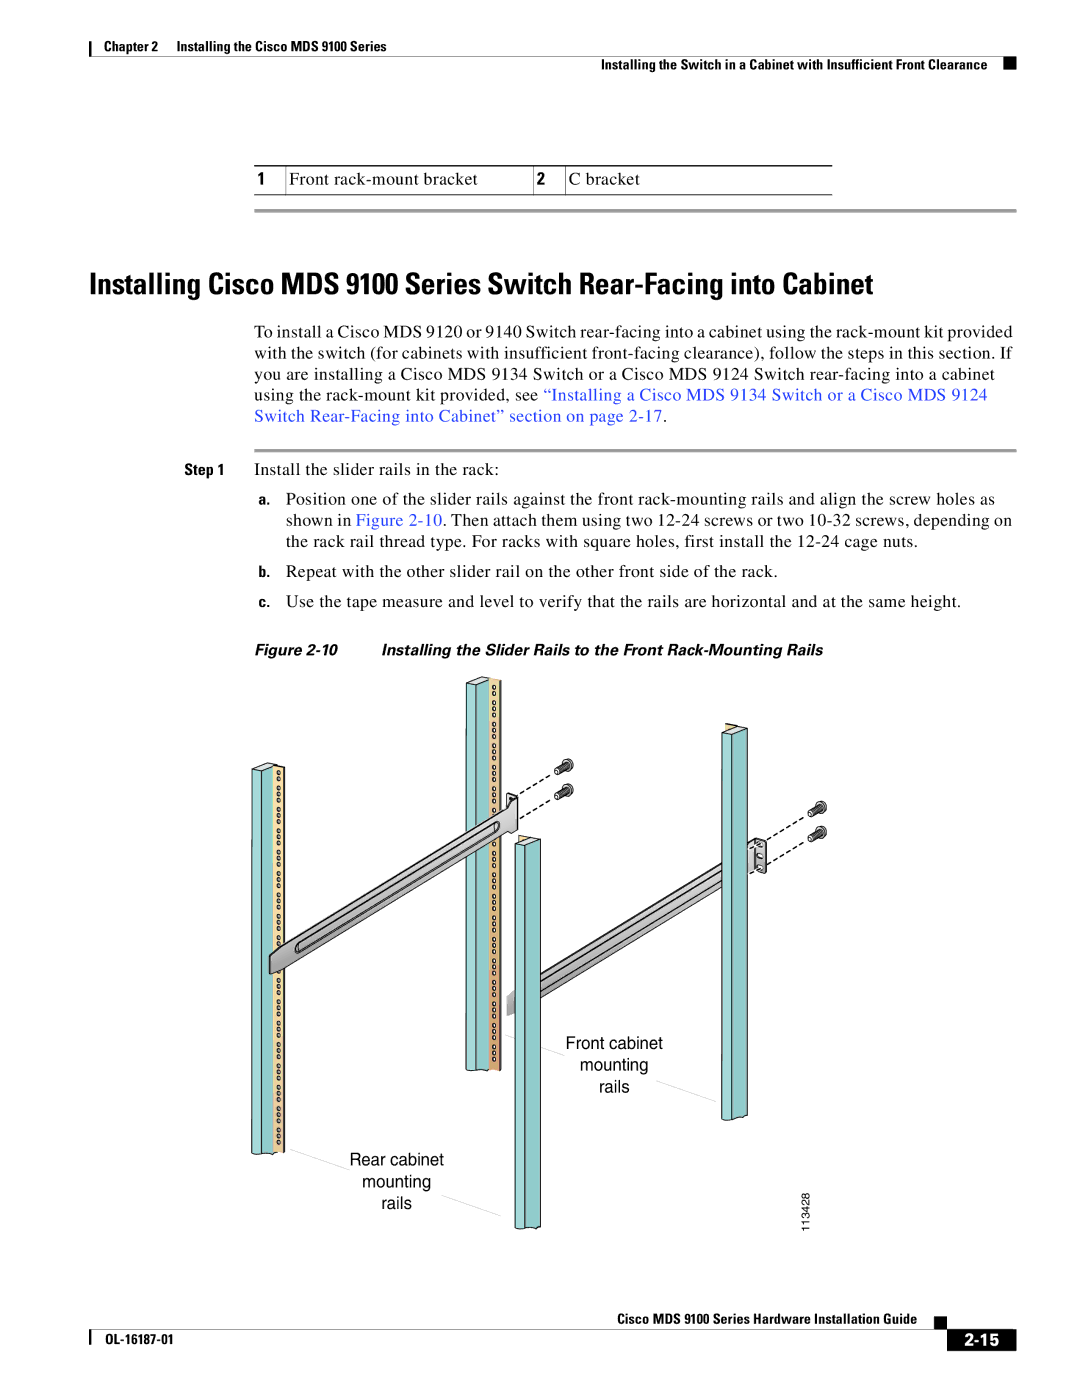
Step 1 Install the slider rails in the rack:
a.Position one of the slider rails against the front
b.Repeat with the other slider rail on the other front side of the rack.
c.Use the tape measure and level to verify that the rails are horizontal and at the same height.
Figure 2-10 Installing the Slider Rails to the Front Rack-Mounting Rails
 Front cabinet
mounting rails
 Rear cabinet mounting
rails
113428
|
| Cisco MDS 9100 Series Hardware Installation Guide |
|
| |
|
|
| |||
|
|
|
| ||
|
|
|
| ||