•If the tooth was too close to the square, back the bracket away with the block of wood and hammer.
•Tighten the screws, raise the blade and recheck.
•Repeat untilblade is parallel to miter gage groove.
•If the blade Is not parattel,adjust the front table bracket.Tilt the blade to 45" with the blade lock
handle and bevel handwheel.
•From the back of the saw, toosenthe bolts holding the front table bracket, as well as the rear table bracket.
•Repositionthe blade to 90" with the bevel hand- wheel and blade lock handle.
•Lower the blade and move the brackets as needed. Retightenall bracket screws.
•Raise the blade and recheck. Repeat until the blade is parallelto the miter gage groove.
•Place the throat plate in the opening and push it towardthe rear of saw base to engage the spring clip.
Note: The keyslotin the throat plate willdrop over the frontscrew.
•Tightenthe screw. Do not allow the throat plate to bow up above the table surface.
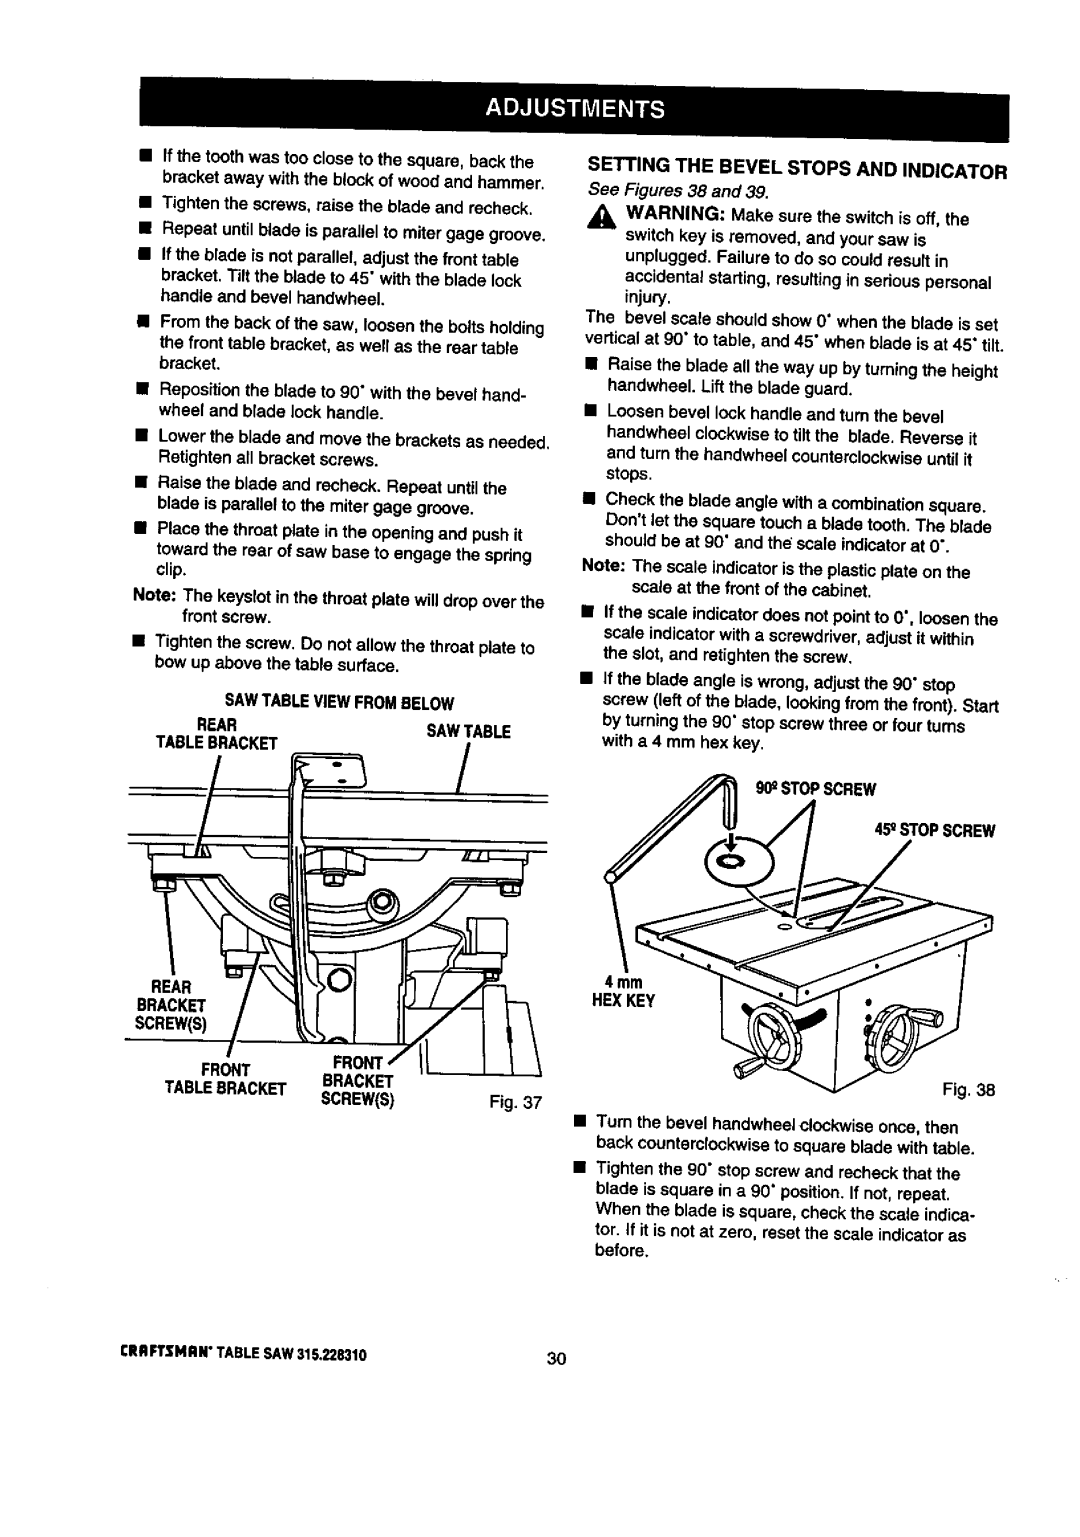
SAWTABLEVIEWFROMBELOW
REARSAWTABLE
TABLEBRACKET/
REAR
BRACKET
SCREW(S)
| FRON |
|
FRONT | BRACKET |
|
TABLEBRACKET | SCREW(S) | Fig. 37 |
SETTING THE BEVEL STOPS AND INDICATOR See Figures 38 and 39.
,_ WARNING: Make sure the switch is off, the switch key is removed, and your saw is
unplugged. Failure to do so could result in accidental starting, resultingin serious personal
injury.
The bevel scale shouldshow 0" when the blade is set verticalat 90" to table, and 45" when blade is at 45" tilt.
•Raise the blade all the way up by turningthe height handwheel. Liftthe blade guard.
•Loosen bevel lookhandle and turn the bevel handwheel clockwiseto tilt the blade, Reverse it and turn the handwheel counterclockwiseuntil it stops.
•Check the blade angle with a combinationsquare. Don'tlet the square touch a bladetooth. The blade shouldbe at 90" and th_ scale indicatorat 0".
Note: The scale indicator isthe plasticplate on the scale at the front of the cabinet.
•If the scale indicatordoes not point to 0", loosenthe scale indicatorwith a screwdriver,adjustit within the s_ot,and retightenthe screw.
•If the blade angle is wrong, adjustthe 90" stop screw (left of the blade, lookingfrom the front). Start by turning the 90" stop screw three or four turns with a 4 mm hex key.
90_STOPSCREW
45_STOPSCREW
4mm
HEXKEY
Fig. 38
•Turn the bevel handwhee] clockwiseonce, then back counterclockwiseto square blade with table.
•Tighten the 90" stop screw and recheck that the blade is square in a 90" position,If not, repeat,
When the blade is square, check the scale indica- tor. If it is not at zero, resetthe scale indicator as before.