6.4.2 How to Set Up your Computer for Direct Connect
Follow these instructions to set up your PC or notebook. Check with your administrator if you are unable to change the settings as described here since you may need administrator privileges. The instructions are specifically for Windows 2000, but the interface is similar for other versions of Windows.
TIP: If you are using a PC that is already on a network, you will disconnect the PC from that network to run these sample programs. Write down the existing settings before changing them to facilitate restoring them when you are finished with the sample pro- grams and reconnect your PC to the network.
1.Go to the control panel (Start > Settings > Control Panel), and then
2.Select the network interface card used for the Ethernet interface you intend to use (e.g.,
TCP/IP Xircom Credit Card Network Adapter) and click on the “Properties” button. Depending on which version of Windows your PC is running, you may have to select the “Local Area Connection” first, and then click on the “Properties” button to bring up the Ethernet interface dialog. Then “Configure” your interface card for a
NOTE: Your network interface card will likely have a different name.
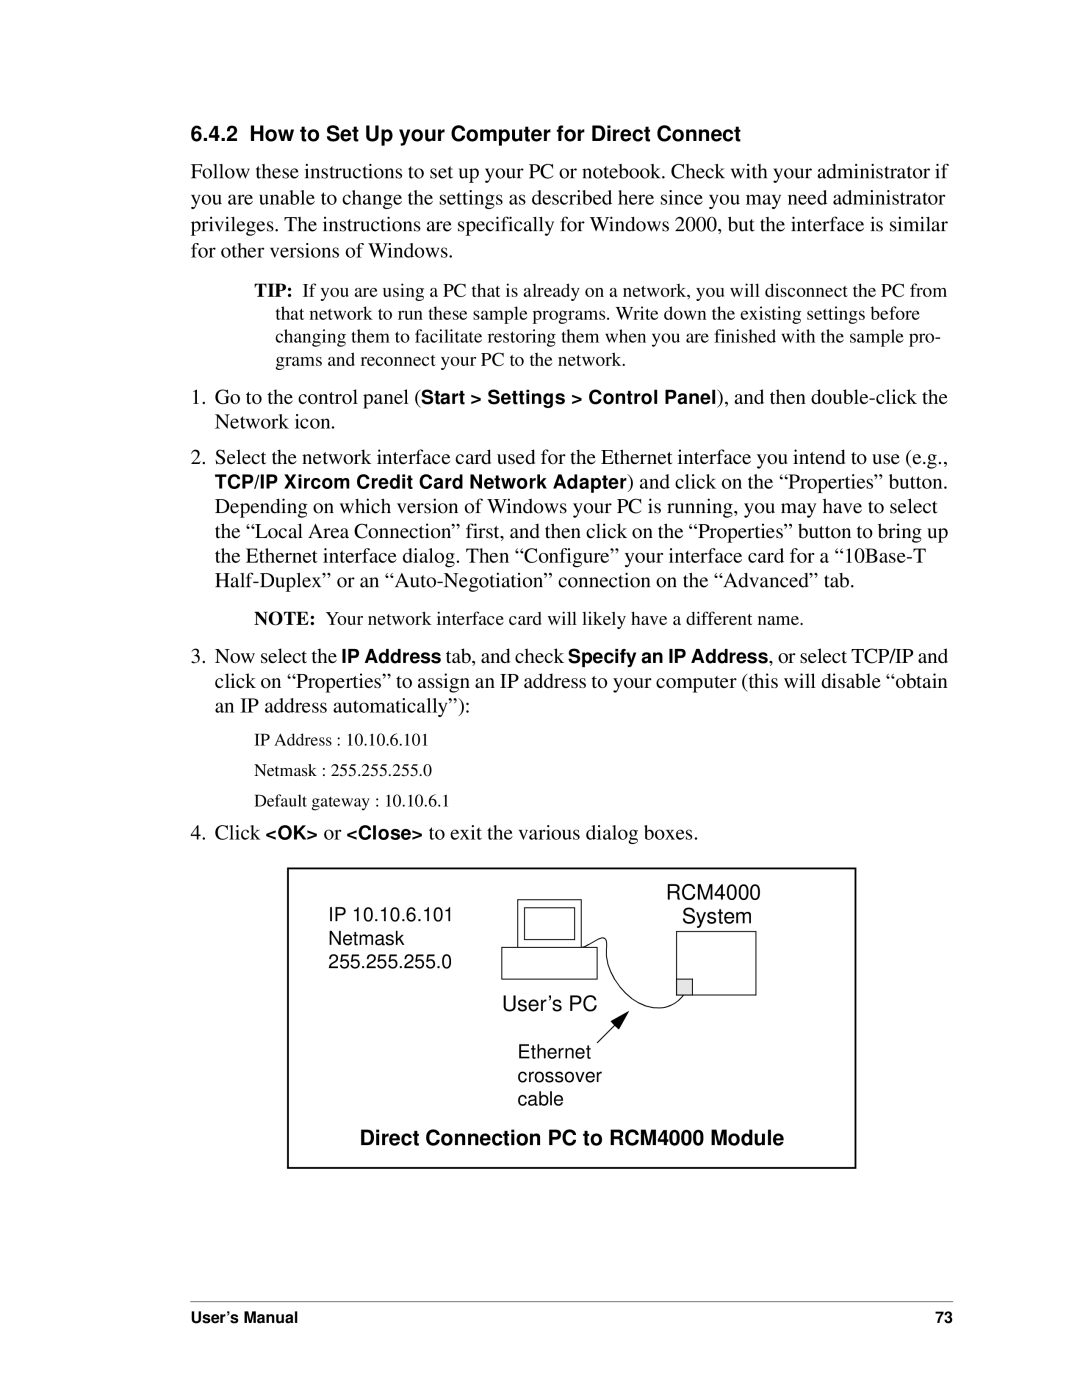
3.Now select the IP Address tab, and check Specify an IP Address, or select TCP/IP and click on “Properties” to assign an IP address to your computer (this will disable “obtain an IP address automatically”):
IP Address : 10.10.6.101
Netmask : 255.255.255.0
Default gateway : 10.10.6.1
4. Click <OK> or <Close> to exit the various dialog boxes.
IP 10.10.6.101 Netmask 255.255.255.0
RCM4000
System
User’s PC
Ethernet crossover cable
Direct Connection PC to RCM4000 Module
User’s Manual | 73 |