the present position to the destination waypoint. As you travel toward the destination, the unit automatically begins zooming in — one zoom range at a time — always keeping the destination on the screen.
To turn this feature on, from the Plotter Page, press MENU↓ to AUTO ZOOMENTEXIT. Repeat these steps to turn it off.
Plotter Orientation
By default, this receiver shows the plotter with north always at the top of the screen. This is the way most maps and charts are printed on paper.
This is fine if you're always traveling due north. What you see to your left corresponds to the left side of the plotter, to your right is shown on the right side of the plotter, and so on. However, if you travel any other direction, the plotter doesn't line up with your view of the world.
To correct this problem, a
Another option is
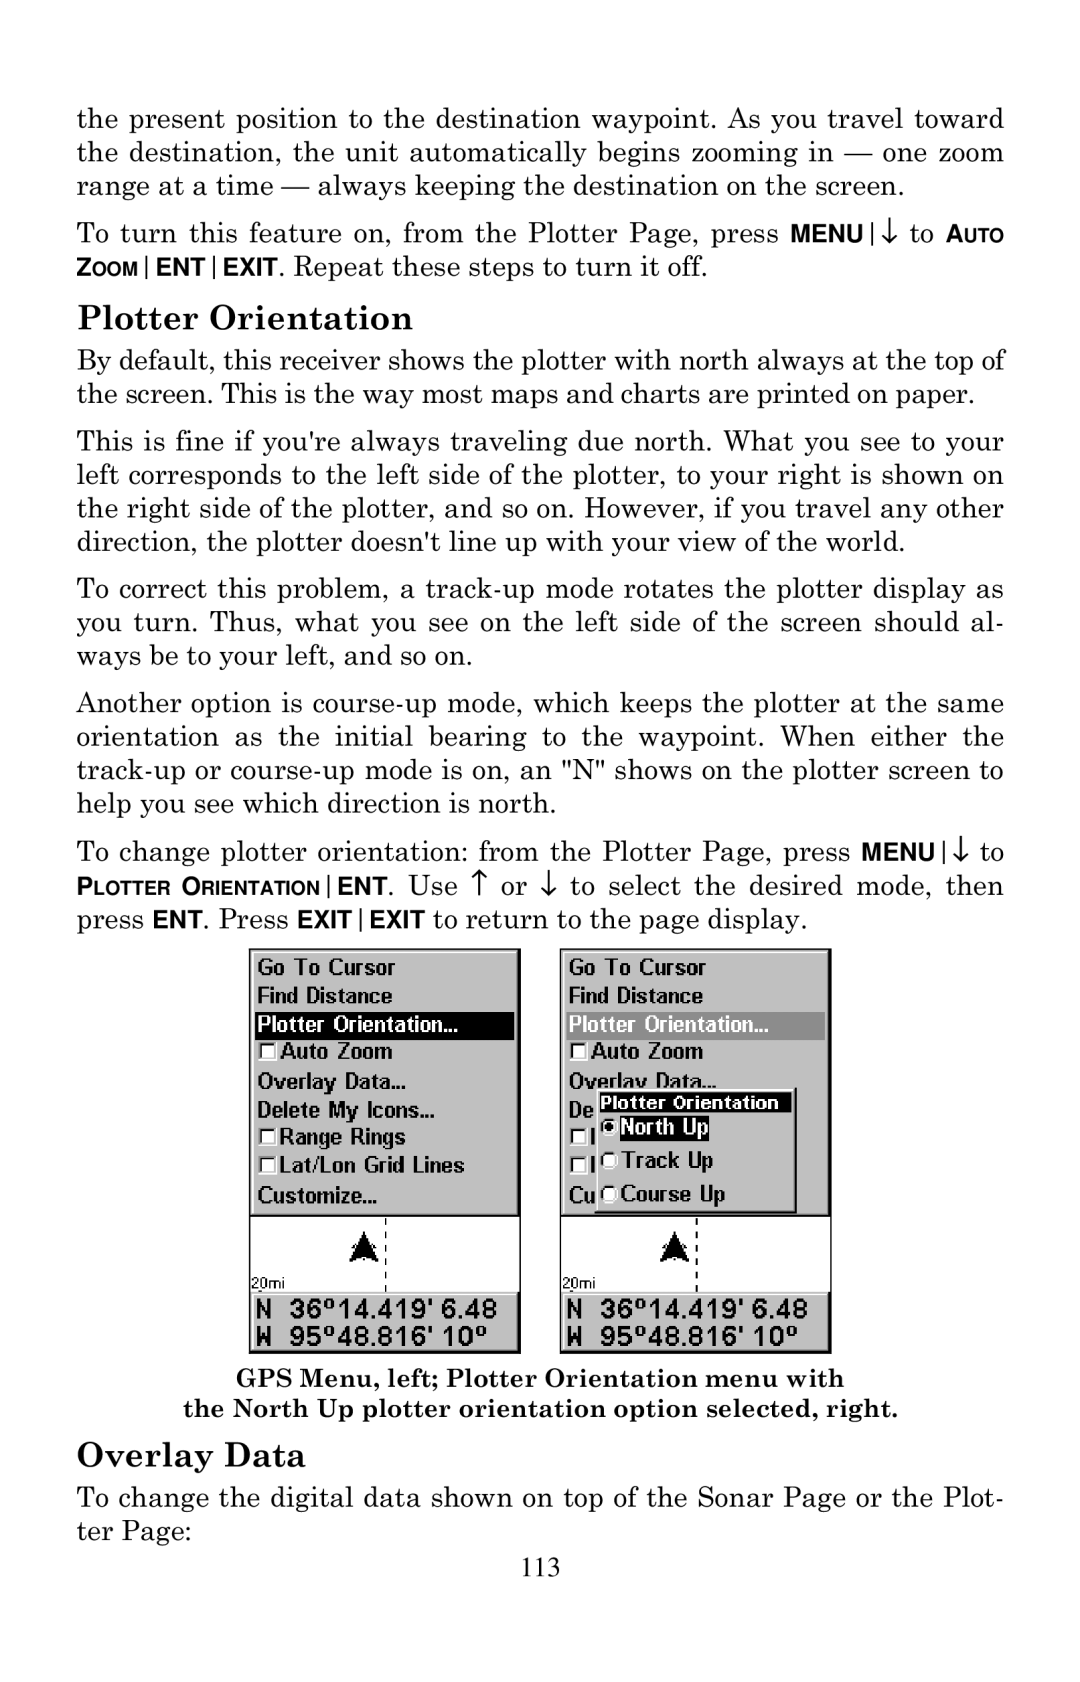
To change plotter orientation: from the Plotter Page, press MENU↓ to PLOTTER ORIENTATIONENT. Use ↑ or ↓ to select the desired mode, then press ENT. Press EXITEXIT to return to the page display.
GPS Menu, left; Plotter Orientation menu with
the North Up plotter orientation option selected, right.
Overlay Data
To change the digital data shown on top of the Sonar Page or the Plot- ter Page:
113