Chapter 2 Installation and Setup 
7
8
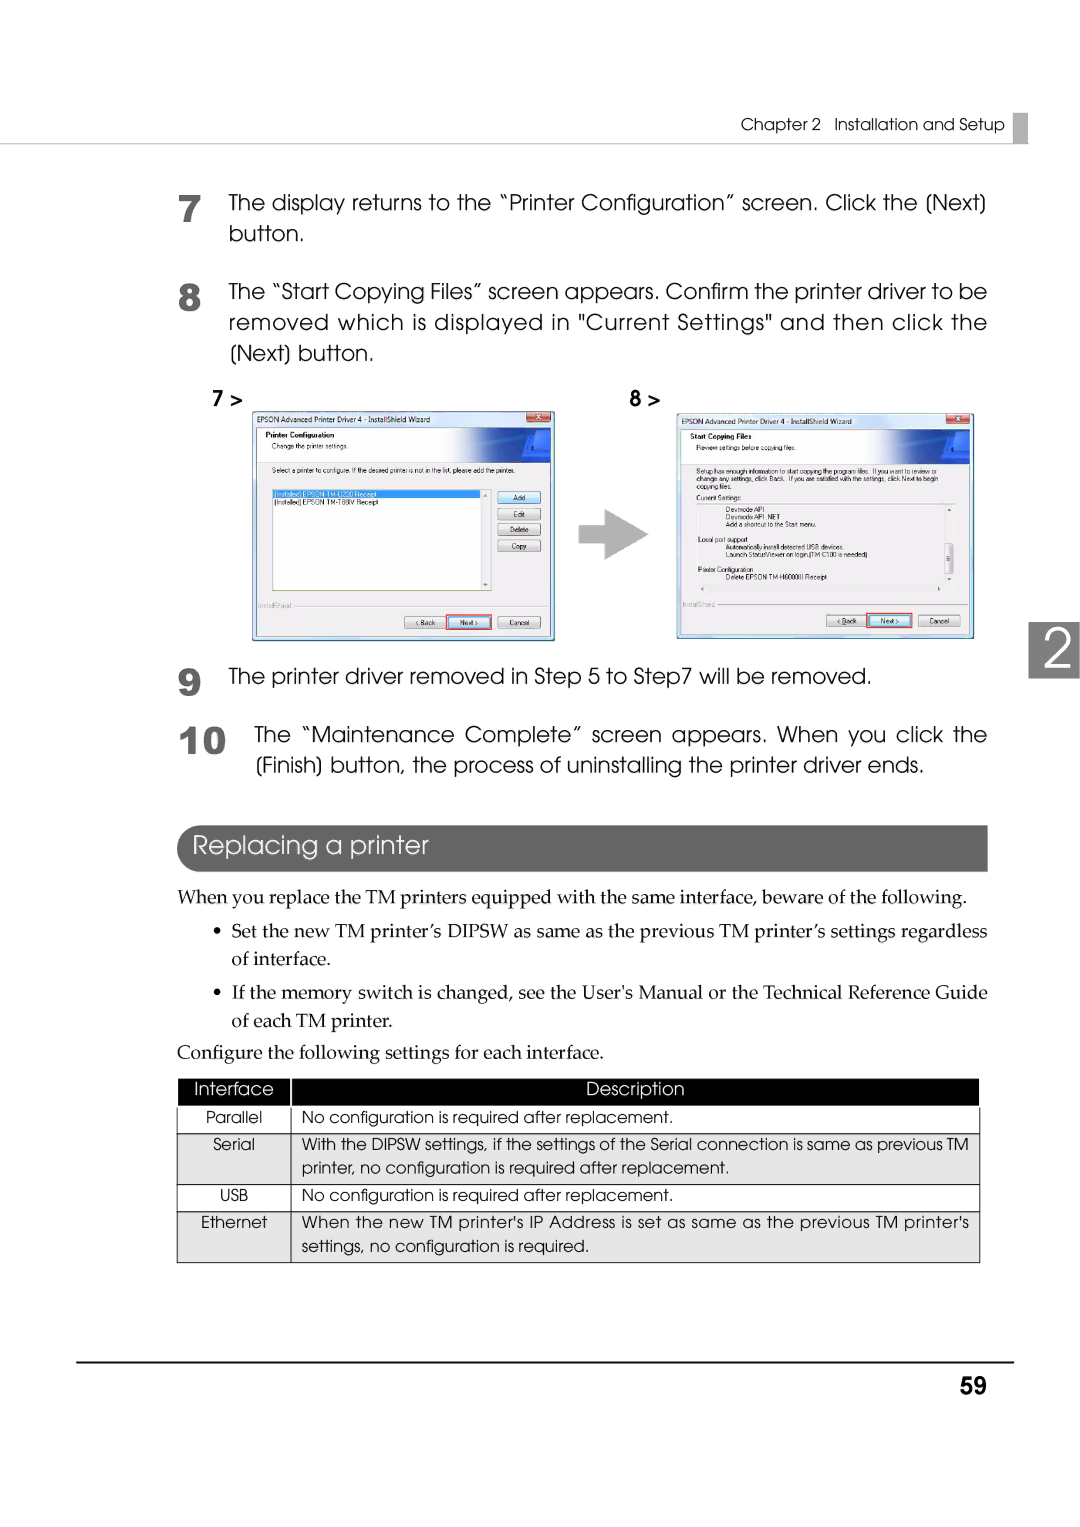
The display returns to the “Printer Configuration” screen. Click the [Next] button.
The “Start Copying Files” screen appears. Confirm the printer driver to be removed which is displayed in "Current Settings" and then click the [Next] button.
7 > | 8 > |
9
10
2
The printer driver removed in Step 5 to Step7 will be removed.
The “Maintenance Complete” screen appears. When you click the [Finish] button, the process of uninstalling the printer driver ends.
Replacing a printer
When you replace the TM printers equipped with the same interface, beware of the following.
•Set the new TM printer’s DIPSW as same as the previous TM printer’s settings regardless of interface.
•If the memory switch is changed, see the Userʹs Manual or the Technical Reference Guide of each TM printer.
Configure the following settings for each interface.
Interface
Description
Parallel | No configuration is required after replacement. |
|
|
Serial | With the DIPSW settings, if the settings of the Serial connection is same as previous TM |
| printer, no configuration is required after replacement. |
|
|
USB | No configuration is required after replacement. |
|
|
Ethernet | When the new TM printer's IP Address is set as same as the previous TM printer's |
| settings, no configuration is required. |
|
|
59