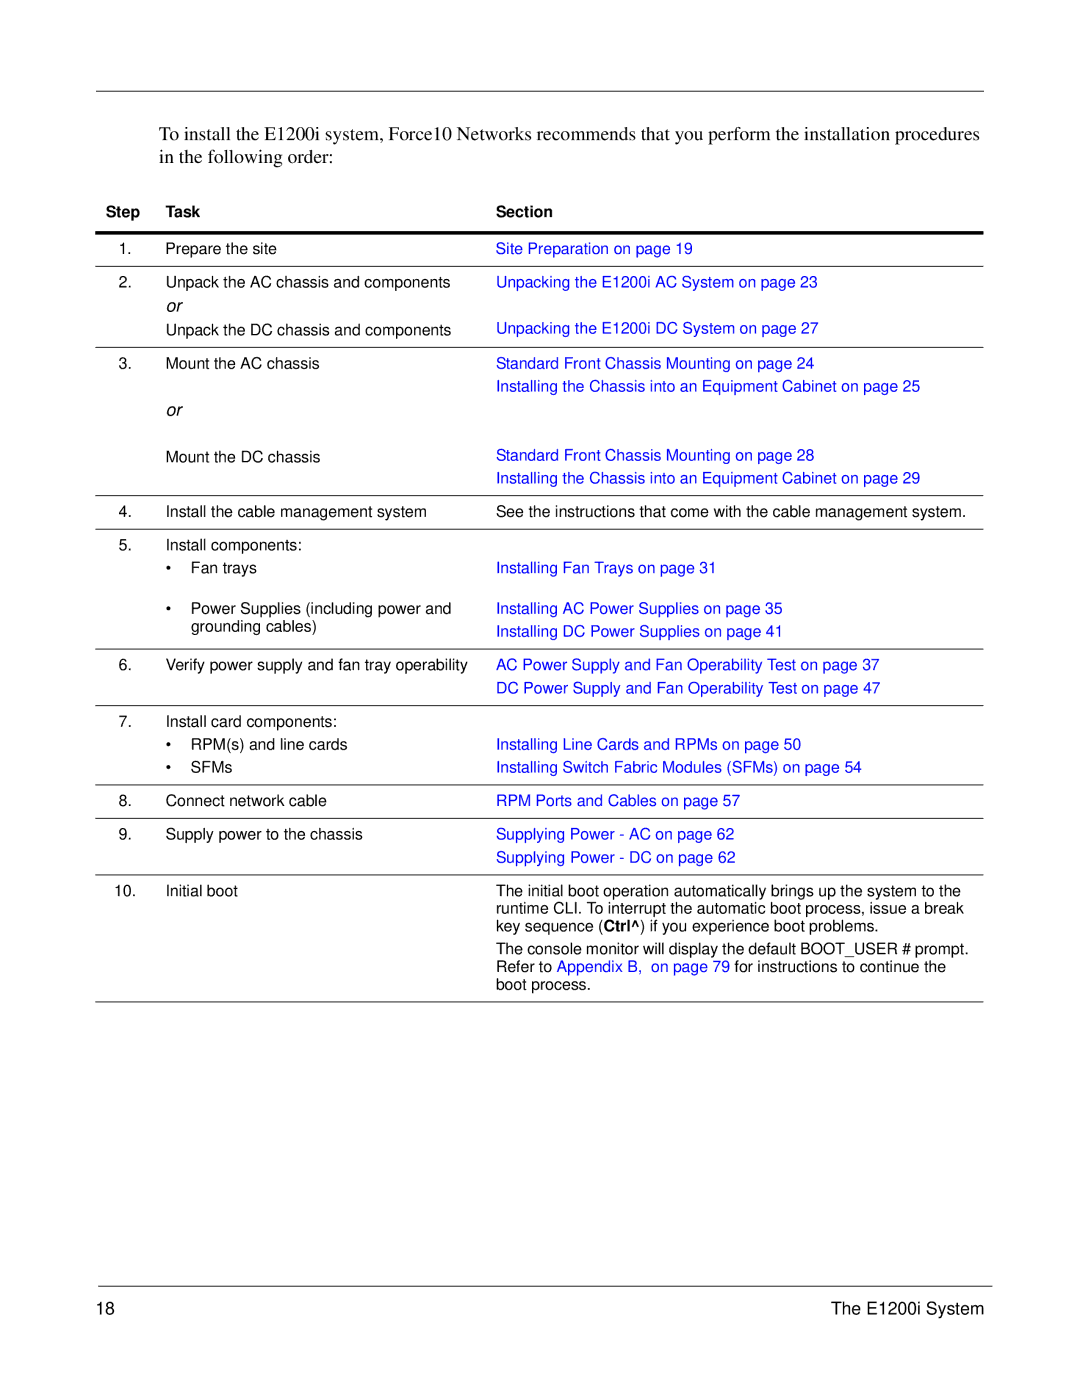
To install the E1200i system, Force10 Networks recommends that you perform the installation procedures in the following order:
Step | Task | Section |
|
|
|
1. | Prepare the site | Site Preparation on page 19 |
|
|
|
2. | Unpack the AC chassis and components | Unpacking the E1200i AC System on page 23 |
| or |
|
| Unpack the DC chassis and components | Unpacking the E1200i DC System on page 27 |
|
|
|
3. | Mount the AC chassis | Standard Front Chassis Mounting on page 24 |
|
| Installing the Chassis into an Equipment Cabinet on page 25 |
| or |
|
| Mount the DC chassis | Standard Front Chassis Mounting on page 28 |
|
| Installing the Chassis into an Equipment Cabinet on page 29 |
|
|
|
4. | Install the cable management system | See the instructions that come with the cable management system. |
5.Install components:
| • Fan trays | Installing Fan Trays on page 31 |
| • Power Supplies (including power and | Installing AC Power Supplies on page 35 |
| grounding cables) | Installing DC Power Supplies on page 41 |
|
| |
|
|
|
6. | Verify power supply and fan tray operability | AC Power Supply and Fan Operability Test on page 37 |
|
| DC Power Supply and Fan Operability Test on page 47 |
7.Install card components:
| • RPM(s) and line cards | Installing Line Cards and RPMs on page 50 |
| • SFMs | Installing Switch Fabric Modules (SFMs) on page 54 |
|
|
|
8. | Connect network cable | RPM Ports and Cables on page 57 |
|
|
|
9. | Supply power to the chassis | Supplying Power - AC on page 62 |
|
| Supplying Power - DC on page 62 |
|
|
|
10. | Initial boot | The initial boot operation automatically brings up the system to the |
|
| runtime CLI. To interrupt the automatic boot process, issue a break |
|
| key sequence (Ctrl^) if you experience boot problems. |
The console monitor will display the default BOOT_USER # prompt. Refer to Appendix B, on page 79 for instructions to continue the boot process.
18 | The E1200i System |
