CONTENTS
![]() Introduction
Introduction
![]() 1 NAMES AND FUNCTIONS OF PARTS
1 NAMES AND FUNCTIONS OF PARTS
![]() 2 BASIC SCANNER OPERATION
2 BASIC SCANNER OPERATION
![]() 3 SCANNING VARIOUS TYPES OF DOCUMENTS
3 SCANNING VARIOUS TYPES OF DOCUMENTS ![]() 4 DAILY CARE
4 DAILY CARE
4.1 Cleaning materials and locations requiring cleaning
4.2 Cleaning the ADF
![]() 5 REPLACING CONSUMABLES
5 REPLACING CONSUMABLES
![]() 6 TROUBLESHOOTING
6 TROUBLESHOOTING
![]() 7 ONLINE SETUP
7 ONLINE SETUP
![]() 8 DOCUMENT SPECIFICATION OF ADF
8 DOCUMENT SPECIFICATION OF ADF
![]() 9 OPTIONS
9 OPTIONS
![]() 10 SCANNER SPECIFICATIONS
10 SCANNER SPECIFICATIONS
![]() Appendix
Appendix
4.2 Cleaning the ADF (Continued from the previous page)
4.2.1Cleaning the ADF using with a cloth moisten with Cleaner F1 (Continued from the previous page)
Cleaning the Pick roller set
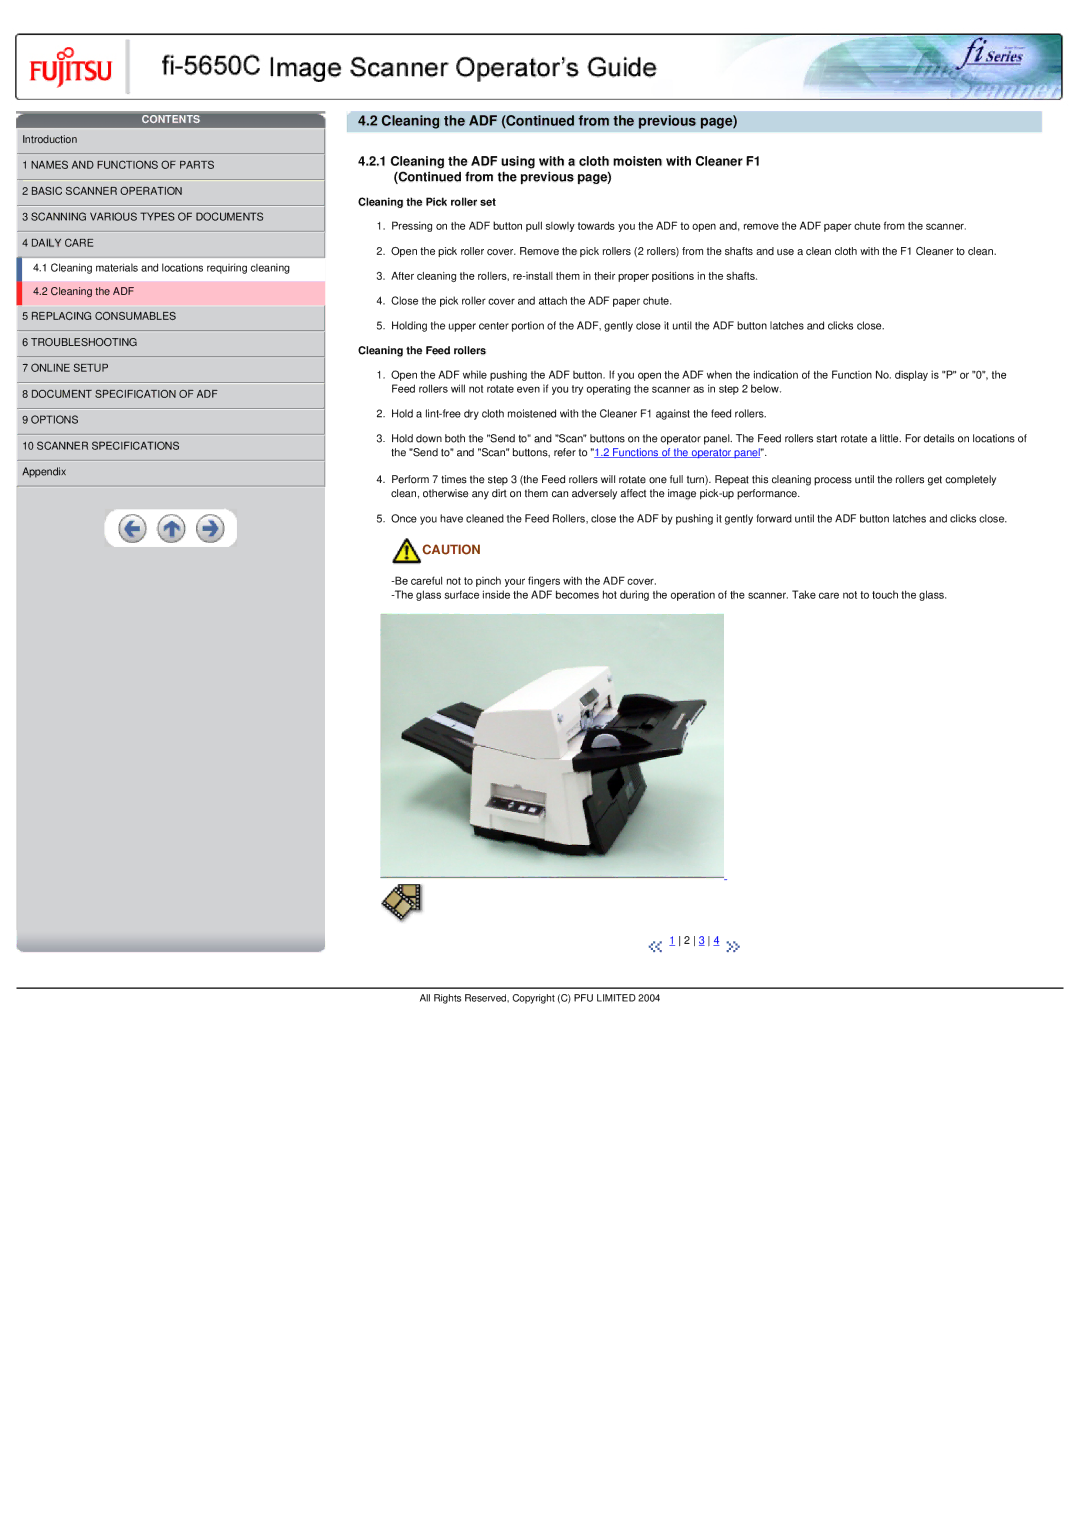
1.Pressing on the ADF button pull slowly towards you the ADF to open and, remove the ADF paper chute from the scanner.
2.Open the pick roller cover. Remove the pick rollers (2 rollers) from the shafts and use a clean cloth with the F1 Cleaner to clean.
3.After cleaning the rollers,
4.Close the pick roller cover and attach the ADF paper chute.
5.Holding the upper center portion of the ADF, gently close it until the ADF button latches and clicks close.
Cleaning the Feed rollers
1.Open the ADF while pushing the ADF button. If you open the ADF when the indication of the Function No. display is "P" or "0", the Feed rollers will not rotate even if you try operating the scanner as in step 2 below.
2.Hold a
3.Hold down both the "Send to" and "Scan" buttons on the operator panel. The Feed rollers start rotate a little. For details on locations of the "Send to" and "Scan" buttons, refer to "1.2 Functions of the operator panel".
4.Perform 7 times the step 3 (the Feed rollers will rotate one full turn). Repeat this cleaning process until the rollers get completely clean, otherwise any dirt on them can adversely affect the image
5.Once you have cleaned the Feed Rollers, close the ADF by pushing it gently forward until the ADF button latches and clicks close.
![]() CAUTION
CAUTION
![]() 1 2 3 4
1 2 3 4 ![]()
All Rights Reserved, Copyright (C) PFU LIMITED 2004
