Fujitsu MB88121 SERIES manual U1, MCU MB91F467DA DIP switch S5, default all OFF, User LEDs

Models: MB88121 SERIES MB91460 SERIES

1 73
Download 73 pages 7.7 Kb
Page 53
Image 53

SK-91F467-FLEXRAY V1.1

Getting Started

Make sure you have connected the “SK-91F467-xxx” starter kit and your monitor-kernel is stored in the internal flash memory of the MB91F467DA series at the starter kit. Then power up and reset the starter kit. Check the following configurations:

1) Correct CPU Mode selection (DIP-Switch S5)

After Power on the Monitor debugger indicates via the 8
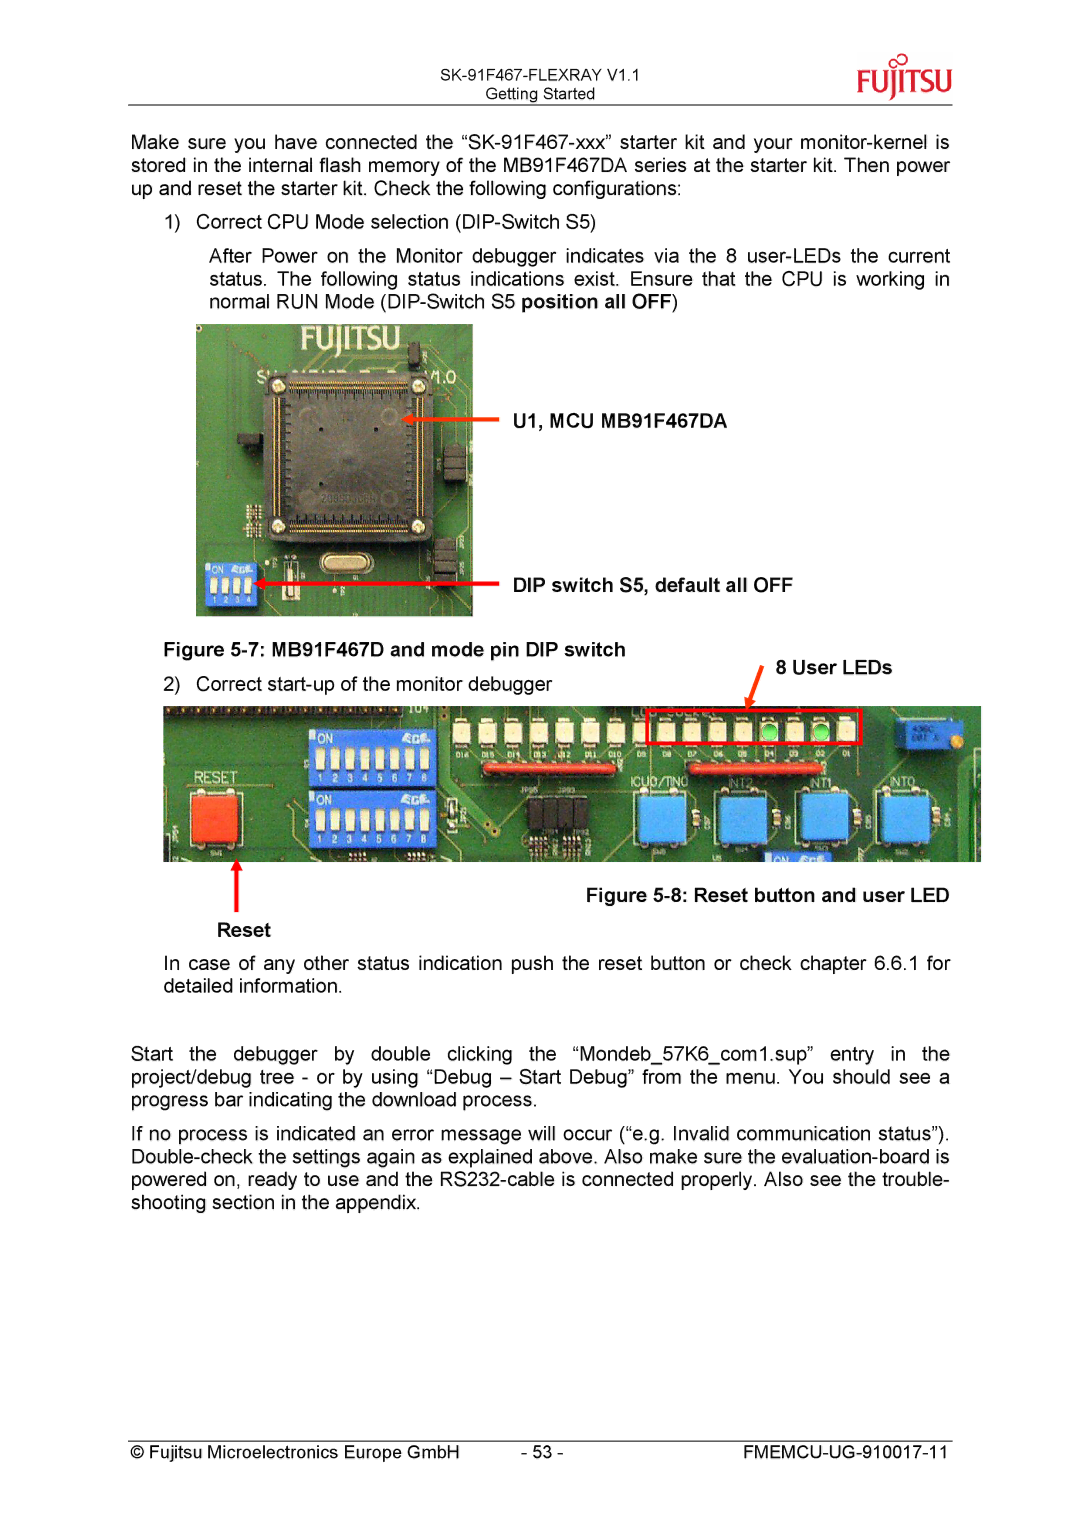
 user-LEDs the current status. The following status indications exist. Ensure that the CPU is working in normal RUN Mode (DIP-Switch S5 position all OFF)

U1, MCU MB91F467DA

DIP switch S5, default all OFF

Figure 5-7: MB91F467D and mode pin DIP switch

2) Correct start-up of the monitor debugger

8 User LEDs

Figure 5-8: Reset button and user LED

Reset

In case of any other status indication push the reset button or check chapter 6.6.1 for detailed information.

Start the debugger by double clicking the “Mondeb_57K6_com1.sup” entry in the project/debug tree - or by using “Debug – Start Debug” from the menu. You should see a progress bar indicating the download process.

If no process is indicated an error message will occur (“e.g. Invalid communication status”). Double-check the settings again as explained above. Also make sure the evaluation-board is powered on, ready to use and the RS232-cable is connected properly. Also see the trouble- shooting section in the appendix.

© Fujitsu Microelectronics Europe GmbH

- 53 -

FMEMCU-UG-910017-11

Page 53
Image 53
Fujitsu MB88121 SERIES U1, MCU MB91F467DA DIP switch S5, default all OFF, 7 MB91F467D and mode pin DIP switch, User LEDs