Operation and Cleaning
4)Push the cartridge into the slot until it completes moving below (a little further in than the operator panel).
The cartridge remains inserted in the drive. The BUSY LED indicator lamp lights when the drive power is turned on.
The cartridge remains inserted in the drive. Turning on the drive power starts loading. (The LED indicator lamp should light.)
Notes
1)If the BUSY LED indicator lamp does not light when the power is turned on, once eject the cartridge by pressing the eject button and insert it again until the lamp is lit.
2)If the cartridge is inserted by pushing either left or right side of the cartridge rear, it may not be inserted completely. Be sure to push the central part straight into the drive until it is completely inserted.
3)If you attempt to insert the cartridge by force, trouble may result in the drive. In such a case, be sure to once remove the cartridge and check the insertion direction and the face and back of the cartridge before inserting it again.
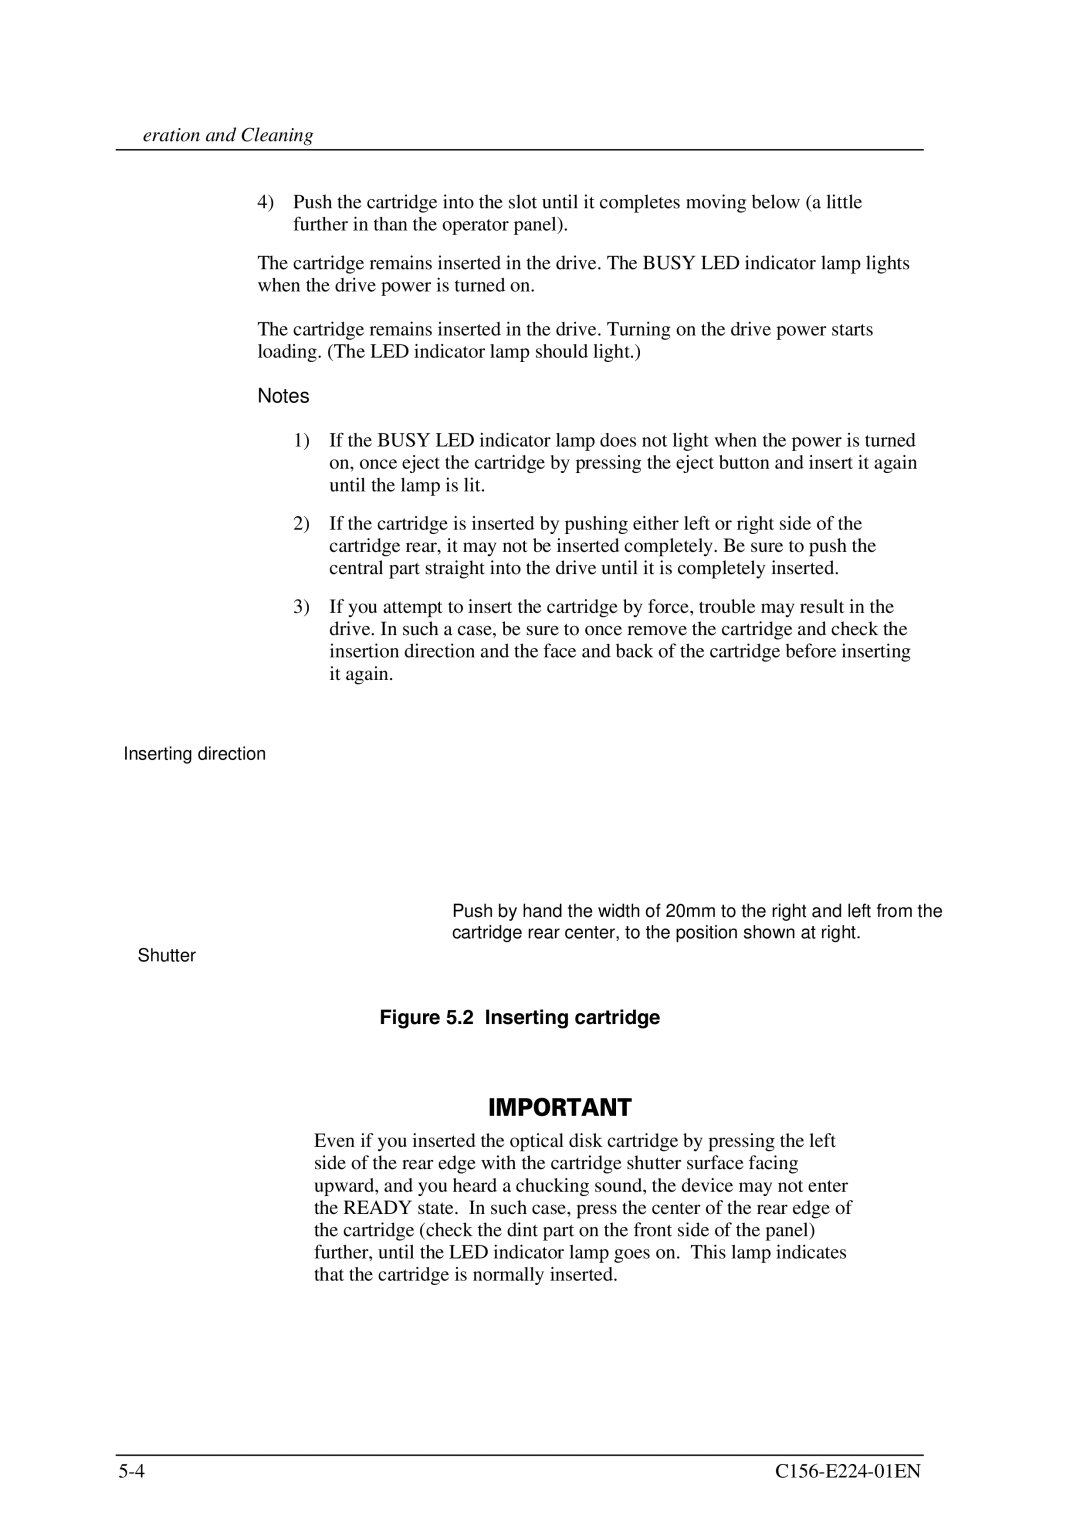
Inserting direction
Push by hand the width of 20mm to the right and left from the cartridge rear center, to the position shown at right.
Shutter
Figure 5.2 Inserting cartridge
Even if you inserted the optical disk cartridge by pressing the left side of the rear edge with the cartridge shutter surface facing upward, and you heard a chucking sound, the device may not enter the READY state. In such case, press the center of the rear edge of the cartridge (check the dint part on the front side of the panel) further, until the LED indicator lamp goes on. This lamp indicates that the cartridge is normally inserted.