Operation
Adjusting Pressure
NOTE: Spraying water, solvents, and thin materials (low viscosity materials) at high pressure (setting “2” or higher with yellow light flashing) can result in temporary pump leaking. To avoid, read and follow instructions (Quick Guide or Manual) on how to properly adjust pressure.
NOTE: To reduce overspray and extend battery life, always spray at lowest pressure that results in an acceptable spray pattern.
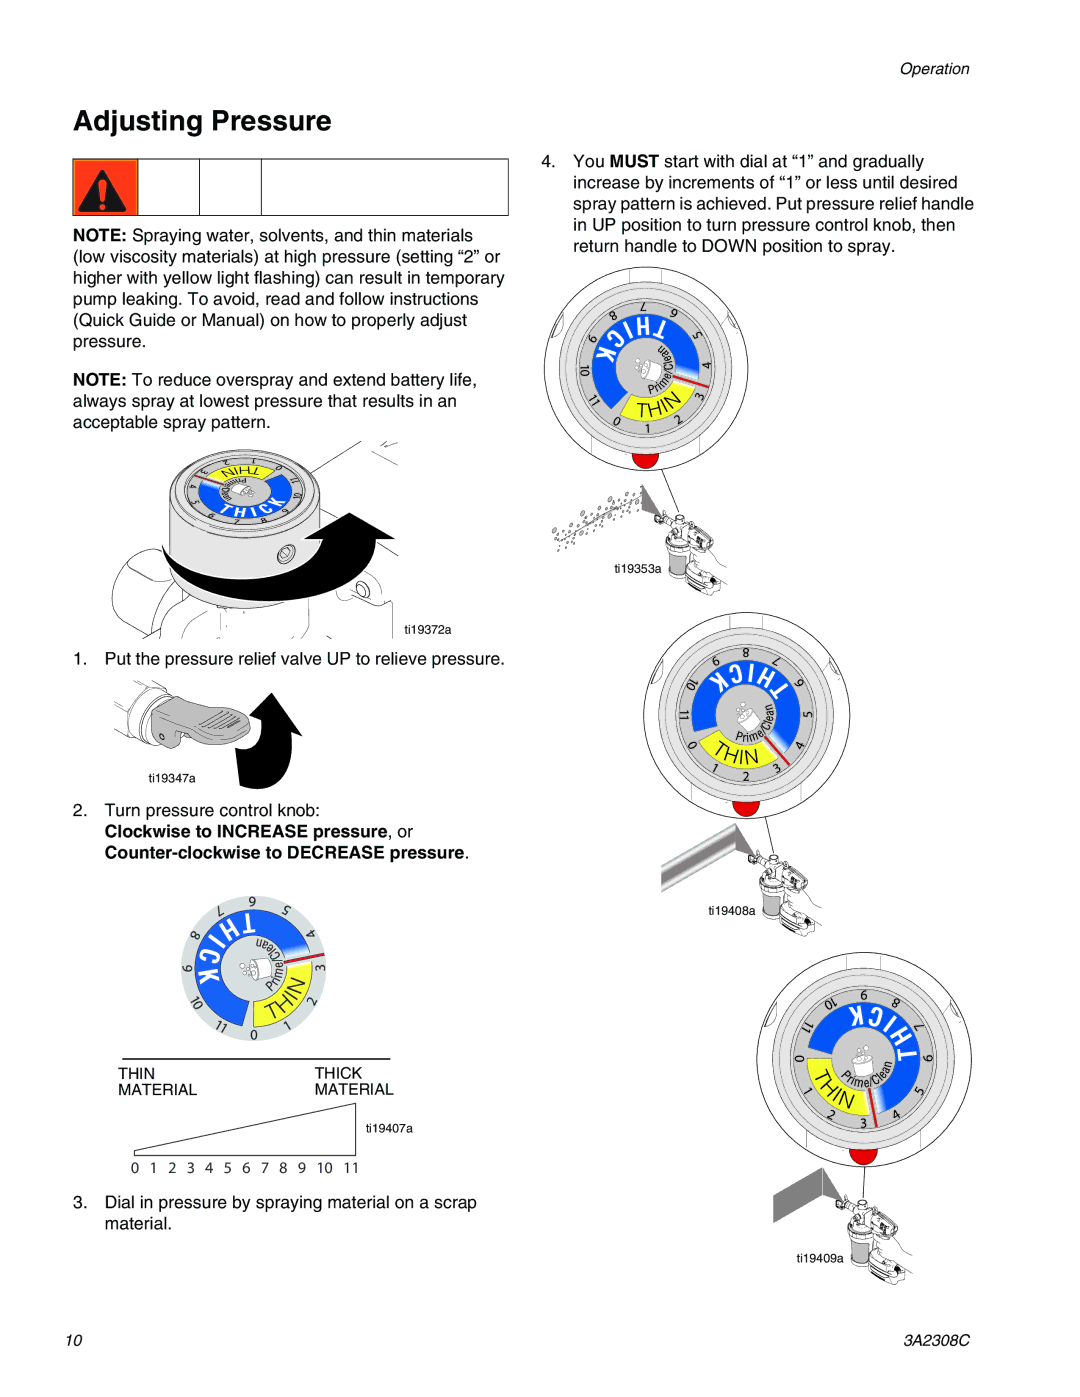
4.You MUST start with dial at “1” and gradually increase by increments of “1” or less until desired spray pattern is achieved. Put pressure relief handle in UP position to turn pressure control knob, then return handle to DOWN position to spray.
ti19353a
ti19372a
1. Put the pressure relief valve UP to relieve pressure.
ti19347a
2. Turn pressure control knob: Clockwise to INCREASE pressure, or
ti19408a
THINTHICK
MATERIALMATERIAL
ti19407a
0 1 2 3 4 5 6 7 8 9 10 11
3. Dial in pressure by spraying material on a scrap material.
ti19409a
10 | 3A2308C |
