9Appliance Preparation
A. Top Vent
CAUTION! Risk of Cuts, Abrasions or Flying Debris. Wear protective gloves and safety glasses during instal- lation. Sheet metal edges are sharp.
ELBOW HEAT SHIELD SHOWN |
IN SHIPPING POSITION |
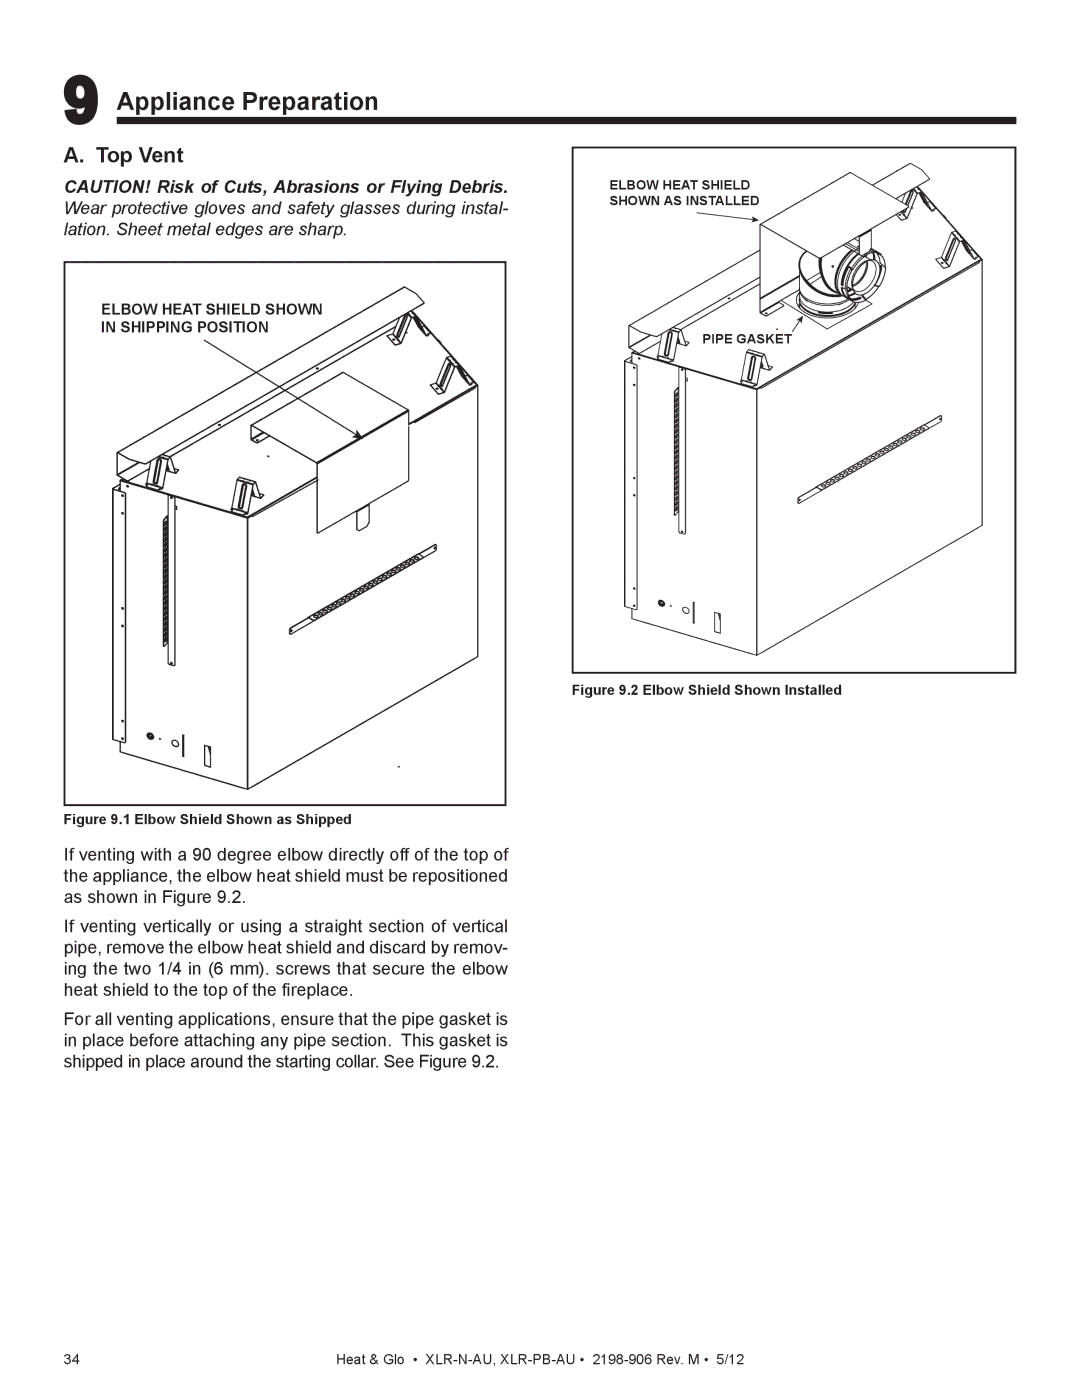
Figure 9.1 Elbow Shield Shown as Shipped
If venting with a 90 degree elbow directly off of the top of the appliance, the elbow heat shield must be repositioned as shown in Figure 9.2.
If venting vertically or using a straight section of vertical pipe, remove the elbow heat shield and discard by remov- ing the two 1/4 in (6 mm). screws that secure the elbow heat shield to the top of the fireplace.
For all venting applications, ensure that the pipe gasket is in place before attaching any pipe section. This gasket is shipped in place around the starting collar. See Figure 9.2.
ELBOW HEAT SHIELD |
SHOWN AS INSTALLED |
PIPE GASKET |
Figure 9.2 Elbow Shield Shown Installed
34 | Heat & Glo • |