Replacing Assemblies
To remove and replace the hard disk drive
To remove and replace the hard disk drive
HP 16500B
1Using previous procedures, remove the following assemblies:
•Top and bottom covers
•HP 16500L interface module
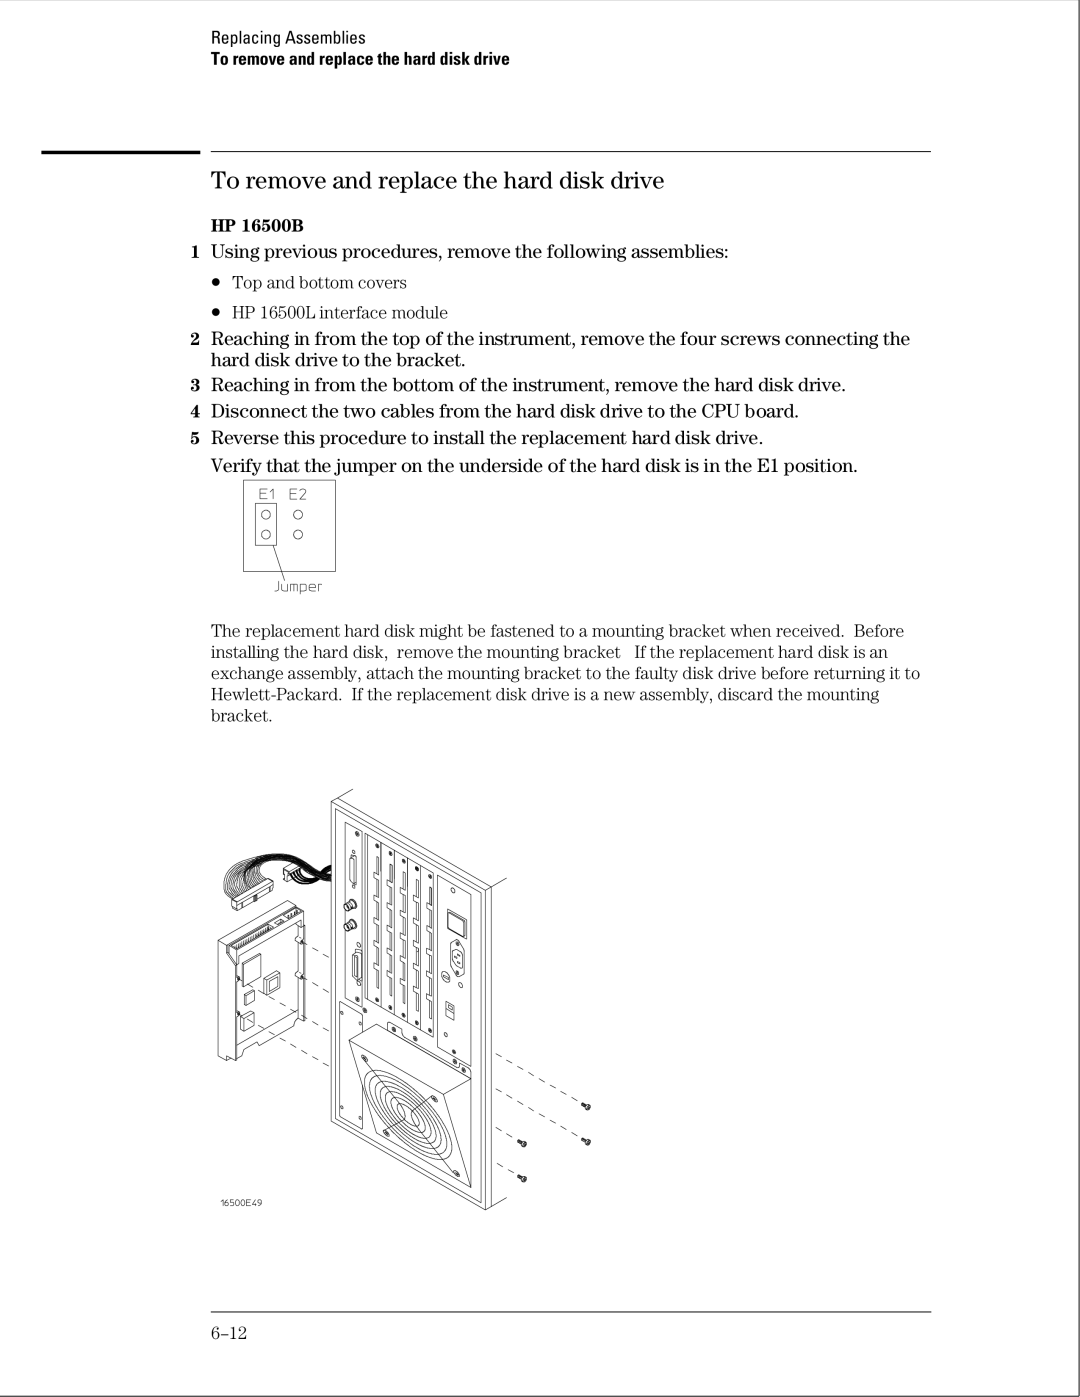
2Reaching in from the top of the instrument, remove the four screws connecting the hard disk drive to the bracket.
3Reaching in from the bottom of the instrument, remove the hard disk drive.
4Disconnect the two cables from the hard disk drive to the CPU board.
5Reverse this procedure to install the replacement hard disk drive.
Verify that the jumper on the underside of the hard disk is in the E1 position.
The replacement hard disk might be fastened to a mounting bracket when received. Before installing the hard disk, remove the mounting bracket If the replacement hard disk is an exchange assembly, attach the mounting bracket to the faulty disk drive before returning it to
