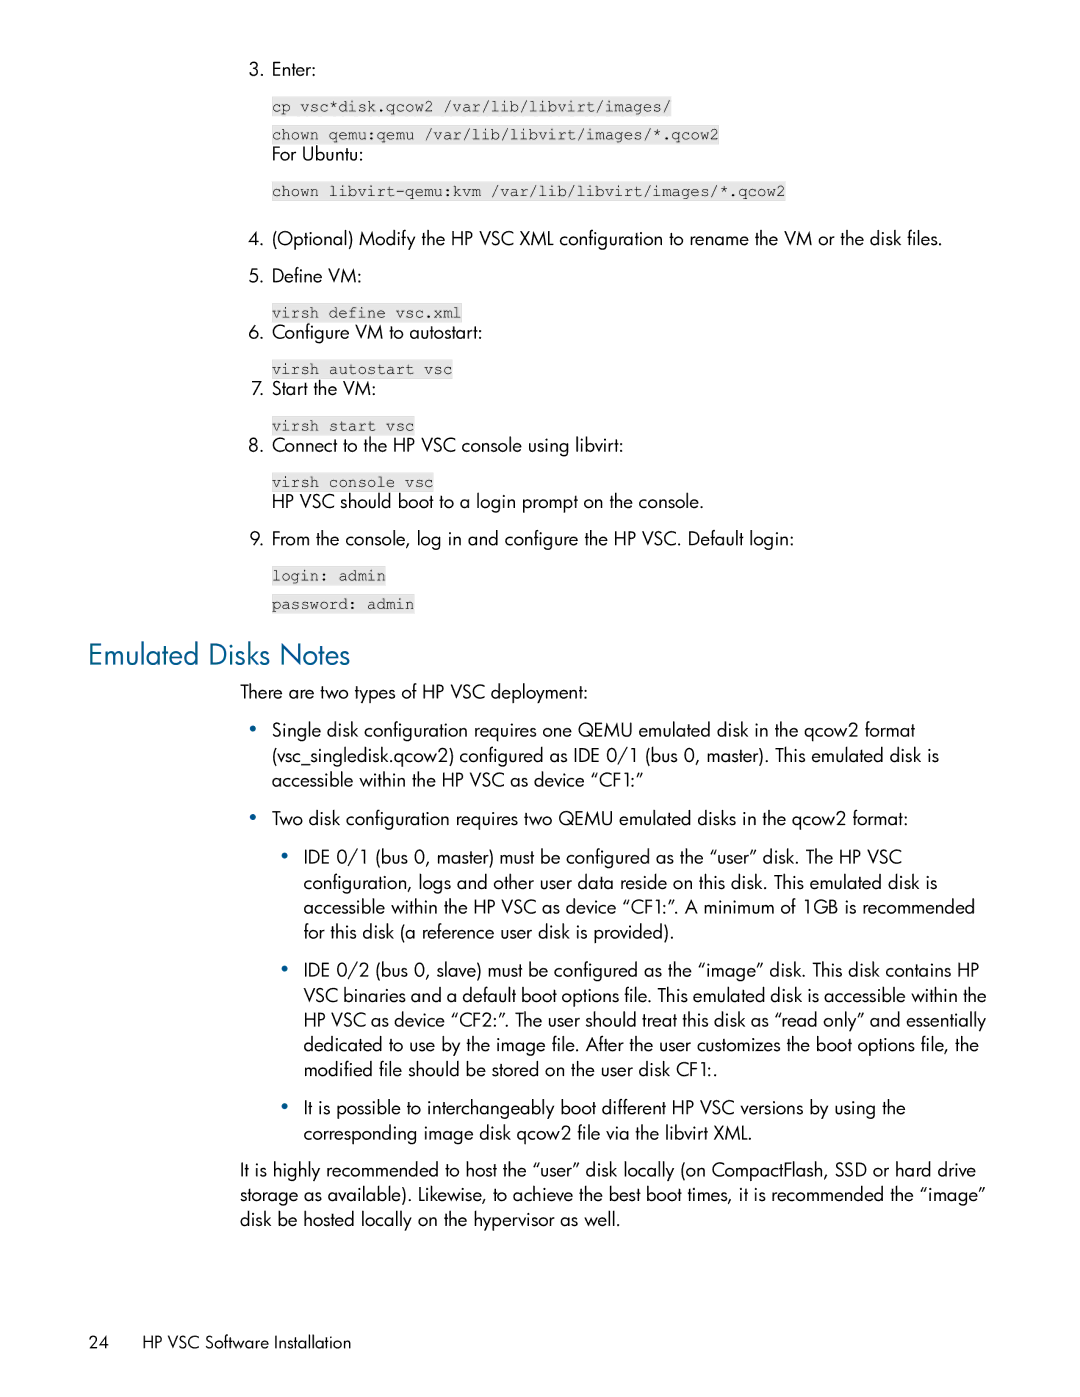
3. Enter:
cp vsc*disk.qcow2 /var/lib/libvirt/images/ chown qemu:qemu /var/lib/libvirt/images/*.qcow2
For Ubuntu:
chown
4.(Optional) Modify the HP VSC XML configuration to rename the VM or the disk files.
5.Define VM:
virsh define vsc.xml
6. Configure VM to autostart:
virsh autostart vsc
7. Start the VM:
virsh start vsc
8. Connect to the HP VSC console using libvirt:
virsh console vsc
HP VSC should boot to a login prompt on the console.
9. From the console, log in and configure the HP VSC. Default login:
login: admin
password: admin
Emulated Disks Notes
There are two types of HP VSC deployment:
•Single disk configuration requires one QEMU emulated disk in the qcow2 format (vsc_singledisk.qcow2) configured as IDE 0/1 (bus 0, master). This emulated disk is accessible within the HP VSC as device “CF1:”
•Two disk configuration requires two QEMU emulated disks in the qcow2 format:
•IDE 0/1 (bus 0, master) must be configured as the “user” disk. The HP VSC configuration, logs and other user data reside on this disk. This emulated disk is accessible within the HP VSC as device “CF1:”. A minimum of 1GB is recommended for this disk (a reference user disk is provided).
•IDE 0/2 (bus 0, slave) must be configured as the “image” disk. This disk contains HP VSC binaries and a default boot options file. This emulated disk is accessible within the HP VSC as device “CF2:”. The user should treat this disk as “read only” and essentially dedicated to use by the image file. After the user customizes the boot options file, the modified file should be stored on the user disk CF1:.
•It is possible to interchangeably boot different HP VSC versions by using the corresponding image disk qcow2 file via the libvirt XML.
It is highly recommended to host the “user” disk locally (on CompactFlash, SSD or hard drive storage as available). Likewise, to achieve the best boot times, it is recommended the “image” disk be hosted locally on the hypervisor as well.
24 HP VSC Software Installation
