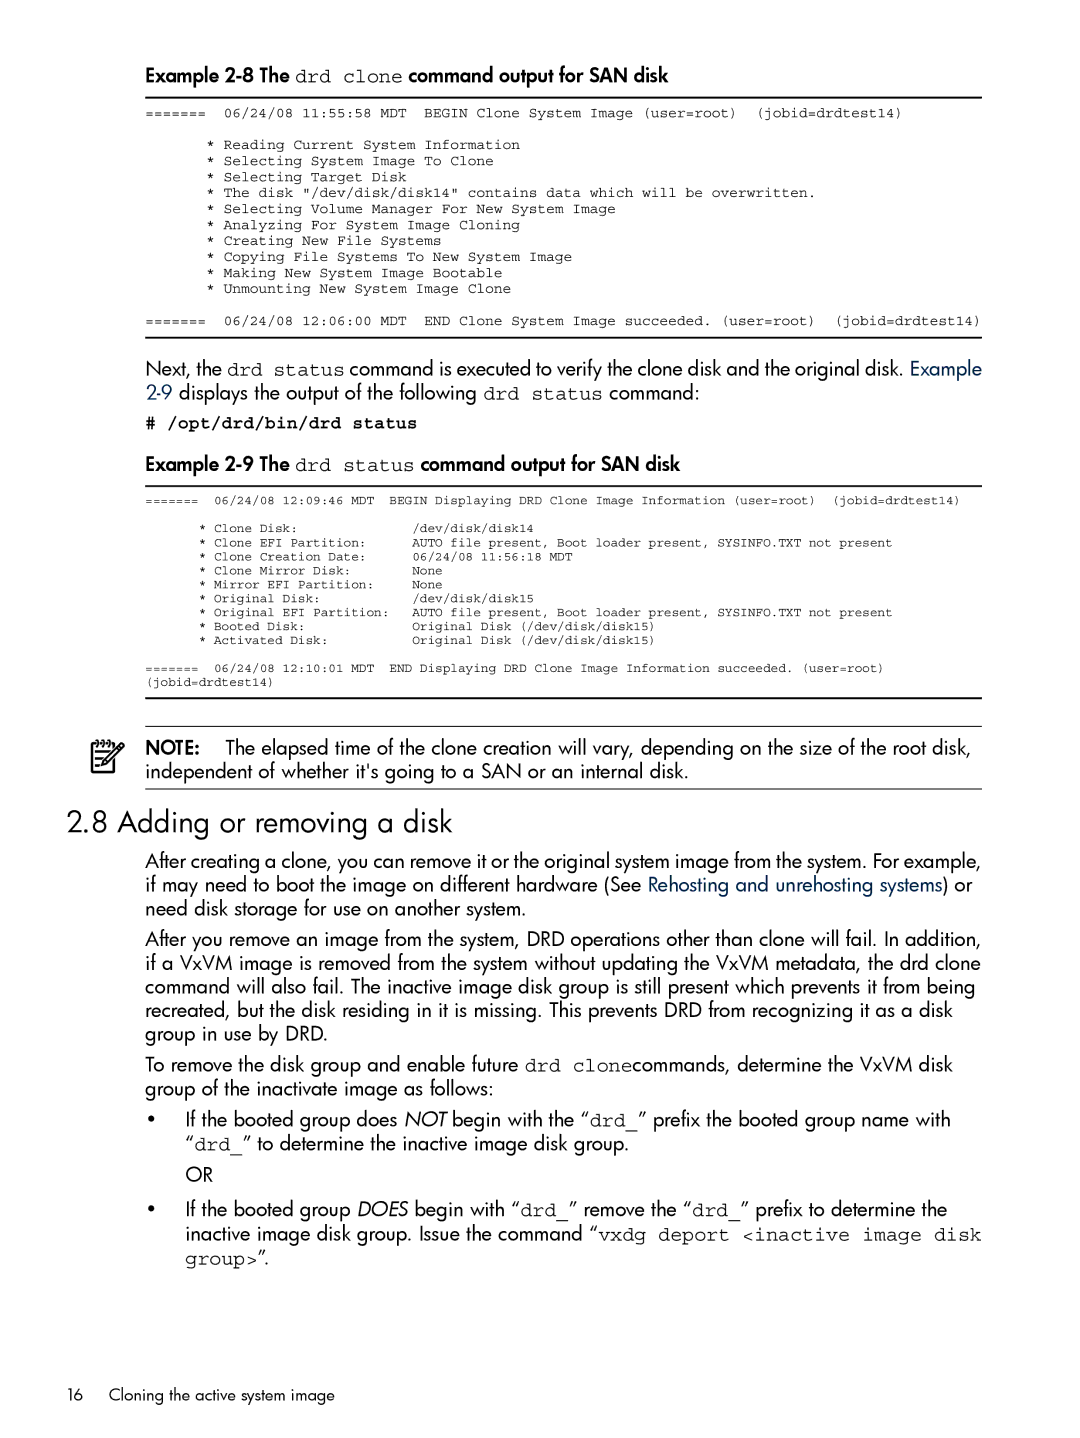
Example 2-8 The drd clone command output for SAN disk
======= 06/24/08 11:55:58 MDT BEGIN Clone System Image (user=root) (jobid=drdtest14)
*Reading Current System Information
*Selecting System Image To Clone
*Selecting Target Disk
*The disk "/dev/disk/disk14" contains data which will be overwritten.
*Selecting Volume Manager For New System Image
*Analyzing For System Image Cloning
*Creating New File Systems
*Copying File Systems To New System Image
*Making New System Image Bootable
*Unmounting New System Image Clone
======= 06/24/08 12:06:00 MDT END Clone System Image succeeded. (user=root) (jobid=drdtest14)
Next, the drd status command is executed to verify the clone disk and the original disk. Example
# /opt/drd/bin/drd status
Example 2-9 The drd status command output for SAN disk
======= | 06/24/08 12:09:46 MDT | BEGIN Displaying DRD Clone Image Information (user=root) (jobid=drdtest14) |
| * Clone Disk: | /dev/disk/disk14 |
| * Clone EFI Partition: | AUTO file present, Boot loader present, SYSINFO.TXT not present |
| * Clone Creation Date: | 06/24/08 11:56:18 MDT |
| * Clone Mirror Disk: | None |
| * Mirror EFI Partition: | None |
| * Original Disk: | /dev/disk/disk15 |
| * Original EFI Partition: | AUTO file present, Boot loader present, SYSINFO.TXT not present |
| * Booted Disk: | Original Disk (/dev/disk/disk15) |
| * Activated Disk: | Original Disk (/dev/disk/disk15) |
======= | 06/24/08 12:10:01 MDT | END Displaying DRD Clone Image Information succeeded. (user=root) |
(jobid=drdtest14)
NOTE: The elapsed time of the clone creation will vary, depending on the size of the root disk, independent of whether it's going to a SAN or an internal disk.
2.8 Adding or removing a disk
After creating a clone, you can remove it or the original system image from the system. For example, if may need to boot the image on different hardware (See Rehosting and unrehosting systems) or need disk storage for use on another system.
After you remove an image from the system, DRD operations other than clone will fail. In addition, if a VxVM image is removed from the system without updating the VxVM metadata, the drd clone command will also fail. The inactive image disk group is still present which prevents it from being recreated, but the disk residing in it is missing. This prevents DRD from recognizing it as a disk group in use by DRD.
To remove the disk group and enable future drd clonecommands, determine the VxVM disk group of the inactivate image as follows:
•If the booted group does NOT begin with the “drd_” prefix the booted group name with “drd_” to determine the inactive image disk group.
OR
•If the booted group DOES begin with “drd_” remove the “drd_” prefix to determine the inactive image disk group. Issue the command “vxdg deport <inactive image disk group>”.
