Chapter 5 | HN9000 Satellite Modem User Guide – | Troubleshooting |
|
|
Cannot Access the System Control Center
Follow these steps if you cannot access the System Control Center after installation of the satellite modem.
1.If the modem is using a private IP address, confirm that DHCP is enabled on the computer. This procedure is explained in Configuring a computer to use DHCP on page 39.
2.Open a web browser on a computer connected to the satellite modem.
3.In the browser address bar, type www.systemcontrolcenter.com or 192.168.0.1 and press Enter.
![]() Note: To use 192.168.0.1, the satellite modem must be configured for a private IP address, and DHCP must be enabled on the computer.
Note: To use 192.168.0.1, the satellite modem must be configured for a private IP address, and DHCP must be enabled on the computer.
If the System Control Center does not appear, continue with the remaining steps.
4.Make sure that the satellite modem is powered up. The Power and LAN LEDs should be continuously
5.Make sure the DC power cord adapter is securely attached to the satellite modem.
6.If the LEDs are off, make sure the Ethernet cable is securely attached to the satellite modem and the computer.
7.If you still cannot access the System Control Center, contact Hughes Customer Care for assistance.
Testing connectivity to the satellite
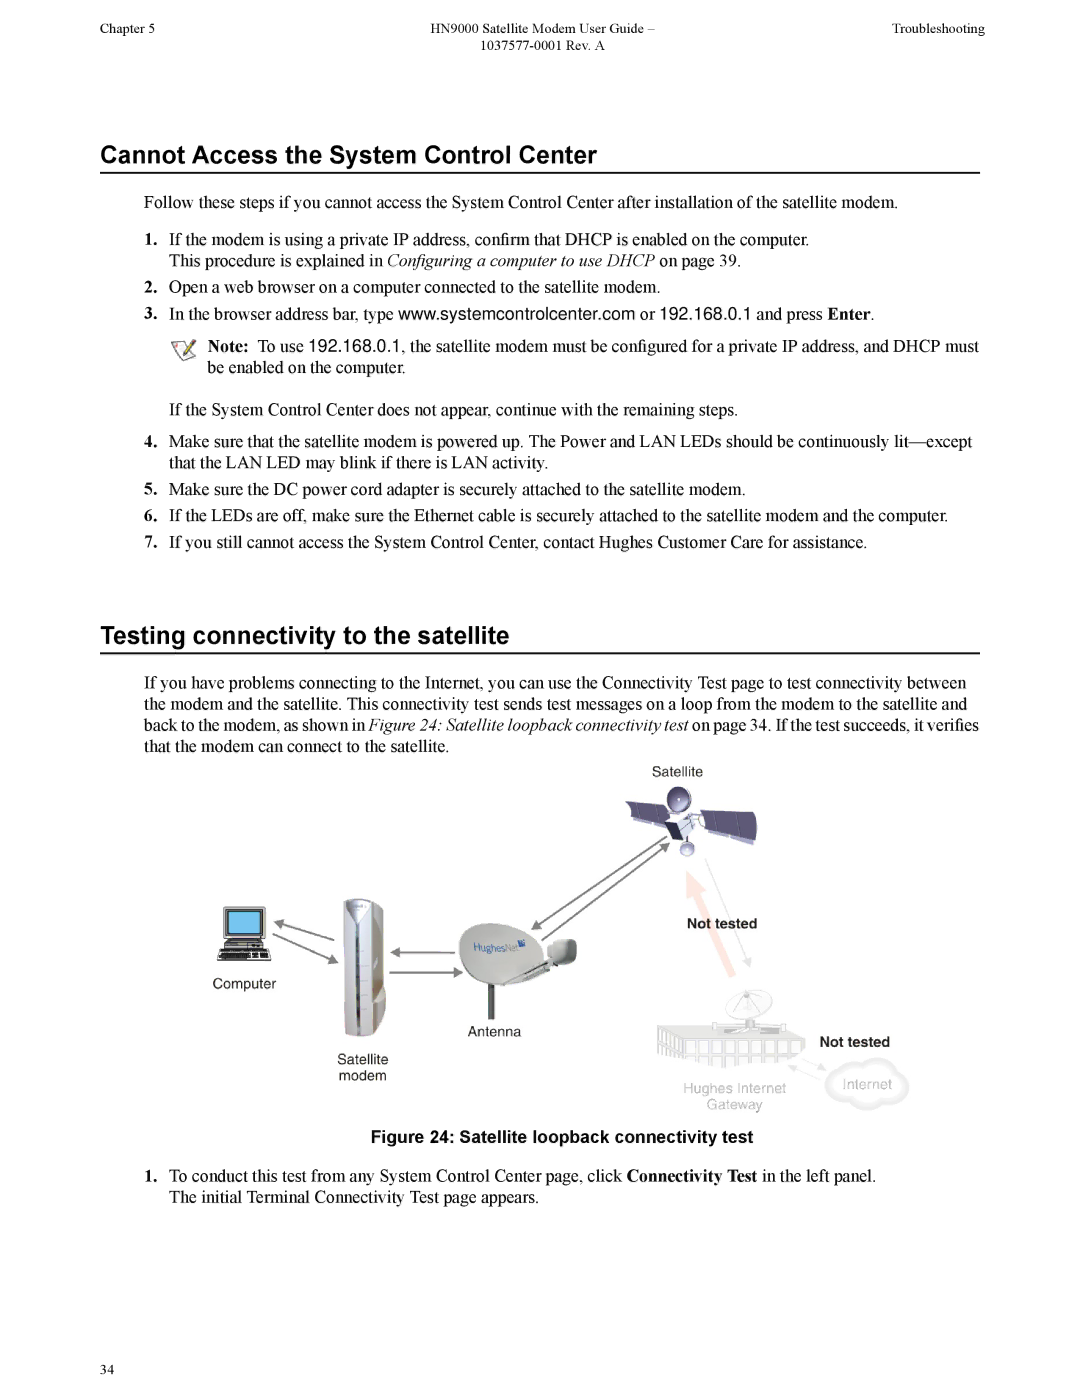
If you have problems connecting to the Internet, you can use the Connectivity Test page to test connectivity between the modem and the satellite. This connectivity test sends test messages on a loop from the modem to the satellite and back to the modem, as shown in Figure 24: Satellite loopback connectivity test on page 34. If the test succeeds, it verifies that the modem can connect to the satellite.
Figure 24: Satellite loopback connectivity test
1.To conduct this test from any System Control Center page, click Connectivity Test in the left panel. The initial Terminal Connectivity Test page appears.
34