Hardware Installations
2-5 Installing Your Ethernet Direct Switch
Unpack the
2-5.1 Mounting The Switch
The are two types of mounting options:
2-5.1.1 DIN-Rail Mounting
The
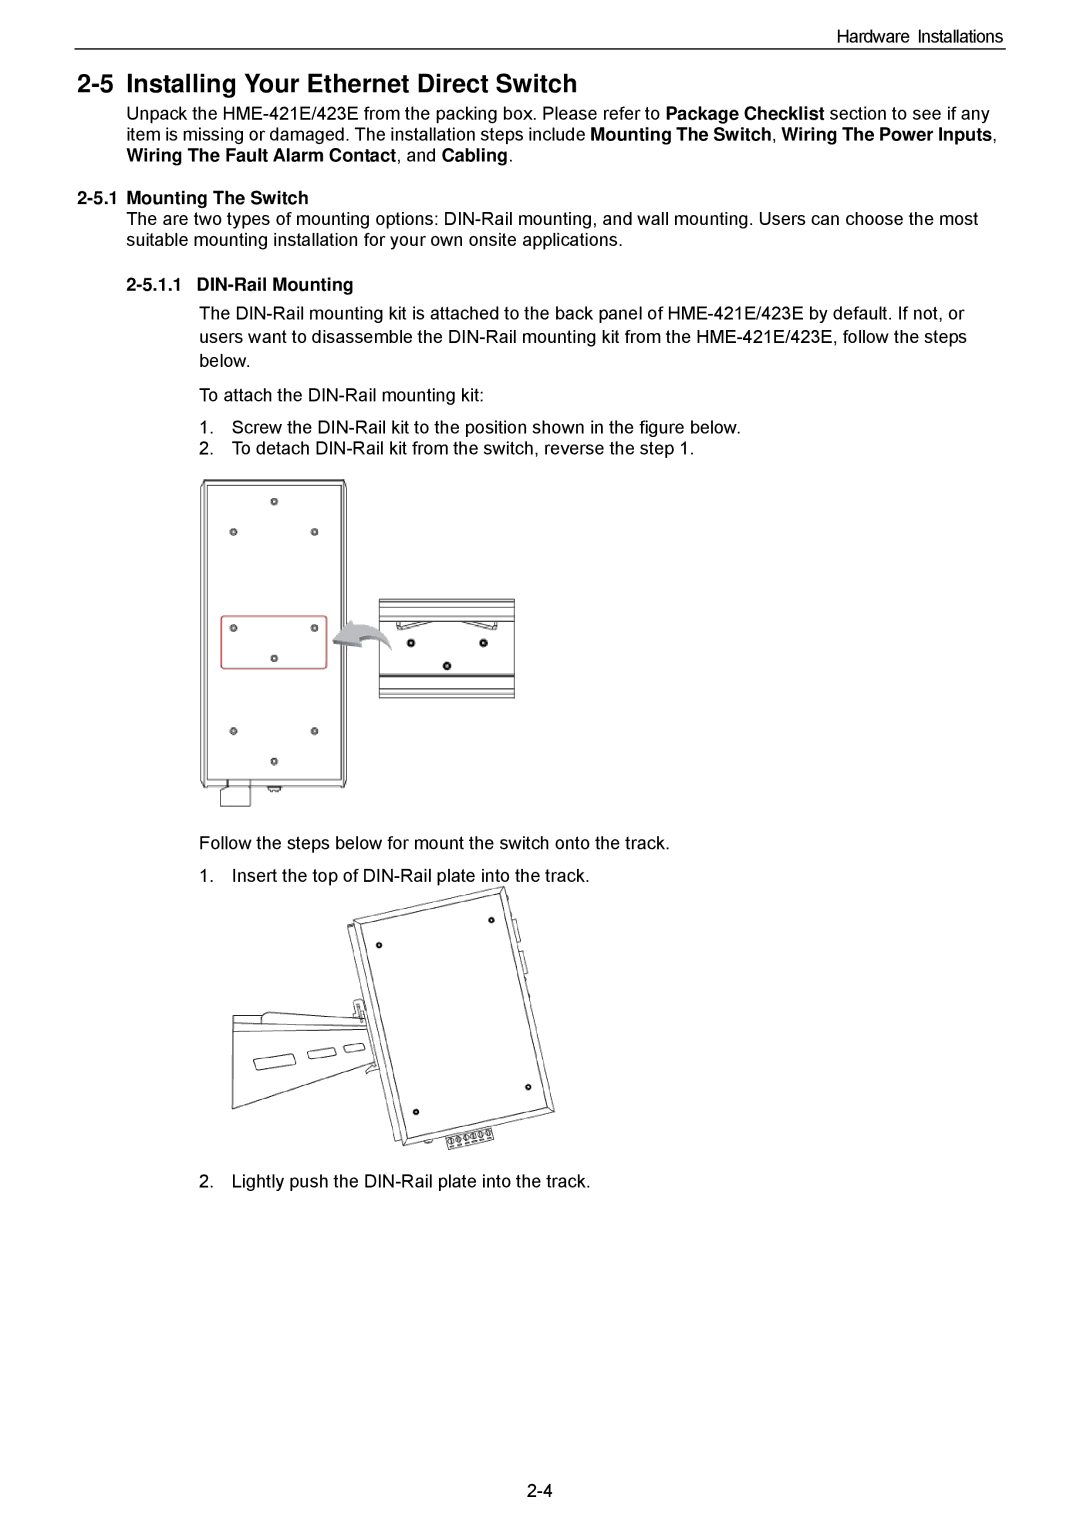
To attach the
1.Screw the
2.To detach
Follow the steps below for mount the switch onto the track. 1. Insert the top of
2. Lightly push the