Chapter 3
Configuration Using Console Interface
This chapter describes how to configure
zConnecting Console Port
zLogin the Console Interface
zCLI Management
3-1 Connecting Console Port
Take out the
3-2 Login The Console Interface
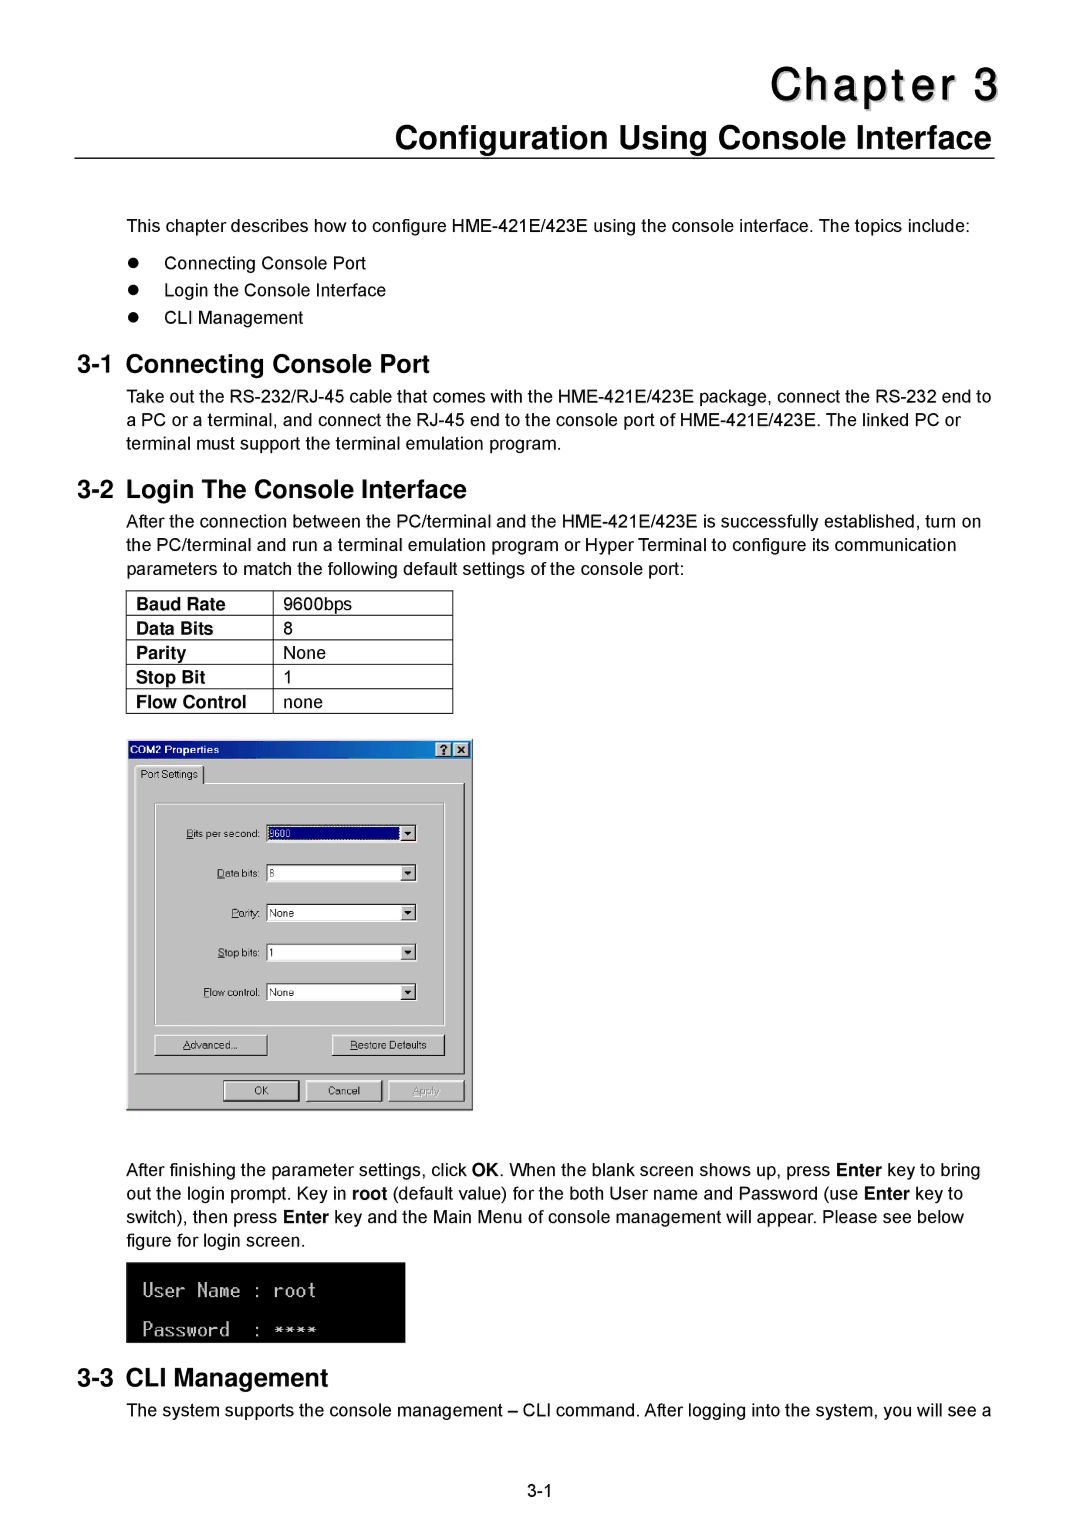
After the connection between the PC/terminal and the
Baud Rate | 9600bps |
Data Bits | 8 |
Parity | None |
Stop Bit | 1 |
Flow Control | none |
After finishing the parameter settings, click OK. When the blank screen shows up, press Enter key to bring out the login prompt. Key in root (default value) for the both User name and Password (use Enter key to switch), then press Enter key and the Main Menu of console management will appear. Please see below figure for login screen.
3-3 CLI Management
The system supports the console management – CLI command. After logging into the system, you will see a