Network Settings
1.Connect the Digital KVM over IP Switch to the Ethernet LAN. The factory default network settings for the switch:
•IP address: 192.168.1.200
•Net mask: 255.255.255.0
•Gateway: 192.168.1.254
•DNS: 192.168.1.254
2.Access the switch’s Web Management interface by entering the following in the address bar of your browser window on a remote client: https://192.168.1.200:5908.
3.A login prompt displays for the account name (username) and the password. Use the defaults:
•Username: superuser
•Password: superu
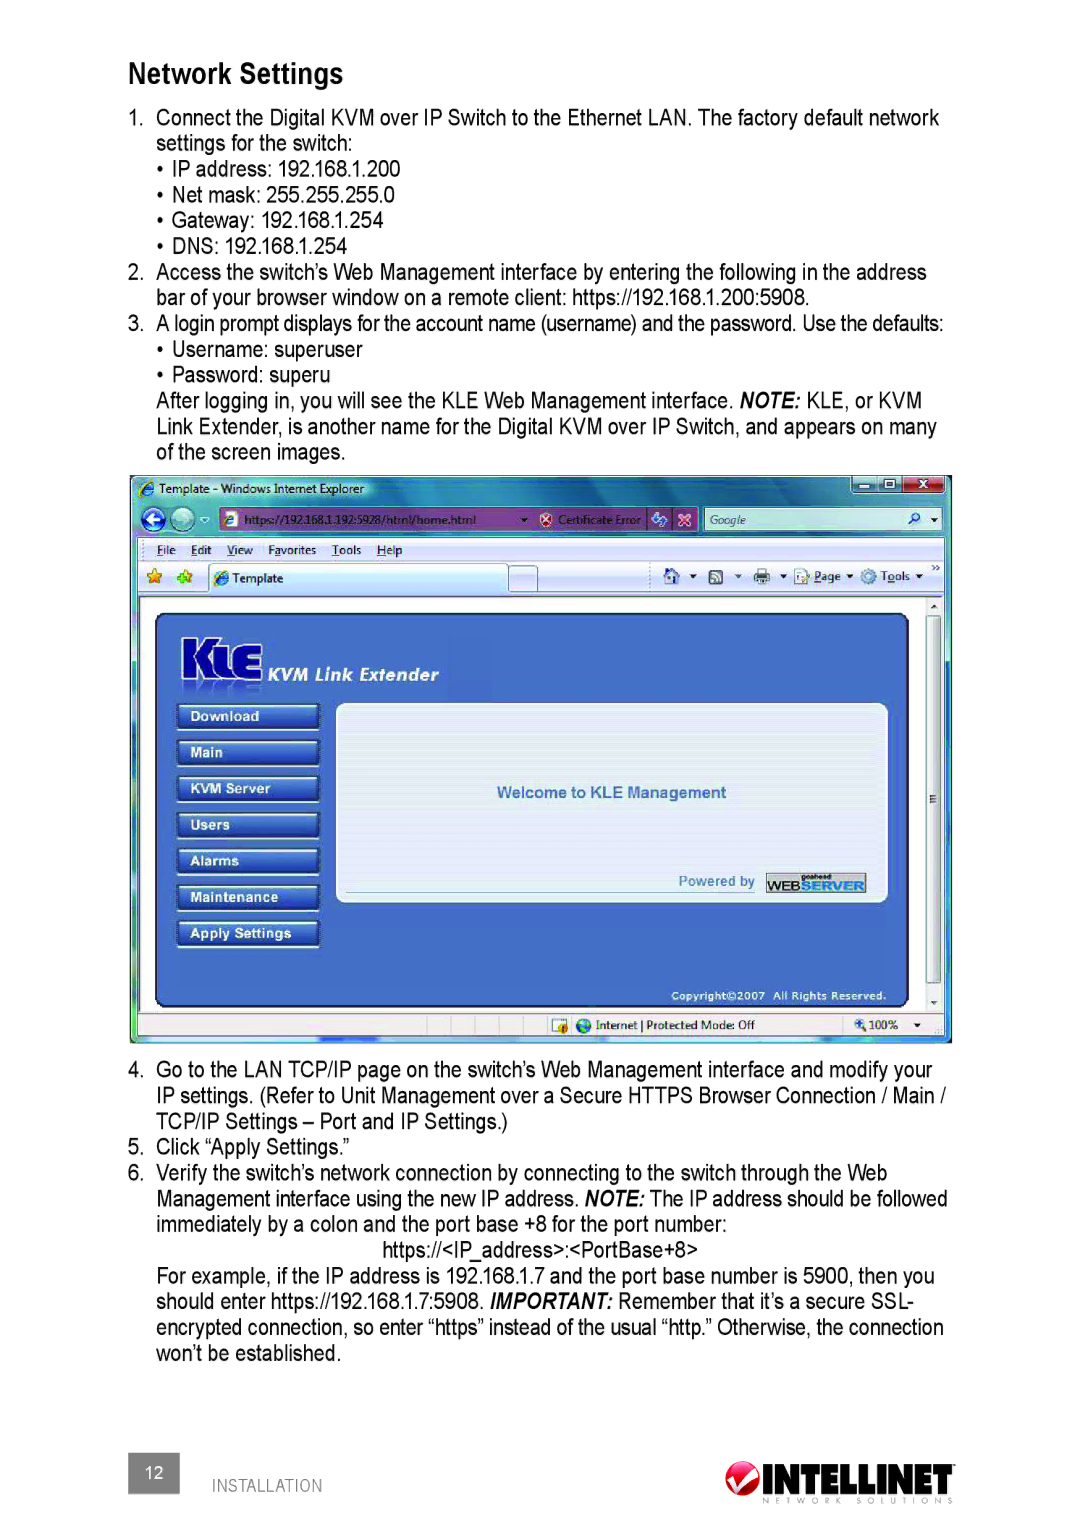
After logging in, you will see the KLE Web Management interface. NOTE: KLE, or KVM Link Extender, is another name for the Digital KVM over IP Switch, and appears on many of the screen images.
4.Go to the LAN TCP/IP page on the switch’s Web Management interface and modify your IP settings. (Refer to Unit Management over a Secure HTTPS Browser Connection / Main /
TCP/IP Settings – Port and IP Settings.)
5.Click “Apply Settings.”
6.Verify the switch’s network connection by connecting to the switch through the Web
Management interface using the new IP address. NOTE: The IP address should be followed immediately by a colon and the port base +8 for the port number:
https://<IP_address>:<PortBase+8>
For example, if the IP address is 192.168.1.7 and the port base number is 5900, then you should enter https://192.168.1.7:5908. IMPORTANT: Remember that it’s a secure SSL- encrypted connection, so enter “https” instead of the usual “http.” Otherwise, the connection won’t be established.
12 INSTALLATION